Whether you're a seasoned DIY enthusiast or just starting on your journey, an organized workspace is a key element of any successful project. A cluttered workspace can lead to misplaced tools, inefficiencies, and even accidents. Follow these five simple steps to set up your workspace and streamline your DIY projects.
Step 1: Identify Your Needs
Every project is different, so it's important to identify the tools and materials you'll need for each one. For instance, a woodworking project may require different tools than a painting project. After identifying your needs, group similar tools and materials together and store them in dedicated spaces.
Step 2: Clear Your Workspace
Start with a clean slate. Remove everything from your workspace and clean it thoroughly. This will help you assess the space you have and plan how to best utilize it. Remember to consider factors such as lighting and power source locations when setting up your workspace.
Step 3: Implement Storage Solutions
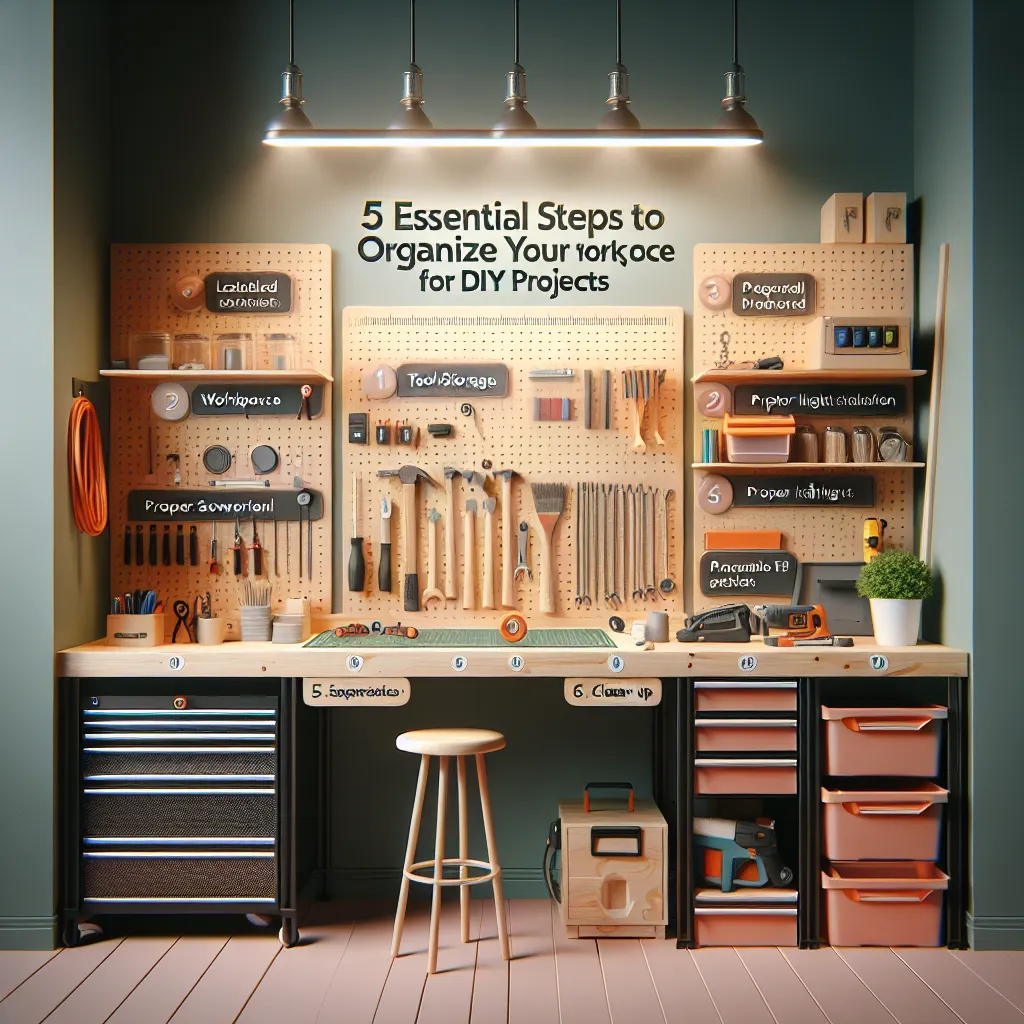
Invest in storage solutions like pegboards, shelves, and storage bins to keep your tools and materials organized. Label everything clearly so you can easily find what you need when you need it. Consider using a toolbox for portable storage, especially for hand tools that you use frequently.
Step 4: Prioritize Safety
Always prioritize safety in your workspace. Store sharp and hazardous tools securely and out of reach when not in use. Ensure your workspace has good ventilation if you'll be working with fumes or dust. Additionally, invest in safety equipment such as goggles, gloves, and a first-aid kit.
Step 5: Maintain Your Workspace
Last but not least, maintaining your workspace is just as important as setting it up. After each project, clean your workspace and return all tools and materials to their designated places. Regularly inspect your tools for any signs of wear and tear and replace them as necessary.
Conclusion
Organizing your workspace for DIY projects may seem like a daunting task, but with these simple steps, you can create an efficient and safe workspace. Remember, a well-organized workspace not only makes DIY projects more enjoyable but also contributes to their success. So, roll up your sleeves and start organizing today!