A full kitchen remodel can drain your budget and your patience. But you don’t have to gut everything to get a space that looks modern, works better, and fits how you actually live. With a clear plan and some focused DIY projects, you can transform a dated, inefficient kitchen into a space that feels new—without taking on a full renovation.
This guide walks you through a practical, step-by-step approach that prioritizes impact, cost, and safety. You’ll get a roadmap, not a demolition order.
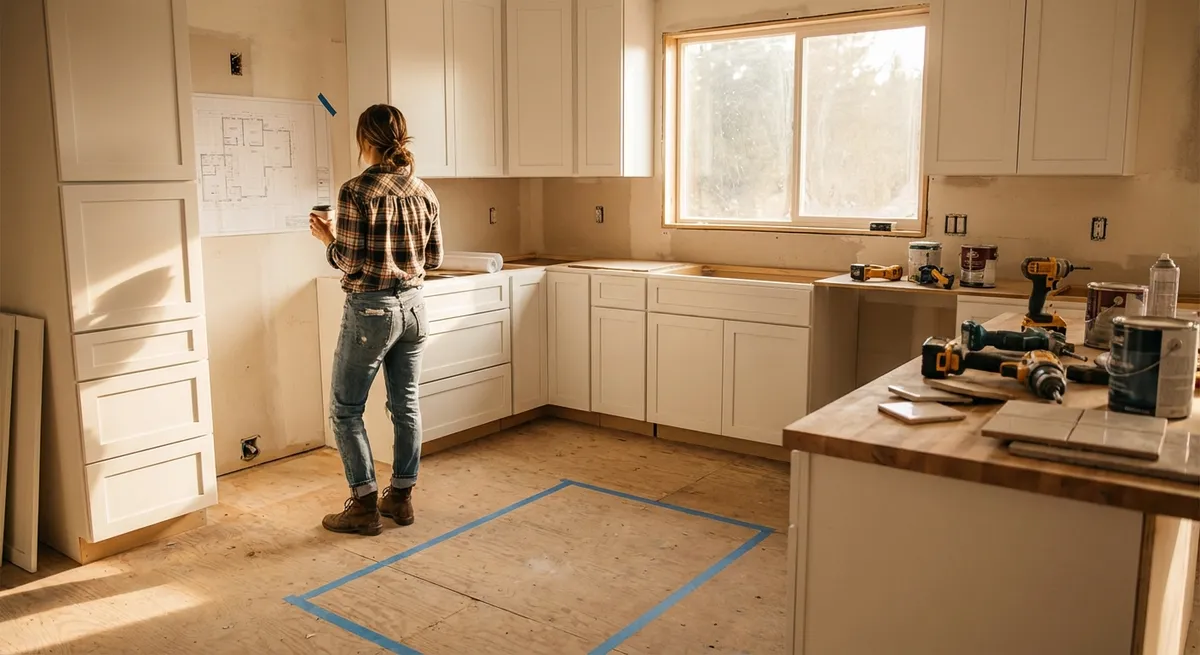
Start with a Realistic Kitchen Plan (Before You Touch a Tool)
Before you buy a single cabinet pull or paint sample, map out what you’re actually fixing.
Spend a week just observing your kitchen. Notice where you bump into things, which drawers jam, what areas feel dark, and when clutter takes over. Write it down—this becomes your project list. Separate issues into three categories: function (storage, layout bottlenecks), safety (bad outlets, slippery floors, poor lighting), and looks (dated finishes, mismatched hardware, worn paint). Prioritize functional and safety items first; a nicer backsplash won’t fix a dangerous outlet or a wobbly cabinet.
Measure everything: room width and length, ceiling height, appliances, cabinet runs, and open wall space. Take photos from multiple angles. Create a basic floor sketch on paper or using a free planning tool—this doesn’t need to be pretty, just accurate. Set a total budget and then assign rough amounts for each project. Finally, group tasks into logical “phases” so your kitchen stays usable—avoid tearing into every surface at once or you’ll end up ordering takeout for weeks.
Step 1: Improve the Layout You Have (Without Moving Walls)
Most people think “layout change” means moving plumbing and walls. Often, you can make a big difference by reworking what’s already there.
Start by checking the work triangle: sink, stove, and fridge should be within a comfortable distance, without major obstacles between them. If you can’t move appliances, optimize the zones around them. Create a prep zone near the sink (cutting boards, knives, mixing bowls), a cooking zone near the stove (pots, pans, utensils, spices), and a clean-up zone near the sink or dishwasher (dish soap, drying rack, everyday dishes).
Reorganize cabinets: move daily-use items to waist-to-eye level, heavy items to lower cabinets, and rarely used gear to higher shelves. Use drawer dividers for utensils, and add inexpensive plastic or wire organizers to group similar items. If you have dead corners, add a lazy Susan or corner organizer instead of cramming things in piles. Relocate your trash and recycling so they’re close to where you prep food—not across the room. This type of layout “tune-up” can make your kitchen feel new purely through better flow.
Step 2: Upgrade Storage with Simple, High-Impact Additions
When storage is bad, clutter takes over every counter. You don’t need custom cabinetry to fix it—target a few smart upgrades instead.
Install pull-out shelves or baskets in lower cabinets to turn deep, hard-to-reach spaces into usable storage. Measure your cabinet interiors carefully and buy compatible slide-out organizers or DIY them with drawer slides and plywood. For tall cabinets, add extra shelves so you’re not stacking items dangerously high. In narrow cabinets, vertical tray dividers can organize baking sheets, cutting boards, and lids.
Look at your walls and unused vertical space. Add a wall-mounted rail with hooks for frequently used pans and utensils, or a magnetic strip for knives to free up counter and drawer space. If you have room, a slim rolling cart can slide between cabinets or beside the fridge for pantry staples. Inside cabinet doors, mount shallow racks for spices, wraps, or cleaners (just avoid adding weight where hinges are already strained). These additions often cost far less than new cabinets but deliver a similar “my kitchen finally works” feeling.
Step 3: Refresh Cabinets and Hardware for a Modern Look
Cabinets dominate the visual feel of your kitchen. Replacing them is expensive, but you can change their impact with careful prep and updated finishes.
First, check cabinet structure. Open doors and press on shelves—if they’re solid and not water-damaged or sagging, they’re good candidates for a refresh. Clean all surfaces with a degreaser; kitchen grime will ruin paint adhesion. Lightly sand doors and frames to scuff the surface, then wipe away dust. If your cabinets are glossy or dark-stained wood, use a bonding primer designed for slick or previously finished surfaces.
Choose a durable cabinet paint or enamel—satin or semi-gloss is usually best for wipeability. Remove doors and label each one and its matching hardware location so reassembly is painless. Paint in a dust-free area with good ventilation, using a brush for profiles and a small roller for flat areas. Let each coat cure fully before flipping or reinstalling.
While the doors are off, replace tired hinges and update handles or knobs. Measure hole spacing for pulls before ordering new ones to avoid filling and re-drilling every door. Consistent, modern hardware in a finish that matches your faucet or lighting can make even older cabinets look intentional and updated.
Step 4: Upgrade Lighting for a Brighter, Safer Workspace
Dim, uneven lighting makes any kitchen feel smaller, older, and less safe. A layered lighting plan can dramatically change how your kitchen looks and functions.
Think in three layers: general lighting (ceiling fixtures or recessed lights), task lighting (under-cabinet, over-sink, stove), and accent lighting (above cabinets or in glass-front doors if you have them). If you still have a single ceiling fixture, consider replacing it with a brighter LED flush mount or semi-flush that spreads light more evenly. Stick with warm or neutral white (around 2700–3500K) for a comfortable color tone.
Adding plug-in or low-voltage under-cabinet lights is a DIY-friendly way to brighten countertops without opening walls. Choose LED strips or puck lights designed for under-cabinet use, and route cables neatly along cabinet undersides with clips or channels. If you swap any hardwired fixtures, always turn off power at the breaker, verify with a non-contact voltage tester, and follow the fixture’s instructions carefully. Never overload existing circuits or attempt new wiring if you’re unsure—consult a licensed electrician for any work beyond your skill level. Good lighting makes every other upgrade look better.
Step 5: Protect and Polish Surfaces for Long-Term Durability
Once your kitchen looks and works better, lock in those improvements by protecting the surfaces you use daily.
Start with countertops. If you have laminate, use cutting boards and trivets religiously; clean with non-abrasive cleaners to avoid dulling the finish. For stone or concrete, follow manufacturer or installer guidelines and apply a food-safe sealer at recommended intervals to prevent staining. Repair small chips or scratches as soon as you notice them using repair kits designed for your surface type.
For floors, identify the material (vinyl, laminate, tile, wood) and adjust your cleaning routine accordingly—avoid soaking wood or laminate, and use cleaners made for your specific type. Add mats at the sink and stove to reduce wear and provide comfort underfoot. Protect cabinet interiors with shelf liners where needed, especially under sinks and in pantry areas where spills are common. Establish a simple weekly routine: clear and wipe counters, degrease stove surfaces, spot-clean cabinet doors and hardware, and check for small issues (loose handles, scuffed paint, minor leaks) before they become big repairs. Maintenance is the quiet, unglamorous step that keeps your “new” kitchen feeling that way.
Conclusion
You don’t need a full demolition to end up with a kitchen that works better, looks cleaner, and supports how you actually cook and live. By planning realistically, improving the layout you already have, upgrading storage, refreshing cabinets, enhancing lighting, and protecting surfaces, you’re stacking small, manageable projects that add up to a major improvement.
Work in phases so your kitchen stays usable, respect your limits on electrical or structural changes, and focus on changes that improve both function and appearance. The goal isn’t a showpiece—it’s a kitchen that finally feels like it’s on your side instead of fighting you.
Sources
- [U.S. Department of Energy – Lighting Choices to Save You Money](https://www.energy.gov/energysaver/lighting-choices-save-you-money) - Overview of efficient lighting types and considerations for home use
- [Energy Star – LED Lighting](https://www.energystar.gov/products/lighting_fans/light_bulbs) - Details on LED benefits, color temperature, and efficiency for home lighting upgrades
- [This Old House – How to Paint Kitchen Cabinets](https://www.thisoldhouse.com/cabinets/21015102/how-to-paint-kitchen-cabinets) - Step-by-step guidance and prep tips for repainting existing cabinets
- [Family Handyman – Kitchen Storage and Organization Ideas](https://www.familyhandyman.com/project/kitchen-storage-organization-ideas/) - Practical storage solutions like pull-outs, dividers, and organizers
- [Consumer Product Safety Commission – Electric Circuit Overload Safety](https://www.cpsc.gov/safety-education/safety-guides/electrical-safety/electrical-circuit-overloads) - Safety guidelines to consider before making electrical changes in your kitchen
Key Takeaway
The most important thing to remember from this article is that this information can change how you think about Renovation.


