If your feed has been flooded with gorgeous old homes lately, you’re not alone. A recent viral photo collection, “50 Beautiful Old Houses That Show How Craftsmanship Has Stood The Test Of Time,” has people re-sharing clawfoot tubs, thick trim, arched doorways, and sunlit wood floors like they’re celebrity selfies. The response is clear: homeowners in 2025 are tired of flat-pack, fast-furniture looks and want that solid, “this was built to last” feeling in their own spaces.
You don’t need a 120-year-old house (or a historic-home budget) to get there. You can borrow the best design ideas from those Bored Panda–featured homes and recreate them with a weekend, some basic tools, and a bit of patience. Below are five step-by-step DIY projects that translate classic craftsmanship into practical upgrades you can actually do right now.
Add Chunky “Historic” Window Trim Without Replacing Anything
Thick window casing is one of the first things people noticed in those viral old-house photos—deep sills, layered pieces, and real presence around every window.
Here’s how to fake that look on a modern, builder-basic window:
Step 1: Measure And Sketch Your Trim Profile
Measure the overall width and height of your window opening including existing trim (if any). Sketch what you want: a deep sill, side boards, a top header, and a simple cap. Don’t overcomplicate the profile—most historic looks are just layered rectangles. Aim for 4–6" wide side pieces and a slightly taller top piece so it feels substantial.
Step 2: Choose Simple, Off-The-Shelf Boards
At the home center, buy primed finger-joint or pine boards:
- 1x4 or 1x5 for sides
- 1x6 for the header
- 1x3 for the top cap and sill nose
Flat stock is your friend; you don’t need fancy moldings to get a “craftsman” effect. Pick straight boards with minimal warping—sight down the length before you buy.
Step 3: Build The Sill First
If you have only drywall under the window, cut a 1x board to the inside width of the opening, plus ¾–1" overhang per side. Dry-fit it, then add construction adhesive to the top of the framing/drywall edge and nail it into studs with 2" brad nails. Add a 1x3 “nose” piece on the front edge to give that chunky, old-house sill feel. Fill gaps with caulk later.
Step 4: Install Sides And Header In Order
Cut the side boards to run from the sill up to just above the window top. Nail them into studs where possible, or use adhesive plus nails into the wall. Then cut the header to extend about ¾–1" wider than the outer edges of the sides. Nail it across the top. Finally, cap the header with a 1x3, slightly shorter than the header width, centered. This simple stack mimics the layered look you see in those historic photos.
Step 5: Caulk, Sand, And Paint For A Built-In Look
Fill nail holes with wood filler. Caulk every seam—between boards, and between trim and wall. This is what separates “DIY boards on the wall” from “this has always been here.” Once dry, sand lightly, prime any raw wood, then paint in a trim enamel (semi-gloss or satin). A warm white or soft cream instantly reads “old house” on camera.
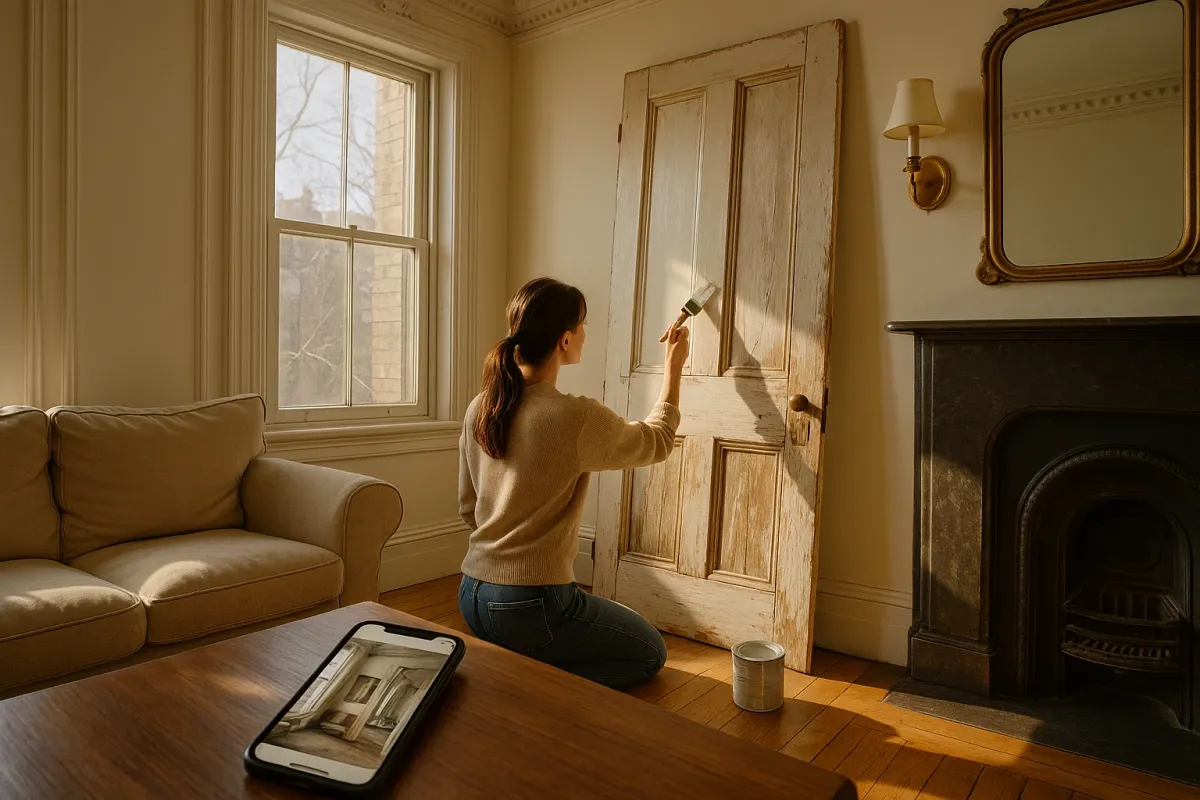
Turn Flat Doors Into “Panel” Doors With Simple Trim
Viral old-house interiors almost never show flat, hollow-core doors. You see paneled, weighty doors that look expensive—because they were. You can mimic that effect with thin trim instead of buying all new doors.
Step 1: Choose A Panel Layout That Matches Your Space
Take a photo of your door and sketch over it: two tall panels, four equal panels, or a single large center panel are all classic. Look back at images from the “Beautiful Old Houses” article for inspiration. Avoid overly fussy shapes—straight rectangles feel timeless and are easier to tape and paint.
Step 2: Mark Panel Locations With Blue Tape
Measure your door width and height and mark centerlines. Use painter’s tape to outline where your “panels” will go, adjusting until the proportions look right. This dry run is low-stakes and lets you see if, for example, your top panel is too small or too close to the doorknob.
Step 3: Cut And Prep Your Trim
Buy ¼" x 1½" or similar MDF or wood lattice strips. Measure each panel side and cut to length with a miter saw or miter box at 45° corners for a true frame. Lightly sand the edges to remove splinters and break sharp corners so they’ll paint cleanly.
Step 4: Attach Trim Cleanly
Remove your painter’s tape and lightly mark pencil guidelines instead. Use a construction adhesive rated for MDF/wood on doors, applying a thin bead on the back of each piece. Press into place along your lines and pin with brad nails (or skip nails if you’re patient and use painter’s tape to hold pieces while adhesive cures). Wipe off any squeeze-out immediately.
Step 5: Prime, Paint, And Upgrade Hardware
MDF especially must be primed before painting or it’ll soak up finish unevenly. After priming, add two coats of durable door paint. This is a good time to swap builder-grade knobs for more substantial hardware—black, brass, or porcelain. Hardware is what makes your newly paneled doors feel closer to those solid, old-house doors that keep trending.
Fake Exposed “Historic” Beams Using Lightweight Box Beams
Exposed beams and wood ceilings are all over the most-shared historic interior photos. They scream character—but ripping open your ceiling isn’t realistic for most DIYers. A smarter route: build hollow box beams that wrap your existing drywall.
Step 1: Decide On Beam Layout
Survey your ceiling and note existing lights, sprinklers, or vents. Run beams in one main direction, usually along the long dimension of the room. You can do one central beam or a series spaced 3–6 feet apart. Sketch the pattern and measure lengths.
Step 2: Choose Material And Thickness
For most homes, 1x6 or 1x8 boards work well. You’ll build a “U” shaped channel: two sides and a bottom. Select straight boards and decide if you want a stained wood look (choose pine, poplar, or oak) or a painted look (primed pine or MDF).
Step 3: Install Simple Ceiling Cleats
Locate ceiling joists with a stud finder and snap chalk lines where your beams will go. Cut 2x2 or ripped 2x4 cleats slightly shorter than the full beam length and screw them into joists along the beam path. These cleats are what your box beams will hug, so spacing and alignment now are critical.
Step 4: Assemble Beams And Mount
Pre-assemble shorter beams on the floor: glue and nail sides to the bottom piece forming a “U.” For long beams, you can assemble them in place. Lift the beam over the cleats and slide into position. Use brad nails or trim screws through the sides into the cleats. Check for straightness as you go to avoid waves along the ceiling.
Step 5: Finish For That “Centuries Old” Look
Fill nail holes and seams. For a rustic vibe, sand lightly and apply a warm stain plus clear topcoat. To echo painted beams seen in some European-style historic interiors, prime and paint in a muted off-white or soft gray. Slight brush strokes and a satin finish read more “period” than slick high-gloss.
Create Deep “Gallery-Ready” Picture Rails For Classic Walls
Look back at many of those old homes and you’ll notice walls that don’t rely on command hooks and random nails. Instead, they use formal picture rails and chair rails that break up wall height and make art displays feel intentional.
You can recreate that with a simple rail that doubles as a micro-shelf.
Step 1: Choose Rail Height For Your Room
Traditionally, picture rails sit about 12–18" below the ceiling, while chair rails sit about 32–36" off the floor. For a modern take, you can install a single rail at about 60–66" from the floor to act as a visual “eye line.” Mark the height around the room with a laser level or long level and pencil.
Step 2: Pick A Simple Rail Profile
You don’t need specialty molding: a 1x3 with a slightly rounded edge or a flat 1x4 with a small cap on top works well. If you want a true picture rail that accepts hooks, look for actual picture rail molding at the lumber yard or online and pair it with traditional hooks and cord.
Step 3: Find Studs And Pre-Cut Lengths
Locate studs and mark them. Measure your wall lengths and cut your rail pieces with 45° miters for inside and outside corners. Dry-fit before nailing to make sure joints close up cleanly—small gaps will be obvious once painted.
Step 4: Install Carefully And Fill Gaps
Use construction adhesive plus 2" nails into studs. Check level often, especially on long runs. Once installed, caulk along the top and bottom edges where the rail meets the wall and fill nail holes with filler. This is what gives that “built with the house” appearance instead of “added later.”
Step 5: Paint To Blend Or Contrast
For a traditional look, paint the rail the same color as your other trim. For a bolder, modern nod to classic homes, paint the wall above and below slightly different shades from the same color strip, keeping the rail in the lighter trim color. Then hang art either directly on the wall or from hooks attached to the rail for that gallery feel seen in many historic interiors.
Upgrade Floors With A DIY “Old-House” Rug Layering Strategy
One thing people keep commenting on under those historic-house posts: the floors. Wide planks, worn rugs, and sunlight pooling on wood. You may not be ready to re-floor your home, but you can hack the look with smart rug choices and layout.
Step 1: Work With The Floors You Have
Take a frank look: laminate, vinyl, basic hardwood, or tile can all be improved with the right rug approach. Clean thoroughly and, if possible, touch up with a quick wood cleaner or polish so the visible areas look their best.
Step 2: Choose “Timeless” Patterns Over Trendy Prints
Old homes rarely show up with high-contrast, ultra-modern graphic rugs. Look for:
- Distressed vintage or Persian-style patterns
- Muted reds, blues, and ochres
- Subtle borders and medallions
Plenty of modern machine-made rugs mimic the $3,000 antiques seen in those viral interiors but at a fraction of the price.
Step 3: Go Larger Than You Think
A hallmark of historic rooms: rugs big enough to ground the entire seating or dining area. In living rooms, at least the front legs of all seating should sit on the rug. In dining rooms, the rug should extend at least 24" beyond the table on all sides so chairs stay on the rug when pulled out. Erring larger makes your space feel more “estate” and less “dorm.”
Step 4: Layer For Depth And Warmth
If you’re on a budget, try a plain, large natural-fiber rug (like jute or sisal) as the base, then layer a smaller vintage-pattern rug on top in the center. This trick is common in design-forward historic homes featured online right now—it adds character without the cost of wall-to-wall custom rugs.
Step 5: Add Small “Runner Moments” In High-Character Spots
Those viral old-house photos often show skinny runners down long halls or next to built-in cabinetry. Measure your hallways, kitchen sink run, or beside a bed and add neutral or vintage-look runners. This simple move adds that layered-historic feel to otherwise plain circulation spaces.
Conclusion
The renewed attention on historic houses—thanks in part to viral posts like “50 Beautiful Old Houses That Show How Craftsmanship Has Stood The Test Of Time”—isn’t just nostalgia. It’s a reaction to how temporary a lot of modern design feels. The good news: you don’t need a century-old deed to get the best parts of that look.
By upgrading your trim, faking paneled doors, adding box beams, installing picture rails, and styling your floors intentionally, you can borrow the character and calm those homes radiate and build it into the place you live right now. Pick one project, block off a weekend, and take before-and-after photos—you’ll actually have something worth sharing the next time a beautiful old house goes viral.
Key Takeaway
The most important thing to remember from this article is that this information can change how you think about DIY Projects.


