A messy pile of tools you never use doesn’t make projects easier—having the right core setup, stored well, and ready to go does. If you’re serious about home improvement, you don’t need every gadget on the shelf, but you do need a system you can trust. This guide walks you through building a practical tool setup step by step, from choosing quality basics to maintaining and storing them so they’re always ready when you are.
Start With a Core Tool Strategy, Not a Shopping Spree
Before buying anything else, get clear on what you actually do—and want to do—around the house. Make a short list of realistic projects for the next 6–12 months: hanging shelves, small drywall repairs, simple electrical swaps, installing curtain rods, assembling furniture, or building basic storage. This list will drive your tool choices.
Separate tools into three categories: must‑have (you’ll use them on almost every project), project‑specific (needed for tasks on your list), and “nice later” (specialty tools you can rent or borrow). Focus your budget on the must‑haves: a good tape measure, quality screwdrivers, a 16–20 oz hammer, utility knife, pliers, adjustable wrench, and a reliable drill/driver. Buy the best you can reasonably afford on tools you’ll use constantly; they’re more comfortable, safer, and more accurate, and they’ll last longer than bargain options. For tools you’ll rarely use, plan to rent or borrow instead of owning. This approach keeps your toolkit lean, effective, and clutter‑free.
Step 1: Choose the Right Drill/Driver Setup for Most Projects
Your drill/driver will likely be your most-used power tool, so pick it thoughtfully. Start by deciding between corded and cordless. Cordless is usually best for home DIY because you’re not tethered to an outlet, and modern lithium‑ion batteries hold a charge well. For basic home projects, a 12V or compact 18V drill/driver is usually powerful enough without being heavy. Look for features like a variable speed trigger, an adjustable clutch (to avoid stripping screws), and a keyless chuck for quick bit changes.
Buy at least two batteries so you can keep working while one charges. Consider choosing a brand with a broad battery ecosystem so you can add more tools later—impact driver, circular saw, oscillating multi‑tool—without buying new chargers and batteries. Pick up a basic bit kit that includes common Phillips, flat, square, and Torx bits, plus a set of drill bits for wood and metal. Keep your drill, charger, and bits together in one case or tote so the whole system moves as a unit; that simple habit saves time every time you start a project.
Step 2: Build a Practical Hand Tool Foundation
A solid hand tool kit covers a surprising amount of work without needing power. Start with a 25–30 ft locking tape measure that has clear markings and a sturdy standout so you can measure solo. Add a combination square or speed square so your cuts and layouts are actually straight and repeatable. For fastening, get a set of screwdrivers with comfortable grips and clearly marked tips, plus a 6‑in‑1 or 11‑in‑1 multi‑bit driver for convenience.
Round things out with a good claw hammer, a pair of slip‑joint pliers, needle‑nose pliers, linesman pliers (especially helpful for electrical work), and an adjustable wrench. A sturdy utility knife with replaceable blades will become a go‑to for trimming, scoring drywall, and opening boxes. Don’t forget a basic level (24" is a good compromise size) so shelves, frames, and cabinets don’t end up visibly crooked. As you buy, check that handles feel secure and tools are well-balanced—if they feel cheap or flimsy in your hand, skip them. Comfort matters when you’re using them for more than a few minutes.
Step 3: Set Up Safe, Efficient Access and Support Equipment
You can’t work effectively if you can’t reach or support what you’re working on. Start by getting a sturdy step stool or small household ladder rated for your weight plus the tools you’re carrying; look for a Type II (225 lb) or Type I (250 lb) rating as a baseline. Inspect the ladder before each use and always set it on a flat, stable surface—no balancing on furniture or stacked boxes.
Next, create a safe work surface. A pair of folding sawhorses and a sheet of plywood can become a temporary workbench for cutting, assembly, or painting. Use clamps to secure your work instead of trying to hold pieces by hand while cutting or drilling; F‑style or quick‑grip clamps are versatile and easy to use. Keep basic safety gear with your setup: safety glasses, ear protection if you’re using power tools, and a dust mask or respirator for sanding or cutting materials that create fine dust. Storing this “access and safety kit” together means you’re more likely to use it every time, which keeps your work controlled and reduces the chance of frustrating mistakes.
Step 4: Organize Tools So You Can Find and Return Them Fast
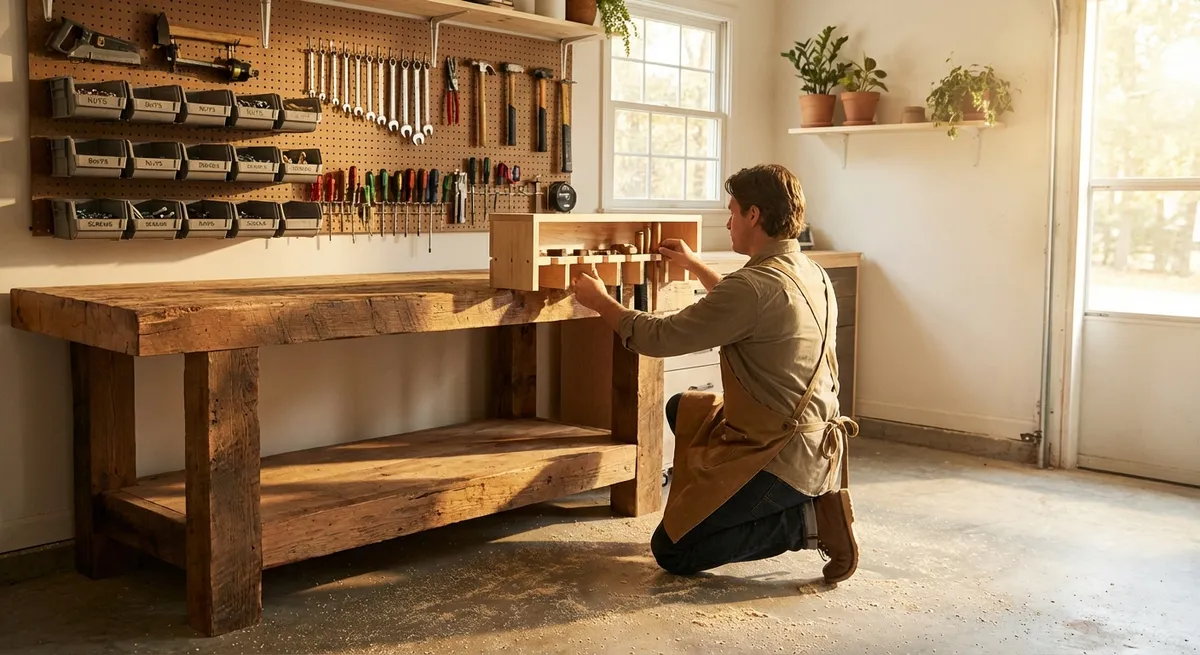
A tool you can’t find when you need it is basically useless. Start by deciding where your “tool home base” will be: a section of garage, a closet, or a dedicated cabinet. The goal is simple—every tool has one clear place to live. Use a small toolbox or modular organizer for hand tools you carry to different rooms, and reserve wall space or shelving for items that don’t travel as often, like larger power tools, paint supplies, or fastener bins.
Group tools by how you use them, not by type alone. For example, keep your measuring tape, pencil, square, and level together for layout tasks; store drill, batteries, charger, and bits as a complete system; and keep paint tools (brushes, rollers, tray liners, tape) in one labeled bin. Label drawers, bins, or shelves clearly so you don’t have to think about where things go back. At the end of each project—or at least once a week—take five minutes to return everything to its place. That tiny habit keeps your toolkit ready for the next job and prevents buying duplicates because “I know I had one of those somewhere.”
Step 5: Maintain Tools So They Last and Stay Reliable
Even good tools become annoying or unsafe if they’re neglected. After dusty work like sanding or cutting, wipe tools down with a clean rag and use a small brush or compressed air to clear vents on power tools so they don’t overheat. Check cords for nicks or exposed wires; retire or have repaired anything that looks damaged rather than taping over serious issues. For metal tools—pliers, wrenches, saws—lightly oil moving parts and any bare metal if you live in a humid climate to prevent rust.
Sharpen or replace blades regularly: utility knife blades, saw blades, and drill bits all work dramatically better when sharp, which means less effort and cleaner results. Store batteries for cordless tools in a dry area at moderate temperature, not in a hot car or damp basement, and avoid running them completely dead before recharging. Once or twice a year, do a quick “tool audit”: toss broken items that can’t be safely fixed, donate duplicates you never use, and make a short list of upgrades or replacements. Keeping tools in good working order is cheaper in the long run and makes every project smoother.
Conclusion
A reliable DIY setup isn’t about owning every tool—it’s about owning the right ones, storing them smartly, and keeping them in good shape. By focusing on a core drill/driver system, a solid hand tool foundation, safe access gear, practical organization, and simple maintenance habits, you create a tool setup that works with you instead of against you. The result is faster projects, fewer frustrating trips to the store, and a home that’s easier to improve whenever you’re ready to tackle the next fix.
Sources
- [U.S. Consumer Product Safety Commission – Ladder Safety](https://www.cpsc.gov/safety-education/safety-guides/home/ladder-safety) - Guidance on selecting and using ladders safely at home
- [Occupational Safety and Health Administration (OSHA) – Hand and Power Tools](https://www.osha.gov/hand-power-tools) - Official safety recommendations for common hand and power tools
- [Family Handyman – Essential Tools for the Homeowner](https://www.familyhandyman.com/list/essential-tools-for-homeowners/) - Practical overview of core tools most homeowners actually use
- [This Old House – How to Store and Organize Tools](https://www.thisoldhouse.com/garages/21016424/how-to-store-and-organize-tools) - Ideas and best practices for tool storage and organization
- [Popular Mechanics – How to Maintain Your Power Tools](https://www.popularmechanics.com/home/tools/how-to/g199/maintain-your-tools/) - Tips on cleaning, maintaining, and extending the life of tools and equipment
Key Takeaway
The most important thing to remember from this article is that this information can change how you think about Tools & Equipment.


