Putting a project off often isn’t about motivation—it’s about not having the right tools ready when you need them. A reliable DIY toolkit doesn’t need to be expensive or complicated, but it does need to be intentional. This guide walks you through building, organizing, and safely using a tool collection that actually helps you finish home projects instead of stalling them.
Step 1: Map Your Projects Before You Buy Any Tools
Most people buy random tools and hope they’ll be useful later. Flip that around: start with the jobs you actually want to do.
Begin by listing 5–10 realistic projects for the next year—things like “assemble furniture,” “install shelves,” “patch drywall,” “replace faucet,” or “install curtain rods.” For each project, write down the basic actions involved: measuring, cutting, fastening, leveling, prying, patching, or drilling. Then, identify which tools support those actions.
You’ll notice patterns fast. Measuring and marking tools show up everywhere. So do screwdrivers, pliers, and a drill/driver. This lets you focus your budget on tools you’ll use constantly, not “nice-to-have” gadgets that will live in a drawer. Treat this project list like a shopping filter: if a tool doesn’t support at least two or three of your planned tasks, it probably doesn’t need to be purchased yet.
Step 2: Build a Core Hand Tool Set That Actually Covers the Basics
Once you know your likely projects, assemble a core set of hand tools that can handle 80–90% of everyday tasks before you add any specialty gear.
For most DIYers in a home or apartment, a practical core kit includes:
- Tape measure (25 ft) – With a sturdy, standout blade and clear markings, ideal for room measurements and layout.
- Combination square or speed square – For marking straight lines and checking 90° angles on cuts and installations.
- Utility knife with replaceable blades – For cutting drywall, cardboard, caulk, carpet, and packaging cleanly.
- Claw hammer (16 oz) – Good balance of size and power for hanging, light framing, and demolition.
- Screwdriver set or multi-bit driver – At minimum: Phillips #1 and #2, flathead in two sizes, and one long-shaft driver.
- Adjustable wrench + basic pliers – Adjustable wrench for nuts/bolts; combination pliers for gripping, bending, and cutting wire.
- Level (24 in or similar) – For shelves, cabinets, pictures, and trim. Bubble vials should be easy to read.
- Stud finder (basic electronic) – Helps you anchor shelves, TVs, and heavy items safely into framing.
- Small pry bar or cat’s paw – For removing trim, nails, and prying apart materials without destroying surfaces.
Buy quality where it matters: tape measure, screwdrivers, and pliers are worth a bit more because you use them constantly. You don’t need the top-tier professional brand, but avoid the cheapest “all-in-one” kits with 50 flimsy tools. A smaller set of durable tools will feel better, work better, and last longer.
Step 3: Add Powered Essentials and Choose a Battery System Wisely
Once your hand tools are in place, the biggest jump in capability comes from powered tools—especially a drill/driver. But before you buy, think long term: most major brands use battery “ecosystems” that work across multiple tools.
A smart starter powered lineup for most DIYers:
- Cordless drill/driver (18V or 20V max) – Your most-used power tool for driving screws, drilling pilot holes, and light fastening.
- Impact driver (optional upgrade) – Great for longer screws, deck work, and stubborn fasteners, but not mandatory on day one.
- Orbital sander – For smoothing wood, prepping painted surfaces, or blending patches.
- Shop vacuum (wet/dry) – Not glamorous, but huge for cleanup, dust control, and small water spills.
When choosing a brand, consider:
- Tool range – Does the brand offer saws, nailers, sanders, and other tools you might want later?
- Battery availability – Are extra batteries easy to find and fairly priced?
- Comfort and weight – If it feels awkward in-store, it’ll be worse over a long project.
- Charger speed – Faster chargers matter if you have only one or two batteries.
Start with a drill/driver kit that includes at least two batteries and a charger. Add a good drill and driver bit set (wood, metal, masonry bits plus assorted screwdriver bits). Store bits in a labeled case so you’re not hunting through random containers every time you need a specific size.
Step 4: Set Up a Simple, Repeatable Tool Organization System
A scattered tool collection is as bad as no tools. You don’t need a full workshop to be organized; you need a system you can keep up with.
Use this simple structure:
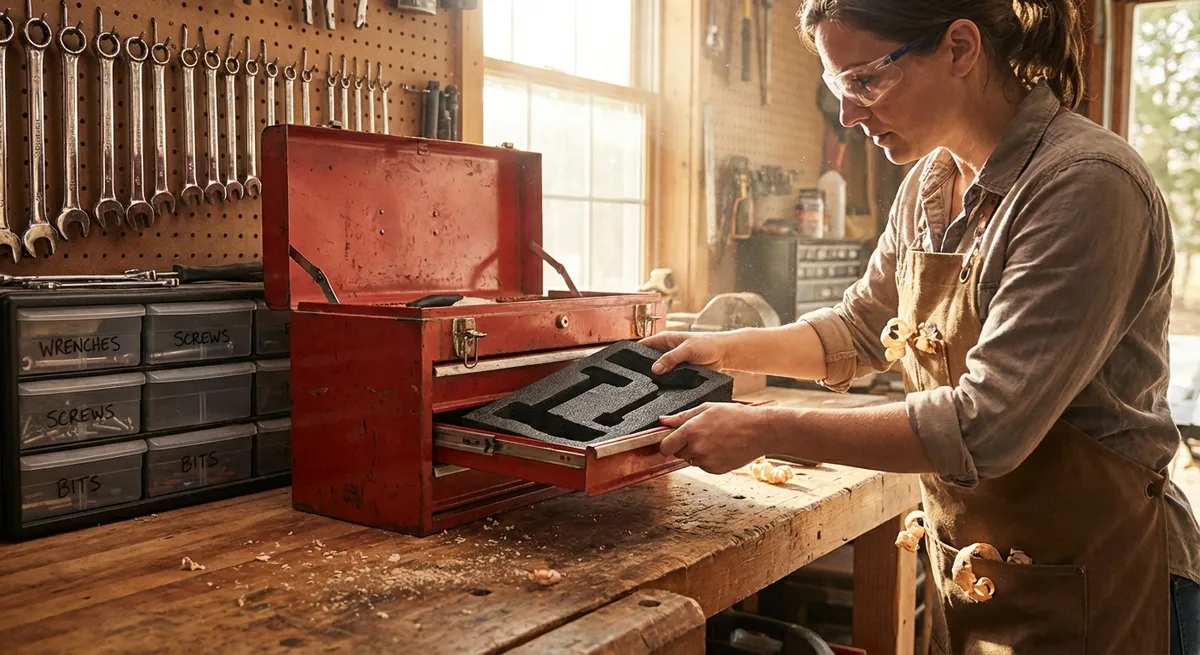
- One main toolbox or bag – For your most-used hand tools: tape measure, utility knife, screwdrivers, pliers, hammer, level, pencil, and a small selection of fasteners (screws, anchors, picture hangers).
- One small container system for hardware – Use divided organizers or clear jars for screws, wall anchors, nails, and specialty fasteners. Label by type and size: “1 ⅝ in wood screws,” “Drywall anchors – light duty,” etc.
- One specific spot for charging and storing power tools – A shelf, cabinet, or pegboard section near an outlet. Keep batteries and charger together, cords untangled, and tools returned to the same place every time.
- One “project box” or tote – For in-progress projects. Keep the specific fasteners, parts, and smaller tools for that job together so you can pause and resume without re-gathering everything.
After each use, follow a short, consistent routine:
- Clean dust or debris off tools with a rag or brush.
- Check for any damage (frayed cords, cracked handles, dull blades).
- Return tools to their assigned spots—not just “somewhere in the garage.”
This habit takes 2–5 minutes but prevents the “I know I own this tool, but where is it?” problem that kills momentum and costs money in duplicate purchases.
Step 5: Maintain Your Tools So They Stay Safe and Ready
Tools that are dull, dirty, or damaged don’t just work poorly—they can be dangerous. Basic tool maintenance is simple and goes a long way in extending their life and keeping your projects safe.
Build these habits into your routine:
- Keep blades and bits sharp – Dull drill bits, utility blades, and saw blades require more force and are more likely to slip. Replace utility knife blades often (they’re cheap), and consider a basic sharpening stone or file for simple edge touch-ups.
- Protect metal surfaces – Wipe pliers, wrenches, and hand tools occasionally with a lightly oiled rag (machine oil or specialized tool oil) to prevent rust, especially if they’re stored in damp areas like basements or garages.
- Inspect cords and batteries – Before using power tools, check cords for nicks and batteries for cracks, swelling, or overheating. Don’t use damaged batteries; replace them or contact the manufacturer.
- Store tools dry and off the floor – Moisture is the enemy. Use shelves, hooks, or pegboard to keep tools elevated and away from standing water or condensation-prone surfaces.
- Follow manufacturer instructions – Read the manual for torque settings, bit types, battery care, and safety features. It feels boring, but it’s where you learn how to avoid voiding warranties or causing avoidable damage.
Once or twice a year, do a short “tool audit”: pull everything out, clean it, discard clearly broken or unsafe items, and make a short list of what needs replacement or upgrade. This keeps your toolkit lean, safe, and functional instead of bloated and unreliable.
Conclusion
A useful DIY toolkit isn’t about owning every tool—it’s about owning the right tools, organized in a way that makes them easy to reach, use, and maintain. Start with your actual projects, build a focused set of quality hand tools, add a few well-chosen power tools on a consistent battery platform, and keep everything in a simple, repeatable system. With that foundation in place, home projects become less about improvising and more about executing with confidence.
Sources
- [Consumer Reports – How to Buy Tools That Last](https://www.consumerreports.org/home-garden/tools/how-to-buy-tools-that-last-a8456501824/) - Overview of what to look for in durable, long‑lasting tools
- [Occupational Safety and Health Administration (OSHA) – Hand and Power Tools](https://www.osha.gov/hand-power-tools) - Safety guidelines for using and maintaining hand and power tools
- [Family Handyman – Essential Tools for Homeowners](https://www.familyhandyman.com/project/essential-tools-for-homeowners/) - Practical breakdown of must‑have homeowner tools and why they matter
- [Home Depot – Power Tool Buying Guide](https://www.homedepot.com/c/ab/power-tools-buying-guide/9ba683603be9fa5395fab90ea5b9772) - Brand and battery platform considerations for selecting power tools
- [Lowe’s – How to Organize Your Tools](https://www.lowes.com/n/how-to/organize-tools) - Ideas for setting up simple, effective tool storage and organization systems
Key Takeaway
The most important thing to remember from this article is that this information can change how you think about Tools & Equipment.


