A crowded toolbox you never use is just expensive clutter. A smart starter kit is different: it’s built around the projects you actually do, with tools that earn their keep every time you pick them up. This guide walks you through choosing, organizing, and maintaining tools so you stop rebuying the same stuff, avoid cheap duds, and feel ready for real home projects—not just hanging one picture frame.
Step 1: Match Your Tool Kit to the Projects You’ll Really Do
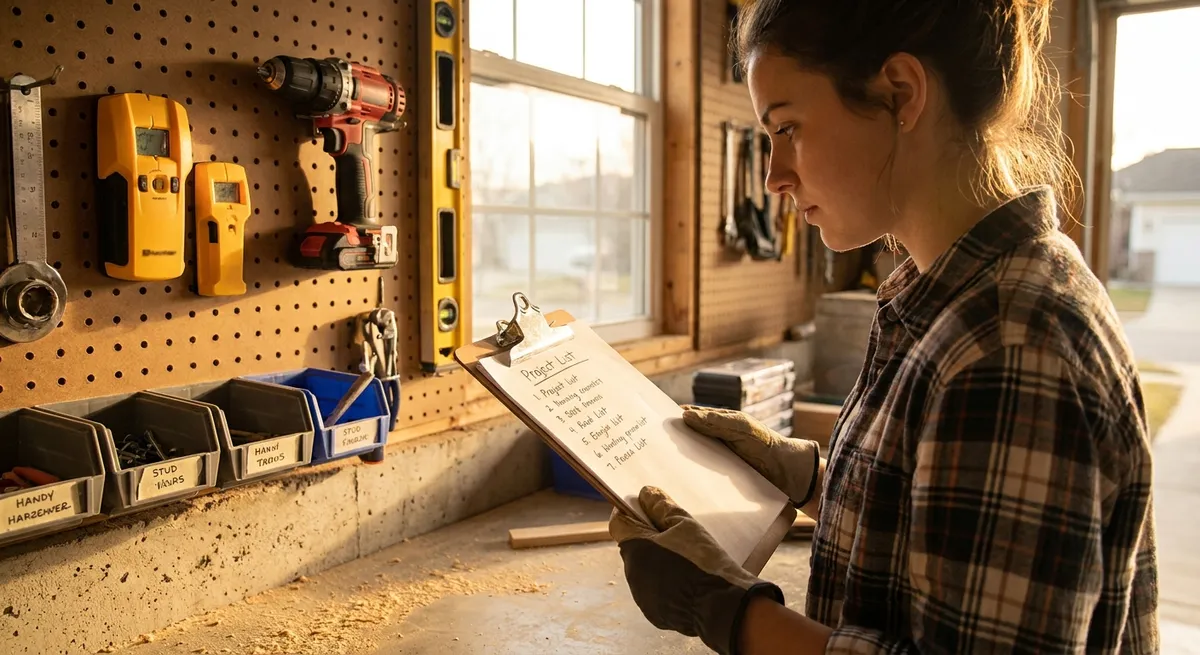
Before buying anything, get clear on what you’ll actually tackle in the next 6–12 months. Your kit should grow from your project list, not the other way around.
Start by writing down specific tasks, not vague ideas. For example: “assemble flat-pack furniture,” “swap out light fixtures,” “install curtain rods,” “patch loose cabinet hinges,” or “build a simple shelf.” This helps you avoid impulse buys for specialty tools you’ll barely touch.
Group projects into categories like fastening (screws, nails, anchors), measuring/layout, cutting, and finishing. For each category, note what you’ll need: a screwdriver or drill for fastening, a tape measure and level for layout, a handsaw or utility knife for cutting, and so on.
Look at your current tools and mark what’s missing or low quality. A stripped-out screwdriver or kinked tape measure is as bad as not having one at all. Prioritize replacing the tools that slow you down or frustrate you most.
Finally, decide on your “tier”:
- Basic home care (hanging, assembling, light repairs)
- Intermediate DIY (building small furniture, light framing, light electrical/plumbing)
- Advanced projects (remodels, deck builds, built-ins)
Most homeowners fall into the first two tiers. Don’t invest in pro-grade framing tools if your real goal is clean, reliable weekend projects.
Step 2: Choose Core Hand Tools That Do Real Work
With your project list in mind, build your hand-tool foundation. These don’t need batteries, rarely break when well-made, and cover most day-to-day tasks.
Focus on a compact, high-utility set:
- Claw hammer (16 oz): A curved claw is ideal for pulling nails and light demo. Choose a comfortable handle (fiberglass or hickory) and test the grip if you can.
- Screwdrivers (or a multi-bit driver): Get both Phillips and flathead in at least two sizes. A good ratcheting multi-bit driver can replace a dozen individual screwdrivers.
- Adjustable wrench (8–10"): Handles a range of bolt sizes for basic plumbing and furniture assembly.
- Pliers set: At minimum, long-nose pliers and slip-joint or groove-joint pliers. They handle gripping, bending wire, and light plumbing connections.
- Tape measure (25 ft, locking): A sturdy tape with a clear print and a good lock is essential for accurate cuts and layouts.
- Level (24" or torpedo level): Essential for shelves, art, cabinets, and anything mounted to walls. Even a small torpedo level is miles better than guessing by eye.
- Utility knife with replaceable blades: Safer and more precise than dull box cutters; great for drywall, packaging, caulk, and flooring.
Avoid the temptation to buy giant pre-packed “100-piece” kits with flimsy tools. A small set of solid, midrange tools beats a big case of cheap ones you’ll replace later. Look for recognizable brands with replacement parts and good warranties.
When in doubt, pick tools with:
- Comfortable, non-slip grips
- Metal parts that feel solid, not tinny or lightweight
- Clear, straight edges (especially on levels and squares)
- Simple mechanisms you can understand and service
Step 3: Add Entry-Level Power Tools That Expand What You Can Do
You don’t need a shop full of power tools to be effective. A few carefully chosen ones will dramatically speed up projects and improve results—without overwhelming a beginner.
Most DIYers get the best return from these first:
- Cordless drill/driver: Your primary workhorse for driving screws and drilling holes. Choose:
- 18V or 20V platform (plenty of power for wood and light masonry)
- At least 2 batteries so you’re not stuck waiting on a charge
- A clutch with multiple settings to avoid stripping screws
- Orbital sander: Essential for smoothing furniture, doors, trim, and patch jobs. Look for:
- Hook-and-loop sanding pads (easy swaps)
- Dust bag or vacuum port to control mess
- Shop vac (wet/dry vacuum): Doubles as cleanup tool and dust control for sanding, drilling, and light demolition.
- Jigsaw: More forgiving than circular saws for curved and straight cuts in thinner boards and plywood.
If your projects include cutting lumber or sheet goods, consider adding a simple power saw after you’re comfortable with your drill and sander. Many beginners do well starting with:
Stick to one battery platform when possible so you can share chargers and batteries across tools. That’s cheaper over time and easier to manage.
Never skip safety basics:
- Safety glasses any time you’re cutting, drilling, or sanding
- Hearing protection for power tools that run loud or long
- Dust mask or respirator when working with treated lumber, old paint, or lots of airborne dust
Read the manual for each power tool at least once, and practice on scrap material before touching your actual project.
Step 4: Organize Tools So You Can Grab, Use, and Put Them Away Fast
A tool you can’t find is a tool you effectively don’t own. Good organization doesn’t require a fancy workshop—just a simple system you’ll actually follow.
Start by picking a primary home base for tools: a closet, corner of the garage, or a single shelving unit. Keep all tools in this zone when not in use. Avoid scattering tools across multiple rooms; you’ll lose track and rebuy duplicates.
Build in three levels of access:
- Grab-and-go kit: A small toolbox, bucket organizer, or tool bag that holds your core hand tools (hammer, screwdrivers, pliers, tape measure, utility knife, level, pencil). This is what you carry around for most jobs.
- Power tool shelf or bin: Store your drill, sander, and other power tools together with their batteries and chargers. Keep extension cords nearby.
- Hardware and consumables box: Separate clear bins or divided organizers for screws, nails, anchors, blades, sandpaper, and picture hangers. Label everything clearly.
Use labels—even masking tape and a marker are enough. Label bins by content (“WOOD SCREWS,” “ANCHORS & TOGGLES,” “SANDING & BLADES”). Put seldom-used specialty tools on a higher shelf and keep everyday gear at eye or waist level.
Build a small “end of project” habit: at the end of each job, spend five minutes putting every tool back in its place, wiping off dust, and tossing trash. This tiny routine keeps your kit ready and prevents “where did I put that?” delays on the next project.
If you work in multiple spaces (apartment, garage, yard), consider a second small kit for outdoor projects (garden tools, exterior screws, exterior caulk) so you’re not dragging everything through the house.
Step 5: Maintain and Upgrade Your Tools Without Wasting Money
Well-maintained tools feel better, work better, and last longer. You don’t need pro-level tuning, but basic care will save you from sudden failures mid-project.
Make a simple maintenance checklist:
- After dusty work: Wipe tools with a damp then dry cloth; blow dust out of drill vents; empty shop vac and dust bags.
- Blades and bits: Replace utility knife blades when they start tearing instead of cutting. Retire drill bits that are badly worn or bent. Dull tools are harder to control and more dangerous.
- Lubrication and rust prevention: Occasionally put a drop or two of light machine oil on moving metal parts (pliers joints, adjustable wrench). Store tools in a dry place; if you see rust starting, scrub lightly with fine steel wool and wipe dry.
- Batteries: Don’t leave batteries on chargers for days. Store them in a cool, dry place and charge them fully before longer storage.
- Are you constantly stripping screw heads? Time for better bits or a quality driver.
- Does your tape measure refuse to retract or bend easily? Replace it; accuracy matters.
- Are you fighting a too-small drill that stalls? Consider moving up to a higher-voltage platform.
Upgrade tools deliberately, not impulsively. Watch for patterns:
When you add a new tool, ask three questions:
Does this solve a recurring problem or just seem “cool”?
Will I realistically use it on multiple upcoming projects?
Do I understand where it will live in my storage system?
If you answer yes to all three, it’s likely a smart upgrade. If not, wait—your money is better spent on quality blades, fasteners, or materials.
Finally, keep a short inventory list somewhere visible: core tools, power tools, and any loaned-out items. This helps you avoid buying duplicates and reminds you to get borrowed tools back before your next project starts.
Conclusion
A useful tool kit isn’t about owning everything—it’s about owning the right things, keeping them ready, and knowing how to use them safely. When you match tools to real projects, invest in a solid core set, add a few strategic power tools, stay organized, and maintain what you have, DIY work gets faster, cleaner, and a lot less stressful.
Instead of scrambling for a missing screwdriver or running to the store mid-project, you’ll be able to walk to your kit, grab exactly what you need, and get the job done. That’s the difference between a random pile of tools and a Fix Ready setup that actually supports your home projects.
Sources
- [Consumer Reports – Buying Guide: Hand Tools](https://www.consumerreports.org/cro/hand-tools/buying-guide/index.htm) - Overview of what to look for in quality hand tools and how to avoid common pitfalls
- [Family Handyman – Must-Have Tools for Every Homeowner](https://www.familyhandyman.com/list/25-must-have-tools-for-homeowners/) - Practical breakdown of essential tools and why they matter for typical house projects
- [OSHA – Hand and Power Tools Safety](https://www.osha.gov/hand-power-tools) - Official safety guidelines for selecting and using hand and power tools correctly
- [Lowe’s – How to Build a Basic Tool Set](https://www.lowes.com/n/how-to/build-a-basic-tool-set) - Retailer guide to assembling a starter kit with explanations of each tool’s purpose
- [Home Depot – Power Tool Buying Guide](https://www.homedepot.com/c/ab/power-tools-buying-guide/9ba683603be9fa5395fab906f555b15) - Detailed overview of power tool types, voltages, and features to compare when buying
Key Takeaway
The most important thing to remember from this article is that this information can change how you think about Tools & Equipment.


