Putting together the right tool kit is one of the smartest moves you can make as a DIYer. Instead of buying random gadgets you rarely use, you can build a focused setup that actually helps you finish projects faster, safer, and with better results. This guide walks you through choosing, organizing, and using tools in a way that grows with your skills—and your to‑do list.
Start with the Core Hand Tools That Do the Most Work
Before you buy specialty gear, lock in a solid core set of hand tools. These are the ones you’ll reach for on almost every job, from hanging shelves to fixing a loose cabinet door.
A practical starting core includes: a 16–20 oz claw hammer, a set of screwdrivers (at least #1 and #2 Phillips, and slotted/flat in two sizes), a 25 ft locking tape measure, slip-joint pliers, a pair of adjustable wrenches, a utility knife with replaceable blades, and a torpedo level. Add a basic hex/Allen key set, especially if you assemble a lot of flat-pack furniture.
Focus on comfort and build quality over “bargain bin” pricing. A hammer with a comfortable grip and balanced weight is easier to swing accurately, which keeps nails from bending and reduces fatigue. Screwdrivers with hardened tips last longer and strip fewer screws. Look for tools with clear markings, non-slip grips, and a solid, weighty feel rather than thin, rattly metal parts.
Avoid big “all-in-one” kits that look impressive but are full of flimsy pieces you’ll never use. It’s better to have 10 high-quality tools than 50 low-quality ones that break when you actually need them. As you tackle more projects, you can add tools that match what you really do—not what the packaging promises.
Step 1: Choose Power Tools That Match the Projects You Actually Do
Once your basic hand tools are set, add power tools that solve your most common problems—don’t just chase what looks coolest.
How to choose wisely:
- List your real projects. Write down what you expect to do this year: maybe hanging curtains, building simple shelves, repairing a deck board, or trimming door bottoms. Let that list drive your choices.
- Start with a drill/driver. A cordless drill/driver is usually the first and most useful power tool. Choose one with at least 12V (18V/20V max is better for wood projects), two battery packs if you can, and a variable speed trigger. A clutch with multiple settings helps prevent overdriving screws.
- Pick a battery platform, then stick with it. Most brands use the same battery across multiple tools. Once you choose a brand, it’s usually cheaper and easier to expand within that ecosystem so all your tools share batteries and chargers.
- Add a saw that matches your material. If you mostly cut framing lumber or deck boards, a circular saw is more useful. If you’re cutting trim, small boards, or doing detailed work, a jigsaw or miter saw is often better. Think about what you’ll cut most often, not what you might do “someday.”
- Check safety and ergonomics. Make sure the tool feels balanced in your hand, controls are easy to reach, and the safety features (blade guard, trigger lock) are intuitive. A powerful tool that’s awkward to control can be more dangerous than a weaker but well-designed one.
When in doubt, borrow or rent a tool first. If you find yourself renting the same type more than twice, that’s a strong sign it belongs in your permanent setup.
Step 2: Set Up a Simple, Safe Power Tool Check Routine
Even good tools can be risky if they’re damaged, dirty, or used carelessly. A short, consistent pre-use check makes a big difference in safety and performance.
Before you start any power tool:
- Inspect the cord or battery. For corded tools, look for nicks, exposed wires, or crushed spots. For cordless tools, check that the battery locks in firmly and doesn’t wobble. If a cord is damaged or a battery is cracked, don’t “work around it”—replace or repair it before use.
- Check moving parts. Spin blades or bits (with the tool unplugged or battery removed) to make sure they turn freely and don’t wobble. Look for missing teeth on saw blades, dull edges, or bent bits. A dull blade is more likely to grab and kick back than a sharp one.
- Confirm guards and safety switches. Blade guards should move smoothly and return to cover the blade automatically—never tie them back. Test any trigger locks or safety switches to be sure they engage and release as designed.
- Clear your work area. Remove loose objects, cords, and scrap that could get pulled into blades or trip you. Make sure your workpiece is fully supported and clamped, not just held with one hand.
- Put on the right protective gear. Safety glasses or goggles are mandatory whenever you’re cutting, drilling, or sanding. Add hearing protection for loud tools, and a dust mask or respirator when cutting or sanding materials that create fine dust (like MDF, hardwood, or concrete).
This routine takes less than two minutes and can prevent injuries, tool damage, and ruined materials. Do it every time, even for “quick jobs.”
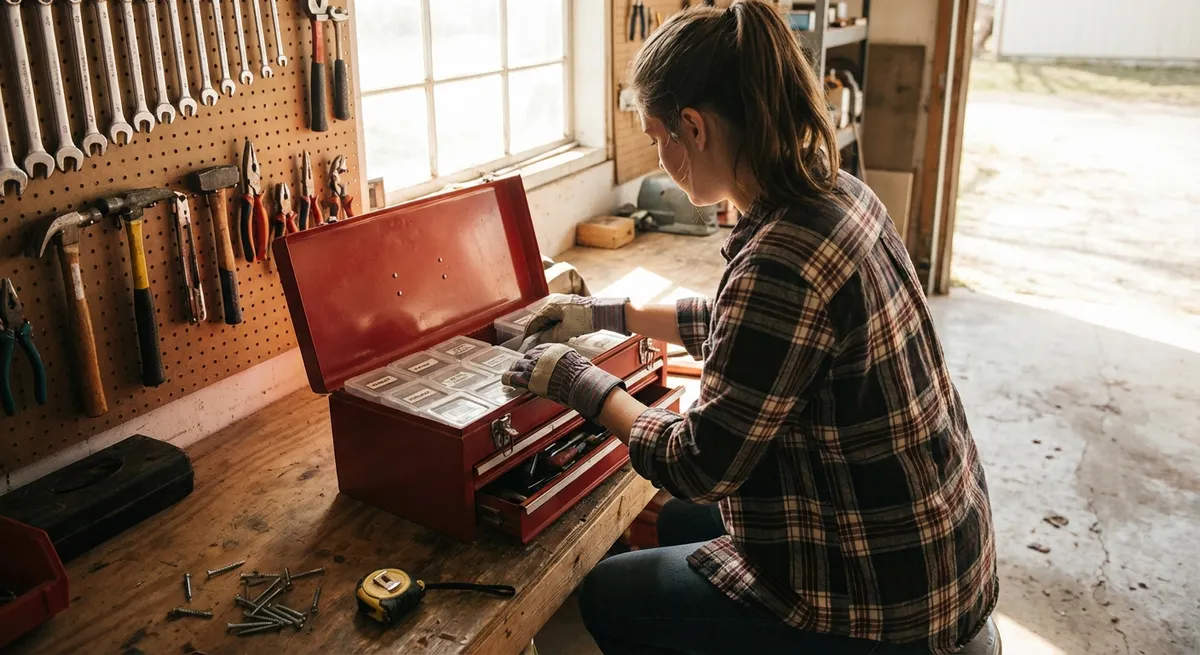
Step 3: Organize Your Tools So You Can Find and Put Away Fast
A tool you can’t find when you need it might as well not exist. Good organization doesn’t have to be fancy or expensive—it just needs to be consistent and easy to maintain.
Build a simple, workable system:
- Group by function, not by where they came from. Keep all your measuring tools together (tape measures, squares, stud finder), all your cutting tools together (handsaws, utility knives, snips), and all your fastening tools together (screwdrivers, wrenches, nail sets).
- Choose containers that suit how you work. If you move tools around the house, use a soft tool bag or small toolbox with divided compartments. For a garage or dedicated space, a pegboard with hooks and labeled outlines can make frequently used tools visible and accessible.
- Create a “daily driver” kit. Collect the tools you use most (hammer, tape, utility knife, screwdrivers, pliers) into one portable box or caddy. This saves you from running back and forth for basics on every project.
- Label and keep a simple inventory. Use painter’s tape or a labeler to mark drawers, bins, and boxes so you know what goes where. A short list on the inside of a cabinet door or toolbox lid helps you spot what’s missing at a glance.
- Adopt a 2-minute cleanup rule. Before you call a project “done” for the day, spend two minutes putting tools back in their spots. This habit keeps your system working and makes it easy to start the next project without hunting.
Well-organized tools don’t just save time—they also reduce damage, since tools are less likely to be tossed into random piles or stepped on.
Step 4: Match Your Fasteners and Bits So Projects Don’t Fail Later
Stripped screws, loose anchors, and fasteners pulling out of walls are classic DIY headaches. Often, the problem isn’t your skill—it’s a mismatch between the fastener, bit, and material.
Use this approach to get stronger, cleaner connections:
- Identify your material first. Are you fastening into drywall, solid wood, plywood, metal, or masonry (brick/concrete)? Each needs different fasteners and bits.
- Use the correct drill bits.
- Wood: standard brad-point or twist bits
- Masonry: carbide-tipped masonry bits
- Metal: high-speed steel (HSS) bits, sometimes with cutting oil
- Drywall with anchors: follow the anchor manufacturer’s bit size recommendation
- Match screw head and bit type. Use Phillips bits for Phillips screws, Torx bits for Torx heads, and so on. A mismatch leads to cam-out (the bit slipping out) and stripped heads. Buy a small bit set with labeled sizes and keep it with your drill.
- Pre-drill when needed. For hardwoods, dense materials, or screws near the end of a board, drill a pilot hole slightly smaller than the screw’s shank. This reduces splitting and makes driving easier. For lag screws or large structural fasteners, follow manufacturer pilot hole recommendations.
- Use appropriate anchors in hollow walls. Don’t drive a generic screw directly into drywall and expect it to hold much. For shelves, curtain rods, and heavy frames in drywall, use toggle bolts or properly sized plastic or metal anchors. When possible, locate and screw directly into studs for maximum strength.
By choosing bits and fasteners deliberately instead of grabbing whatever’s nearby, you avoid unnecessary damage and make your projects last.
Step 5: Maintain and Store Tools So They Last for Years
Tools that are cleaned and maintained regularly work better and are safer. Basic care doesn’t require special products or a lot of time—just a few habits.
Set up a simple maintenance routine:
- Clean after use. Wipe dust and debris off tools with a dry rag. For sticky residue (like tape glue or construction adhesive), use a small amount of mineral spirits or a cleaning solvent recommended by the manufacturer, then dry thoroughly.
- Protect metal from rust. In humid environments, light rust can form quickly on blades, bits, and bare metal surfaces. Wipe them with a lightly oiled rag (machine oil or a dedicated rust-preventive spray) and store them in a dry container. Keep silica gel packs or moisture absorbers in toolboxes if your space is damp.
- Sharpen cutting tools. Dull tools are harder to control and more dangerous. Learn basic sharpening for chisels and plane blades with a simple stone or guided system. For saw blades and drill bits, consider replacing or having them professionally sharpened if you use them heavily.
- Check moving parts and fasteners. Periodically inspect hinges, adjustment knobs, and handles on tools like miter saws, clamps, and levels. Tighten loose screws and bolts; replace missing or worn parts before they fail during use.
- Store tools off the floor. Keep tools on shelves, in cabinets, or hung on walls. Floors collect moisture and dust, which shortens tool life and increases the chance of accidental damage.
A few minutes of care after each project can add years to a tool’s lifespan and keep it performing like new.
Conclusion
A smart DIY tool setup isn’t about owning everything—it’s about having the right tools, organized and ready to use, for the projects you actually tackle. Start with a solid core of quality hand tools, add power tools that match your real needs, and build a simple routine for checking, organizing, and maintaining your gear.
As your confidence grows, your tool kit can grow with you—on purpose, not by accident. That way, every new project at home feels more manageable, safer, and a lot more satisfying.
Sources
- [U.S. Consumer Product Safety Commission – Power Tool Safety Tips](https://www.cpsc.gov/safety-education/safety-guides/tools-and-home-maintenance/power-tool-safety-tips) - Official guidance on safe operation and inspection of power tools
- [Family Handyman – Essential Tools for Homeowners](https://www.familyhandyman.com/list/essential-tools-for-homeowners/) - Practical overview of core hand tools and why they matter
- [This Old House – How to Choose and Use a Power Drill](https://www.thisoldhouse.com/tools/21015124/how-to-choose-and-use-a-power-drill) - Detailed explanation of drill features, bits, and practical selection tips
- [Lowe’s – Types of Screws and When to Use Them](https://www.lowes.com/n/how-to/types-of-screws) - Clear breakdown of screw types, head styles, and material-specific uses
- [Oregon State University Extension – Rust Prevention Basics](https://extension.oregonstate.edu/gardening/techniques/rust-prevention-tools) - Guidance on preventing rust and maintaining metal tools in home environments
Key Takeaway
The most important thing to remember from this article is that this information can change how you think about Tools & Equipment.


