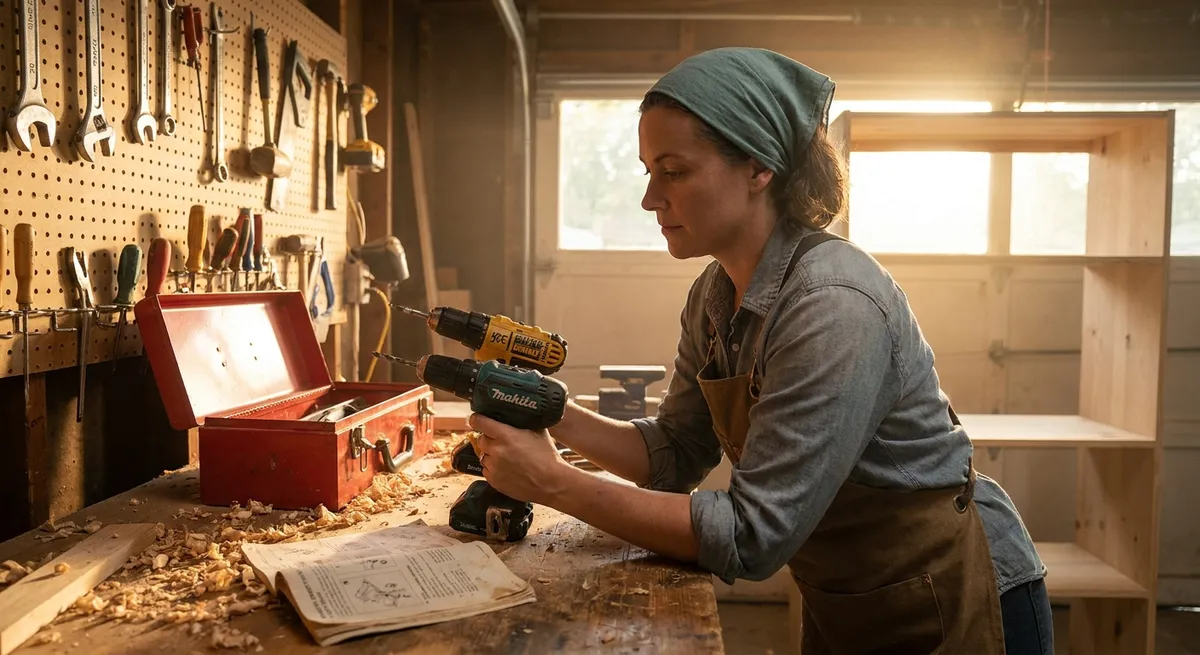
Power drills are the quiet workhorse of almost every DIY project. Hang a TV, assemble cabinets, drill into brick, or build a deck—if you pick the wrong drill (or the wrong bit), the job gets harder, sloppier, and sometimes dangerous. This guide walks you through the essentials of choosing, setting up, and using a drill so you can tackle real projects with confidence.
Understand the Types of Drills Before You Buy
Not all drills are built for the same work. Before you grab the cheapest option, match the tool to the jobs you actually do.
A standard cordless drill/driver is the everyday choice for most homeowners. It drills holes in wood, plastic, and light metal and also drives screws. If you mostly hang shelves, assemble furniture, and work with wood, this is usually enough. Pay attention to voltage (12V is fine for light work, 18–20V is better for frequent or heavier tasks) and amp-hours (Ah) for battery runtime.
Hammer drills look similar but add a pounding action that helps bite into masonry like concrete, brick, and block. You can usually turn the hammer function on or off, so the same tool can drill into studs one day and a basement wall the next. They’re heavier but far more effective for masonry anchors.
Impact drivers are different again. Instead of drilling holes, they’re specialty tools for driving screws and lag bolts with high torque and less chance of stripping the screw head. They use rapid impacts to keep the bit engaged. Many DIYers eventually own both a drill/driver and an impact driver for speed and control.
If you’re working in finished spaces a lot, consider brushless motors for longer life, more power, and better battery efficiency. And try to stick to one battery platform (same brand and voltage) so all your tools can share batteries and chargers.
Step 1: Match the Drill Bit to the Material
The fastest way to burn out a drill—or ruin your project—is to use the wrong bit for the material you’re drilling into. Start each job by choosing the bit intentionally instead of guessing.
For wood, use standard twist bits, brad-point bits (better for clean, accurate holes), or spade bits for larger holes like running cables. Brad-point bits leave cleaner entry points and are less likely to skate across the work surface.
For metal, use high-speed steel (HSS) or cobalt bits. Look for bits labeled specifically for metal; they’re typically harder and designed to dissipate heat better. Always clamp the metal securely and go slower than you would with wood to avoid overheating.
For masonry (concrete, brick, stone, block), use carbide-tipped masonry bits and a hammer drill mode. Without the hammer function, you’ll overheat the bit and barely make progress. Let the bit cool intermittently, especially on deeper holes.
For tile and glass, use specialized tile/glass bits (usually spear-shaped carbide tips or diamond-tipped). Start at a slow speed with very light pressure and avoid hammer mode. Tape the spot with painter’s tape to help prevent the bit from wandering and chipping the surface.
Before drilling, check the shank (the end that goes in the drill) matches your drill’s chuck type and capacity. Many homeowner drills have a 3/8" chuck, while heavier-duty models use 1/2" chucks for larger bits.
Step 2: Set Your Drill’s Speed and Clutch Correctly
Most DIYers leave the drill on one setting and hope for the best. You’ll get cleaner results, fewer stripped screws, and less frustration if you use the settings intentionally.
Speed: Two-speed drills are common. Use low speed (1) for driving screws, drilling large holes, and working with metal or hard materials. Use high speed (2) for drilling small holes in wood or when you need faster progress in softer materials. If your drill has a variable-speed trigger, start slow, then squeeze more as the bit bites.
Clutch: The clutch is usually a numbered ring near the chuck. It controls how much torque (twisting force) is applied before the drill “slips” and stops driving. For delicate tasks (small screws, soft woods, cabinet hardware), use lower settings to avoid overdriving or stripping screws. For framing lumber or longer screws, use higher settings or switch to “drill” mode (often marked with a drill icon), which bypasses the clutch for full power.
Direction: Set the forward/reverse switch before you start. Forward drives screws in and drills normally. Reverse removes screws or backs a stuck bit out. Don’t change direction while the drill is still spinning—stop the trigger first to avoid extra wear on the mechanism.
Before any critical hole (like a visible cabinet or tile), do a test run on a scrap piece of similar material. Adjust speed and clutch until you like the feel and the result. That 30-second test can save you from expensive mistakes.
Step 3: Drill Clean, Accurate Holes in Drywall and Studs
Hanging shelves, artwork, TVs, and cabinets mostly means drilling into drywall and studs. Doing it cleanly is about both technique and safety.
First, locate the studs. Use a stud finder, but don’t trust it blindly. Confirm by measuring from known framing patterns (often 16" on center) and by using a small test hole or thin nail to verify solid wood behind the drywall. For heavy items like TVs or cabinets, screws should go into studs whenever possible.
Before drilling, check for hidden wires and pipes. Use a multi-function stud finder with AC detection, or at least avoid drilling directly above or below outlets and switches where wiring commonly runs. If in doubt, shift slightly to the side or use shallow anchors rated for your load.
To reduce drywall blowout and dust, lightly score the paper with a utility knife where you plan to drill. Hold the drill perpendicular to the wall and start at a low speed to keep the bit from wandering. Once it bites, you can increase speed.
When using wall anchors, match the anchor type and diameter to the weight of the item and the material (drywall vs. plaster vs. masonry). Drill a pilot hole to the correct size for the anchor and gently tap the anchor in flush with a hammer. Avoid oversizing the hole; a loose anchor won’t hold its rated load.
Finally, drive screws snug but not buried. Overdriving into drywall or soft studs can strip out the material, reducing the anchor’s holding power. If a screw spins without tightening, remove it, upsize the anchor, or shift to a nearby fresh hole.
Step 4: Drill Into Concrete and Brick Safely and Efficiently
Drilling into masonry feels intimidating until you use the right tool and process. This is where a hammer drill or at least a hammer-drill setting on a combo tool earns its keep.
Mark your hole location clearly, then confirm there are no gas lines, water pipes, or electrical conduits in the area. In basements and exteriors, these are more common than people think. When in doubt, consult building plans or a professional.
Install a carbide-tipped masonry bit of the correct size for your anchor. Set the drill to hammer mode and low speed. Start by holding the drill square to the surface and use steady, firm pressure—let the hammer action do the heavy work rather than forcing it.
Masonry drilling generates a lot of dust and heat. Wear safety glasses and a dust mask, and vacuum or brush out the hole periodically as you drill. For deeper holes, pull the bit out every few seconds to clear debris; a packed hole makes the bit run hot and slows progress.
If you hit very hard aggregate and progress stops, don’t just lean in harder—that’s how bits snap and motors overheat. Back the bit out, clear dust, and try again. Sometimes it helps to slightly wiggle the drill while applying pressure to help the bit bite into the hard spot.
Once you reach depth (use the depth gauge on your drill or a piece of tape wrapped around the bit as a marker), clean the hole with a small brush or vacuum. This step is critical for anchors; a dusty hole won’t let the anchor grip properly, reducing load capacity.
Step 5: Drive Screws Without Stripping or Snapping Them
Using a drill as a screw gun sounds simple, but driving screws poorly leads to split boards, stripped heads, and weak joints. A few small habits make a big difference.
Start by picking the right screw bit (driver bit) for the screw head: Phillips, square (Robertson), Torx (star), or others. A loose-fitting bit is more likely to cam-out (slip) and chew up the screw head. Push the bit into the screw head and wiggle it—if it slops around easily, use a different size.
Whenever possible, pre-drill pilot holes, especially in hardwoods and near board ends. The pilot hole should be slightly smaller than the screw’s shank (the solid core under the threads) and at least as deep as the screw length. This reduces splitting and makes driving smoother.
Set your drill to low speed and choose a clutch setting that corresponds to the material and screw size. Hold the drill straight in line with the screw. Keep steady downward pressure as you start driving so the bit stays engaged. Once the screw is about 80–90% in, ease up on pressure slightly and feather the trigger to avoid overdriving.
For finish work (like visible trim or cabinet hardware), stop just as the screw head meets the surface. If you need it slightly below the surface, do it gradually and consistently across all screws. For structural work, make sure at least two full threads bite into the far piece of wood when joining two boards.
If a screw starts to strip, stop immediately. Reverse the drill and back it out before the head is ruined. Switch to a fresh bit and try again, or step up to a better-quality screw. Cheap, soft screws are harder to drive cleanly and more likely to snap under torque, especially in dense woods.
Conclusion
A drill is one of the few tools that touches almost every home project you’ll do. When you choose the right type, pair it with the right bits, and use its speed and clutch settings intentionally, you get cleaner holes, stronger fastenings, and less frustration. Start treating your drill as a precision tool instead of a blunt instrument, and the rest of your DIY projects at home will instantly feel more controlled and professional.
Sources
- [Home Depot: How to Use a Drill](https://www.homedepot.com/c/ah/how-to-use-a-drill/9ba683603be9fa5395fab901d3c5c7b) - Overview of drill types, common features, and basic operation
- [Bosch Professional: Drilling in Concrete – Tips & Tricks](https://www.bosch-professional.com/us/en/news/drilling-in-concrete-tips-tricks-275165) - Practical guidance on choosing bits and techniques for masonry
- [DeWalt: Drill & Driver Buying Guide](https://www.dewalt.com/support/buying-guides/power-tools/drills-and-drivers) - Brand-side breakdown of drill/driver, hammer drill, and impact driver differences
- [Family Handyman: How to Use Wall Anchors](https://www.familyhandyman.com/project/how-to-use-wall-anchors/) - Explains anchor types, load ratings, and proper hole sizing for drywall and masonry
- [OSHA: Hand and Power Tools Safety](https://www.osha.gov/hand-power-tools) - Official safety guidelines for using powered tools, including drills
Key Takeaway
The most important thing to remember from this article is that this information can change how you think about Tools & Equipment.


