Picking a drill sounds simple—until you’re standing in the aisle drowning in options and acronyms. This guide walks you through choosing, setting up, and safely using a drill so you can tackle real home projects with confidence, not guesswork.
Understand the Main Types of Drills
Before you buy or use a drill, it helps to know what each type actually does. That way you don’t overpay for features you don’t need—or burn out a tool by using it wrong.
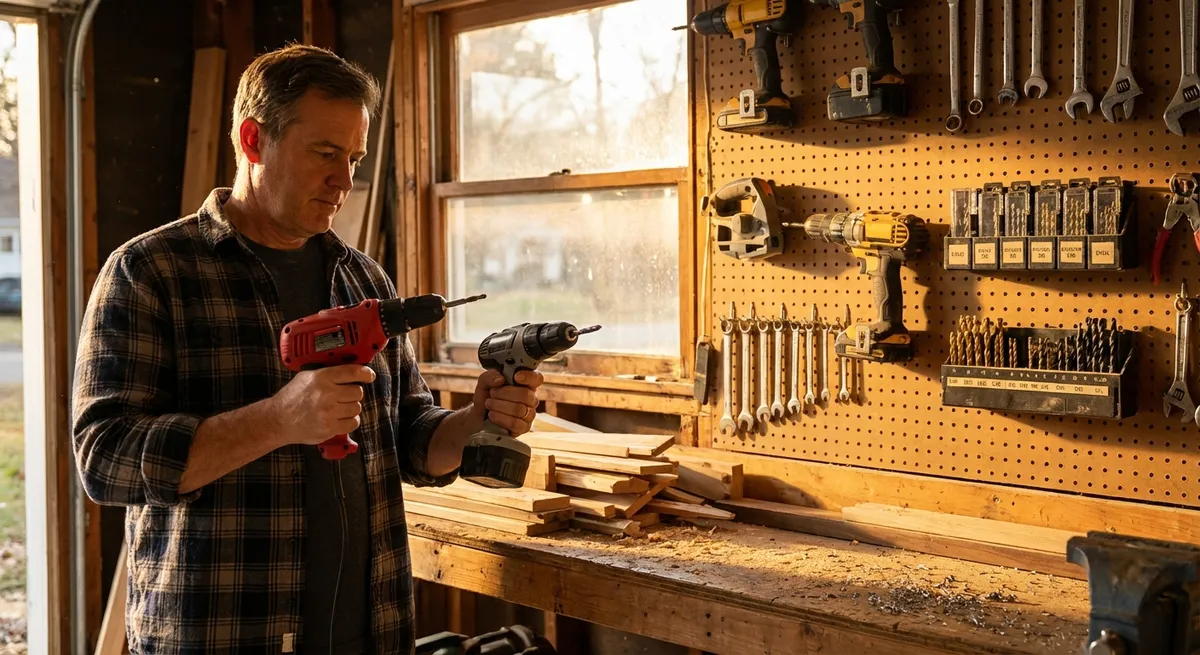
Cordless drills are the go-to for most DIYers. They’re portable, fast to set up, and powerful enough for most wood, plastic, and light-metal tasks around the house. Look for volts (V) for power and amp-hours (Ah) for battery runtime; a 18V–20V drill with a 2.0–4.0Ah battery is a solid homeowner sweet spot.
Corded drills plug into the wall and give you steady power without worrying about batteries. They’re great for long sessions, drilling lots of holes, or when you’re DIYing in a garage or workshop with easy outlet access. The tradeoff is less mobility and wrangling a cord.
Hammer drills add a pounding action for drilling into concrete, brick, and masonry. Many models switch between standard drilling and hammer mode. If you’re hanging heavy shelves on block walls or mounting a TV on brick, this is the type of tool you want.
Impact drivers are not regular drills, even though they look similar. They’re designed for driving screws and lag bolts with high torque, especially in dense materials. They use hex-shank bits, not standard round-shank drill bits. For drilling holes, a regular drill/driver is the better first tool.
If you just want one all-purpose tool for basic projects—assembling furniture, installing shelves, hanging curtains, driving screws—a mid-range cordless drill/driver is almost always the right starting point.
Step 1: Match the Drill to Your Projects
Start by thinking about what you actually plan to do in the next 6–12 months, not “someday.”
If you’re mostly doing light interior work (curtain rods, assembling cabinets, basic repairs), a compact 12V–18V cordless drill is enough. Focus on comfort and weight—you’re more likely to use a tool that doesn’t feel like a brick after 10 minutes.
If you plan to build decks, work with framing lumber, or drill larger holes (like for plumbing or electrical runs), lean toward a more powerful 18V–20V model with at least 1.5–2.0Ah batteries and a brushless motor. Brushless motors tend to be more efficient, last longer, and run cooler.
If masonry is on your list (installing anchors in concrete, drilling into brick, working in a basement), look for a drill with a hammer function and make sure it’s clearly labeled for masonry use. You’ll also need masonry bits matched to the task.
For heavy workshop use, consider buying into a battery “platform” (like DeWalt 20V, Makita 18V, Milwaukee M18, etc.). Once you own a couple of batteries and a charger, adding more tools from the same line is cheaper and more convenient.
When comparing models, pay attention to:
- Torque (more torque = easier to drill large holes and drive long screws)
- Speed settings (two mechanical speed ranges are ideal)
- Clutch settings (more positions give finer control driving screws)
- Weight and balance (pick the one that feels steady, not nose-heavy)
Step 2: Choose and Install the Right Bit
Using the wrong bit is one of the fastest ways to ruin your project—or your drill. Take a minute to match the bit to both the material and the job.
For wood, use standard twist bits, brad-point bits, or spade bits (for larger holes). Brad-point bits give cleaner entry holes in woodworking, while spade bits are fine for rough construction holes where looks don’t matter.
For metal, stick with high-speed steel (HSS) or cobalt bits. These are harder and more heat-resistant. Use cutting oil or lubricant when drilling thicker metal to extend bit life and keep temperatures down.
For concrete, brick, or stone, use masonry bits with a carbide tip. They’re designed to handle the pounding action of a hammer drill and the abrasiveness of masonry.
To install the bit, first make sure the drill is off and the speed trigger isn’t pressed. If it has a keyless chuck (most modern cordless drills do), hold the chuck and spin it to open the jaws until the bit fits easily. Insert the bit all the way, then slightly back it out a few millimeters so the jaws grip it evenly. Tighten by hand until snug, then give an extra twist to lock it in.
If your drill uses a keyed chuck, insert the chuck key into the hole, tighten in at least two positions around the chuck, and remove the key before use. Never run the drill with the key still in the chuck.
Finally, give the bit a short test spin in the air. If it wobbles noticeably, re-seat and re-tighten. A straight-spinning bit makes cleaner holes and reduces stress on the motor and your wrist.
Step 3: Set Speed and Clutch for Control (Not Just Power)
Drills aren’t just “on” or “off.” The speed selector and clutch are there to prevent stripped screws, broken bits, and damaged materials—if you set them correctly.
Most drill/drivers have two speed ranges: low and high. Low speed (often marked “1”) delivers more torque and slower rotation, which is ideal for driving screws and drilling large holes. High speed (marked “2”) is better for smaller drill bits and quick drilling in softer materials.
The clutch is usually a ring with numbers near the chuck. It controls how much torque is delivered before the drill “slips” and stops driving. Lower numbers mean less torque—good for delicate work or soft materials like drywall. Higher numbers allow more torque for longer screws or harder woods.
When driving screws, start at a lower clutch setting and test on scrap material. If the drill stops before the screw is fully driven, bump the clutch up a few numbers and try again. If screws are sinking too deep or stripping the head, lower the clutch.
For drilling holes, many drills have a drill icon on the clutch ring. Set it to that position to bypass the torque limitation so the drill doesn’t “slip” mid-hole. Just make sure you maintain a firm grip and proper bit for the material.
Avoid running at full speed immediately. Squeeze the trigger lightly to start the hole, then gradually increase speed as the bit centers itself. This helps prevent wandering, especially on smooth surfaces like tile or metal.
Step 4: Drill Clean, Straight Holes Safely
Good technique matters more than raw power. A lineup of clean, straight holes will make your projects go together correctly and look better.
First, mark your hole location clearly with a pencil. For precision, use a center punch (for metal) or an awl (for wood) to create a small dimple. This gives the bit a place to “sit” and helps prevent wandering when you start drilling.
Secure your workpiece whenever possible. Use clamps to hold boards on a stable surface instead of your free hand. If you must hold the material, keep your fingers far from the bit’s path and never drill toward your hand or body.
When you start drilling, hold the drill square to the surface—check from both side and top angles. Begin at low speed, letting the bit cut its own way rather than forcing it. Once the bit has established a groove, increase speed as needed.
For deep holes, back the bit out periodically to clear chips. Packed-in material causes friction, heat, and can bind the bit. This is especially important in hardwoods and metal. If you feel the drill fighting you or slowing dramatically, stop and clear the bit.
Always wear eye protection. Even small projects can send chips flying, and metal or masonry fragments can cause serious eye injuries. For masonry or prolonged indoor drilling, a dust mask or respirator is also smart.
Finally, keep hair, loose clothing, and jewelry away from the chuck and bit. Rotating tools can catch and pull things in faster than you can react.
Step 5: Maintain Your Drill and Batteries So They Last
A little care keeps your drill reliable and ready instead of becoming yet another dead tool on a shelf.
After each use, remove the bit and wipe down the chuck and body with a dry or slightly damp cloth. Don’t soak the drill or spray cleaner directly on it; moisture can get into vents and electronics. Check the air vents and brush away dust, especially if you’ve been drilling drywall, masonry, or MDF.
Inspect the power cord on corded drills regularly. Look for cuts, cracks, or exposed wire. If you see damage, stop using the tool until a qualified repair is done—taping over serious damage is not a safe long-term fix.
For cordless drills, treat batteries as the expensive, critical components they are. Avoid leaving them in extremely hot or cold environments, like a hot car trunk or unheated shed in winter. Store them in a dry place at moderate temperatures.
Modern lithium-ion batteries don’t need to be fully discharged before charging. In fact, it’s better not to run them completely flat. When you notice power drop-off, swap to a charged pack. If you won’t use the drill for a month or more, store batteries at roughly half-charge rather than completely full or empty.
Periodically check and replace worn bits. A dull bit overheats, burns wood, and forces you to use more pressure, which can strain the motor. If you see blue discoloration on metal bits or chipped tips on masonry bits, it’s time to retire or sharpen them.
If the drill starts to smell strongly of hot electronics, makes grinding sounds, or the chuck wobbles even with a properly installed bit, stop using it and have it inspected or serviced by an authorized repair center.
Conclusion
A drill is one of the most useful tools you can own, but it only pays off if you choose the right type, match bits to materials, and use the settings the way they were designed. With a bit of planning and solid technique, you’ll drill cleaner holes, drive screws with less frustration, and keep your tool running for years instead of months.
The next time you reach for your drill, walk through these steps: check the bit, set the clutch and speed, secure your work, and work at a steady pace instead of forcing it. That’s how DIY projects start to feel controlled and repeatable instead of stressful and unpredictable.
Sources
- [U.S. Consumer Product Safety Commission – Power Tool Safety Tips](https://www.cpsc.gov/safety-education/safety-guides/tools-and-equipment/power-tool-safety-tips) - Covers core safety practices for using powered tools, including drills
- [OSHA – Hand and Power Tools](https://www.osha.gov/hand-power-tools) - Official guidelines on safe use and maintenance of hand and power tools
- [Lowe’s – Power Drill Buying Guide](https://www.lowes.com/n/buying-guide/power-drill-buying-guide) - Explains different drill types, power ratings, and features for homeowners
- [The Home Depot – How to Use a Power Drill](https://www.homedepot.com/c/ah/how-to-use-a-drill/9ba683603be9fa5395fab90e9c73faa) - Step-by-step instructions and visuals on drill setup and basic operation
- [Bob Vila – Drill Bits 101](https://www.bobvila.com/articles/types-of-drill-bits/) - Detailed breakdown of drill bit types and which materials they’re designed for
Key Takeaway
The most important thing to remember from this article is that this information can change how you think about Tools & Equipment.


