Ladders are some of the most-used tools in home improvement—and some of the most misused. Picking the wrong type or setting it up carelessly can turn a simple project into a serious hazard. This guide walks you through how to choose, set up, and use ladders safely, with clear, step-by-step instructions any DIYer can follow.
Understand the Main Types of Ladders and When to Use Each
Not every ladder is right for every job. Choosing the correct style up front makes your work easier and reduces your risk of falls.
Step 1: Match ladder type to the task.
Use a step ladder for indoor painting, changing light fixtures, and tasks where you need a stable A-frame. Use an extension ladder for outdoor work like cleaning gutters, roof access, or high exterior painting. A multi-position ladder is useful if you do lots of different tasks but learn its locking mechanisms thoroughly.
Step 2: Check the ladder’s duty rating.
Ladders are labeled by how much weight they can safely support (you + tools + materials). Look for the ANSI or OSHA label and choose at least:
- Type II (225 lb) for light household use
- Type I (250 lb) or Type IA (300 lb) for serious DIY and most tool belts
If you’re unsure, go up a rating—never push the limit.
Step 3: Get the right height.
For step ladders, you don’t stand on the top cap or top step. Your working height is usually about 4 feet higher than the ladder height. For extension ladders, your ladder should extend 3 feet above the roof or landing you’re accessing, and you should stay off the top 3 rungs.
Step 4: Consider material (aluminum vs. fiberglass).
Aluminum is lighter and easier to move but conducts electricity. Never use it near electrical work or overhead power lines. Fiberglass is heavier but safer for electrical tasks. If you do any wiring or work near service drops, choose fiberglass.
Step 5: Inspect before you buy (or before you use an existing ladder).
Check for bent rails, cracked steps, loose rivets, or worn feet. On extension and multi-position ladders, test the locks and hinges. If anything feels sloppy or doesn’t engage firmly, skip it or retire that ladder.
Step-by-Step: Set Up a Step Ladder the Right Way
A step ladder is common in homes and apartments, but people still misuse them constantly. Here’s how to set it up so it stays stable while you work.
Step 1: Choose a flat, firm surface.
Avoid soft ground, thick rugs, or surfaces that flex. Indoors, move small rugs out of the way. Outdoors, avoid setting up on loose gravel or mud. If you must work on softer ground, pack it down firmly and check that all four feet contact the surface solidly.
Step 2: Fully open and lock the spreaders.
Open the ladder until the side rails are fully spread and the metal spreader bars snap or lock into place. Never climb a step ladder while it’s partially closed or leaning against a wall like an extension ladder—it wasn’t designed for that.
Step 3: Face the work and position the ladder close.
Place the ladder so you don’t have to lean or twist your body to reach your work. If you find yourself reaching sideways more than an arm’s length, climb down and reposition the ladder rather than stretching.
Step 4: Follow the “belt buckle rule.”
When you’re on the ladder, keep your belt buckle between the side rails. If your midline crosses past the side, you’re overreaching and increasing your risk of tipping. Step down, move the ladder, and climb back up.
Step 5: Use the top correctly.
Don’t stand on the top cap or the top step unless the label explicitly says it’s a built-in platform rated for standing. The safest working stance is usually two steps down from the top, with your knees near the top of the ladder and hands free to work.
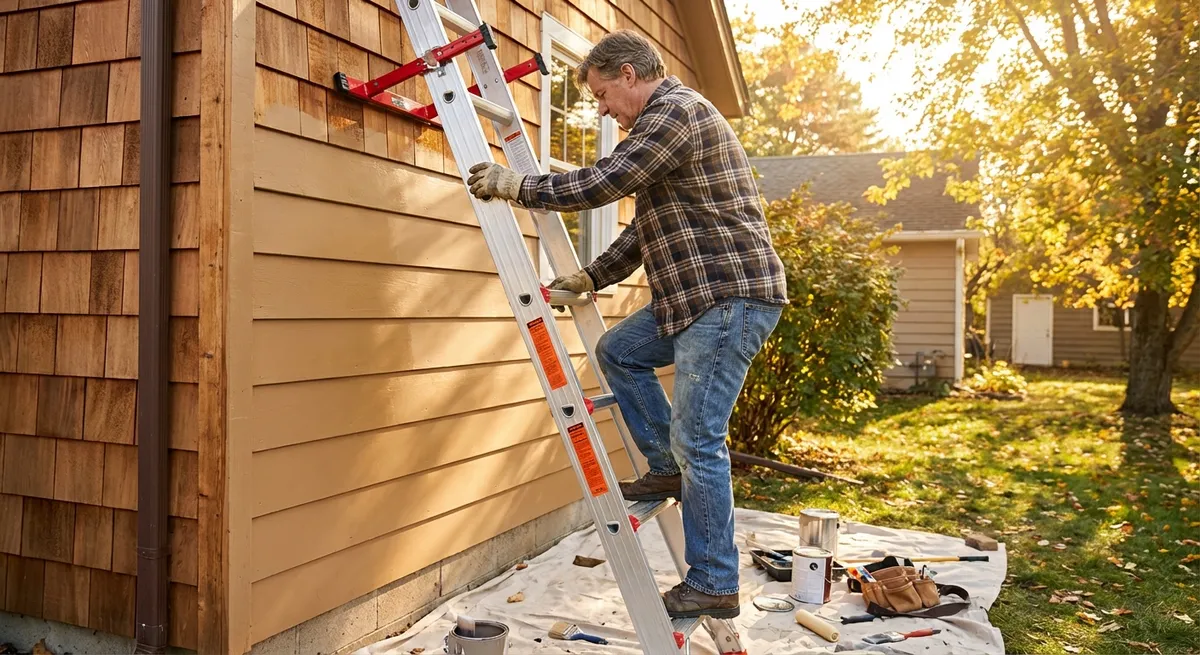
Step-by-Step: Set Up an Extension Ladder on Exterior Projects
Extension ladders are essential for outdoor home maintenance, but they’re involved in many ladder accidents. Setting them up properly is critical, especially on uneven ground.
Step 1: Use the 4-to-1 rule for ladder angle.
For every 4 feet of ladder height, place the base 1 foot away from the wall or support. Example: a 16-foot ladder should be about 4 feet from the base of the wall. A quick check: stand with your toes touching the ladder feet; you should be able to extend your arms straight out and touch the rung comfortably.
Step 2: Stabilize the base.
Check that both feet rest firmly on solid ground and that the ladder’s slip-resistant pads contact the ground fully. On grass or soil, press the feet in slightly so they don’t slide. If your ladder has pivoting feet with spikes, engage them for better grip outdoors.
Step 3: Extend and lock the fly section.
Raise the ladder to the needed height, then ensure the rung locks fully engage on both sides. Listen and look—don’t assume they’re locked just because you heard a sound. Give the fly section a small shake to confirm it doesn’t drop.
Step 4: Secure the top when possible.
If you’re working at roof level or on a solid structure, tie off the ladder at the top using a strong rope or strap. Loop it around a secure anchor point (like a roof bracket or solid framing, not a gutter alone) to keep the ladder from shifting sideways.
Step 5: Maintain three points of contact while climbing.
Always have two hands and one foot, or two feet and one hand on the ladder. Face the ladder, keep your body centered between the rails, and climb slowly. Don’t carry bulky tools in your hands; use a tool belt or hoist items up with a rope.
Step-by-Step: Safely Work on Stairs with an Adjustable Ladder
Stairwells are tricky, but with the right ladder and setup, you can paint, patch drywall, or change fixtures without sketchy makeshift solutions.
Step 1: Use a ladder designed for uneven surfaces.
Look for a multi-position or specialty ladder that can adjust one side shorter than the other, or a stair platform system rated for your weight. Don’t stack boards, buckets, or boxes under one leg to “level” a regular ladder.
Step 2: Set the ladder on the stair treads, not the edges.
Place each foot or platform section fully on a flat part of the tread, not riding on the nose (front edge) of the stair. This reduces the chance of slipping and spreading force more evenly.
Step 3: Adjust each side until the ladder is vertical.
Use built-in leg levelers or multi-position settings to make the ladder stand straight up and down when viewed from the front and side. Use a small torpedo level if necessary. If it leans noticeably in any direction, re-adjust before climbing.
Step 4: Keep your working time short and focused.
Working over stairs increases the consequences of a fall. Plan your supplies in advance so you aren’t repeatedly climbing up and down. Group tasks—cut in paint corners, then roll walls, then do touch-ups—rather than switching tools constantly.
Step 5: Clear the stair path below.
Don’t leave tools or materials on lower treads where they can be kicked or cause tripping if you have to come down quickly. Keep the stairwell well-lit and ask others in the home not to use that stairway while you’re working.
Step-by-Step: Inspect and Maintain Your Ladder for Long-Term Safety
A solid inspection routine keeps your ladder safe and can extend its life. Treat ladder maintenance like you would power tool maintenance: something you do regularly, not just when something breaks.
Step 1: Do a quick visual check before every use.
Look for cracks, dents, bent rails, or crushed steps/rungs. Check for missing or loose rivets, bolts, and locking mechanisms. If anything looks wrong, set the ladder aside and inspect more closely before you trust it.
Step 2: Clean the rungs and steps.
Remove paint drips, oil, sawdust, or mud that could make them slippery. Use a stiff brush, mild detergent, and water. Dry thoroughly before storing or using, especially on metal ladders that could corrode.
Step 3: Check feet, caps, and labels.
Examine rubber feet and top caps for wear or cracking. Worn feet reduce grip and should be replaced. Make sure safety labels and duty rating decals are still readable; if not, look up the model information and record it elsewhere.
Step 4: Lubricate moving parts lightly.
On extension and multi-position ladders, apply a light, non-greasy lubricant to hinges and locks so they move freely but don’t feel slick to the touch. Wipe off any excess; you don’t want lubricant on the rungs.
Step 5: Store ladders properly.
Store them indoors or under cover when possible to protect from sun and weather. Hang them horizontally on wall brackets or store flat on supports that prevent sagging. Keep them away from vehicle paths where they can be backed into or bent.
Conclusion
Using a ladder isn’t just about climbing up and down—it’s about choosing the right type, setting it correctly, and respecting its limits. When you match the ladder to the job, follow safe setup steps, and maintain it like any other piece of equipment, you turn a common accident source into a reliable tool. Before your next DIY project, take a minute to choose and set your ladder deliberately; that small investment in safety pays off every time you work above ground level.
Sources
- [U.S. Occupational Safety and Health Administration (OSHA) – Ladder Safety](https://www.osha.gov/publications/bytopic/ladder-safety) - Official guidelines on safe ladder selection, setup, and use
- [American Ladder Institute – Ladder Safety Resources](https://www.americanladderinstitute.org/page/LadderSafetyResources) - Industry-backed safety standards, duty ratings, and training materials
- [Centers for Disease Control and Prevention (CDC) – Ladder Safety at Work](https://www.cdc.gov/niosh/topics/falls/default.html) - Data and recommendations to prevent ladder-related injuries and falls
- [Consumer Product Safety Commission (CPSC) – Ladder Safety Tips](https://www.cpsc.gov/Safety-Education/Safety-Education-Centers/Tip-Over-Information-Center/Ladder-Safety) - Practical consumer guidance on avoiding ladder accidents in and around the home
Key Takeaway
The most important thing to remember from this article is that this information can change how you think about Tools & Equipment.


