A successful renovation starts long before you pick up a tool. Rushing into demo or shopping for finishes without a clear plan is how budgets explode, schedules slip, and projects stall halfway. With a bit of upfront work, you can turn “someday” ideas into a renovation you can actually finish—without losing your weekends or your sanity.
This guide walks you through a practical, five-step planning process DIY renovators can follow before any real work begins.
Step 1: Define the Real Problem You’re Trying to Fix
Before you think about colors, tiles, or fixtures, get crystal clear on why you’re renovating.
Ask yourself:
- What’s driving this project—function, safety, damage, or looks?
- What specifically doesn’t work right now (layout, storage, lighting, comfort)?
- What will success look like in your daily life?
Write down your answers and focus on function first, aesthetics second. For example:
- “We need more counter space and outlets for cooking” is better than “I want a modern kitchen.”
- “The room is dark and feels cramped” is more useful than “I’m tired of this paint.”
Walk through the space and list pain points:
- Safety issues (loose railing, soft spots in floor, tripping hazards)
- Usability issues (doors that hit each other, no place to put shoes, no landing zone for bags)
- Comfort issues (drafts, poor light, bad ventilation)
This list becomes the foundation for every decision you make next—and helps you avoid spending money on things that don’t really fix your everyday problems.
Step 2: Set a Realistic Budget (and Pad It on Purpose)
Once you know what you’re solving, it’s time to talk money—before you fall in love with anything on Pinterest.
Start with three simple numbers:
- Your absolute max – the number you will not go over, even if a sale pops up or a “small upgrade” is tempting.
- Your working budget – 75–85% of your max. This is what you actually plan around.
- Your contingency fund – the remaining 15–25% reserved for surprises (hidden damage, extra materials, code upgrades).
Break your working budget into rough categories:
- Materials (lumber, drywall, flooring, paint, fixtures)
- Tools (purchases and rentals)
- Permits and inspections
- Pro labor (for any work you’re not doing yourself, like electrical or gas)
Use online calculators and big-box store websites to get ballpark prices:
- Check typical material cost per square foot for your project type.
- Price out several options (good/better/best) so you know where you can upgrade or downgrade if needed.
- Include fasteners, caulk, primer, patching compounds, and other “small” supplies—these add up.
Then stress-test your budget:
- Could you still move forward if a key item costs 20% more?
- What will you cut first if you run tight: finishes, scope, or timeline?
Lock this plan in writing. Treat your contingency like it doesn’t exist unless there’s an actual need, not just a nicer faucet.
Step 3: Check Codes, Permits, and What You Shouldn’t DIY
Before you start planning walls, wiring, or plumbing runs, you need to know what’s allowed where you live—and what you’re legally required to permit.
Look up your local building department online and find:
- When permits are required (often for structural work, electrical, plumbing, window changes, decks, and major alterations)
- Any special rules for historic districts, attached homes, or condos
- Inspection requirements and timelines once work starts
Common items that often require a permit or licensed pro:
- Moving or adding electrical circuits
- Adding, relocating, or significantly altering plumbing lines
- Removing load-bearing walls or cutting structural members
- Modifying gas lines or HVAC systems
Do a quick self-check of your skills and comfort level:
- Are you familiar with basic wiring rules, box fills, and breaker sizing?
- Do you understand how to identify load-bearing walls and framing spans?
- Are you comfortable with waterproofing details for wet areas?
If the answer is no, that doesn’t mean you can’t do the project—but it might mean:
- Hiring a licensed pro for the critical parts (e.g., rough-in electrical) while you handle demo, painting, trim, and finishes.
- Planning your schedule around when you’ll need a pro on site or inspections done.
- Adjusting your design to avoid major structural or mechanical changes.
Building inspectors and permitting departments can be surprisingly helpful if you approach them early with questions. It’s much cheaper to adjust a plan on paper than to redo work after a failed inspection.
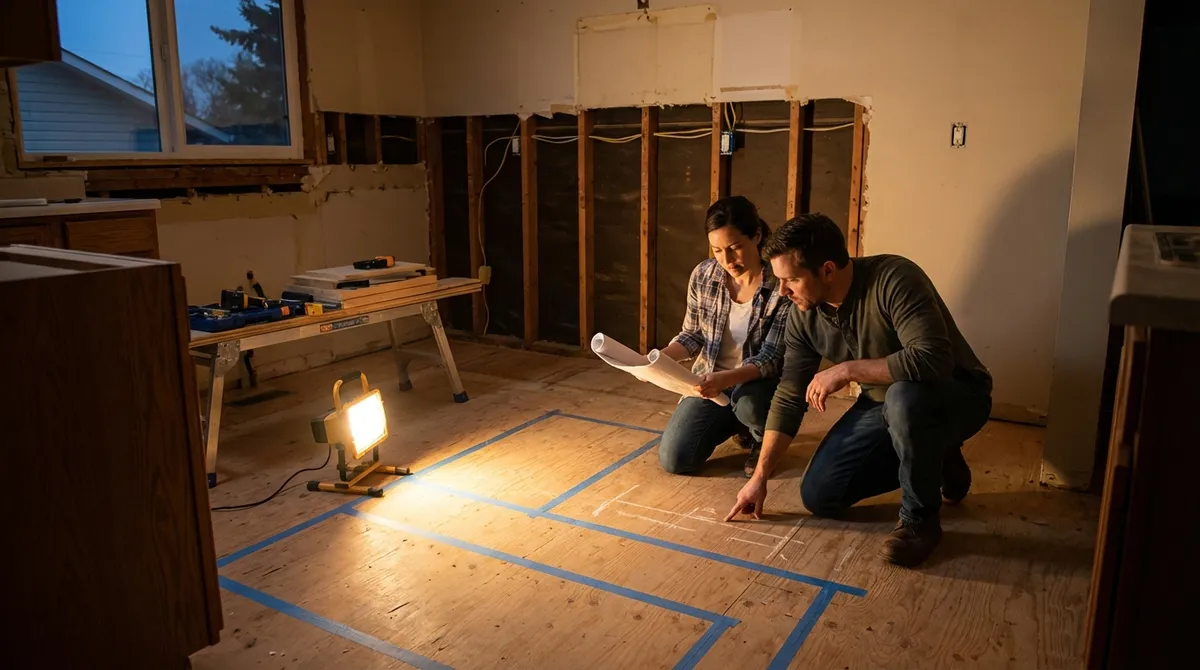
Step 4: Map Out the Work in Logical, Doable Stages
Big renovations fail when everything is “in progress” at once. Break your project into clear stages with specific tasks, tool needs, and dependencies.
A typical interior renovation sequence looks like:
Prep and protection
- Clear the room, protect floors, tape off other areas, set up dust barriers and ventilation. - Gather PPE (respirator, safety glasses, ear protection, gloves).
Demo and removal
- Remove fixtures, trim, damaged materials—in a controlled way, not with random smashing. - Cap water lines and safely disconnect power where needed. - Sort debris into trash, recycling, donation, or reuse.
Rough work and hidden systems
- Framing changes, new openings, reinforcement. - Rough electrical, plumbing, and HVAC changes. - Inspections, if required.
Close-up and surfaces
- Insulation, drywall, patching, sanding. - Priming, base coats of paint.
Finishes and fixtures
- Flooring, tile, trim, doors, cabinets, lighting fixtures. - Final paint, caulk, hardware installation.
For each stage, write down:
- The order of tasks (what must be completed before the next one starts).
- Tools you’ll need (and when you’ll need to rent or borrow them).
- Materials to have on site beforehand so you don’t get stuck mid-task.
- Which tasks are weekend-sized vs. which need several consecutive days.
Be honest about your available time:
- If you only have weekends, avoid opening multiple rooms at once.
- Plan “complete-able” chunks—like “finish all patching and sanding in the hallway” instead of “start fixing walls all over the house.”
This staging approach keeps your renovation moving and reduces the chance of living in a half-finished construction zone for months.
Step 5: Build a Simple, Shareable Project Binder (or Digital Hub)
Once you’ve got your goals, budget, code notes, and stages, pull everything into one place you can actually use while working.
Create either a physical binder or a shared digital folder with:
- Project overview
- Your main goals and constraints (budget max, must-have features, timeline).
- Measurements and photos
- Room dimensions, window/door sizes, ceiling height.
- Photos of the space from multiple angles and any hidden issues uncovered during demo.
- Sketches and layouts
- Rough floor plan options (hand-drawn is fine).
- Where major elements will go (outlets, switches, fixtures, built-ins).
- Material choices
- Paint colors with brand and sheen.
- Flooring type and product name.
- Fixture model numbers and links.
- Quotes and contacts
- Pros you might hire (electrician, plumber, inspector).
- Delivery dates and order confirmations for big items.
- Task checklists
- Stage-by-stage to-do lists you can literally check off as you go.
Share digital access with anyone working on the project with you so you’re all looking at the same info. When a question comes up—“What color was that trim again?” or “Where’s the stud layout photo?”—you go to the binder, not your memory.
This simple system also makes it easier to:
- Order replacements or matching materials later.
- Explain your project quickly to a contractor or inspector.
- Document what’s inside your walls for future work (e.g., photos of framing and wiring before drywall goes up).
Conclusion
A renovation that feels chaotic in the middle usually started without a clear plan. By taking the time to define your real problems, set a realistic budget, understand rules and limits, map your stages, and organize your information, you dramatically increase your odds of finishing well.
Before you pull out a single tool, walk through these five steps. It’s not as exciting as demo day—but it’s the part that makes everything else go smoother, cost less, and actually get done.
Sources
- [U.S. Consumer Product Safety Commission – Home Remodeling & Repair Safety](https://www.cpsc.gov/Safety-Education/Safety-Guides/home-remodeling-and-repair) - Guidance on staying safe during home renovation projects
- [U.S. Department of Housing and Urban Development – Rehab a Home Guide](https://www.hud.gov/program_offices/housing/sfh/rehab/rehabfaq) - Overview of key considerations when planning home rehabilitation and repair
- [Energy.gov – Home Remodeling & Energy Efficiency](https://www.energy.gov/energysaver/home-improvement-remodeling) - How to integrate energy-efficient upgrades into renovation planning
- [National Association of Home Builders – Cost of Constructing a Home](https://www.nahb.org/news-and-economics/housing-economics/cost-of-construction-survey) - Useful for understanding how material and labor costs are typically distributed
- [Family Handyman – Building Permits: When You Need One](https://www.familyhandyman.com/project/building-permits-when-you-need-one-and-when-you-dont/) - Practical explanation of when permits are required for home projects
Key Takeaway
The most important thing to remember from this article is that this information can change how you think about Renovation.


