If your drill feels jumpy, your bits wander, or your holes end up ragged and oversized, you’re not alone. A power drill is usually the first “real” tool most DIYers buy—but very few people learn how to actually set it up and use it for clean, accurate work. This guide walks through practical, step‑by‑step tweaks you can make with the drill you already own so your holes are straighter, safer, and a lot less frustrating.
Know Your Drill: Settings, Modes, and When to Use Them
A drill is more than a trigger and a spinning bit. Before you change how you use it, you need to know what each setting actually does.
Most cordless drills have three main parts to understand:
Gear selector
Typically labeled “1” and “2” (sometimes 3). - Low gear (1): More torque, slower speed. Good for driving screws, big bits, and working in tougher material like thick lumber. - High gear (2): Less torque, faster speed. Best for drilling small holes and light materials like pine, drywall, or soft plastics.
Mode selector
Usually icons around a collar: - Drill bit icon: Pure drilling mode, no clutch. Use when drilling holes. - Screw icon(s): Engages the clutch to prevent overdriving screws. - Hammer icon: For hammer drilling into masonry with hammer‑capable drills only. Don’t use this in wood or metal.
Clutch numbers
The clutch is designed for screws, not general drilling. - Lower numbers = clutch slips sooner (good for small screws, softer materials). - Higher numbers = more driving force. When drilling holes, rotate the collar to the drill bit icon so the clutch doesn’t slip while you’re drilling.
Once you know what each control does, the rest of this guide will help you put those features to work in a way that actually improves your results.
Step 1: Match the Bit to the Job (and Don’t Overlook the Shank)
Using the right kind of bit is the fastest way to upgrade your drilling without buying a new tool.
Common drill bit types and when to use them:
- Twist bits (standard HSS):
- Brad‑point bits (wood bits with a center spur):
- Spade bits (flat paddle bits):
- Forstner bits:
- Masonry bits (carbide‑tipped, often with flutes that look chunky):
- Step bits (cone‑shaped):
Good for wood, plastic, and light metal. This is the classic shiny metal bit most kits include.
Ideal for wood when you care about accuracy and clean edges. The point keeps the bit from wandering.
Fast for large holes in framing lumber and rough carpentry. Harder to control, rougher exit.
Great for flat‑bottomed holes and clean edges in woodworking (shelves, furniture, hardware recesses).
Designed for brick, concrete, and block—always use in hammer mode if your drill supports it.
Ideal for thin metal, electrical boxes, and enlarging holes without grabbing.
Check the shank (the part that goes into the chuck):
- If your drill has a keyless chuck, most straight round shanks are fine.
- For heavy work or hammer drilling, hex shank bits grip better and are less likely to slip.
Quick tip:
If the bit you’re using screams, chatters, or burns the material, it’s either dull, the wrong type, or spinning at the wrong speed. Don’t fight the tool—swap the bit or slow down.
Step 2: Set Your Speed and Direction for Clean, Controlled Drilling
Speed and direction settings have more impact than most people realize. Get them wrong, and you’ll burn bits, strip screws, and blow out the back side of your work.
A simple rule for speed:
- Small bits, soft materials → faster speed, higher gear.
- Large bits, hardwoods, metals → slower speed, lower gear.
Use the trigger for fine control and the gear selector for overall range:
- For pilot holes in pine or drywall (⅛" or less):
- For larger bits in hardwood or metal:
Gear 2 (high), drill mode, moderate trigger pressure.
Gear 1 (low), drill mode, gentle trigger pressure. If you see smoke, you’re going too fast or pushing too hard.
Direction switch basics:
- Right‑handed symbol (clockwise) = drilling/drive in.
- Left‑handed symbol (counter‑clockwise) = reverse/removal.
Only use reverse to:
- Back out a stuck bit.
- Remove screws or bolts.
- Clean debris from a clogged bit (quick pulse in reverse).
Never try to force drilling forward while in reverse—you’ll dull the bit and heat up the workpiece fast.
Pro tip: Practice on scrap. Drill three holes using different speeds and pressure. You’ll quickly feel when the bit is cutting efficiently vs. fighting the material.
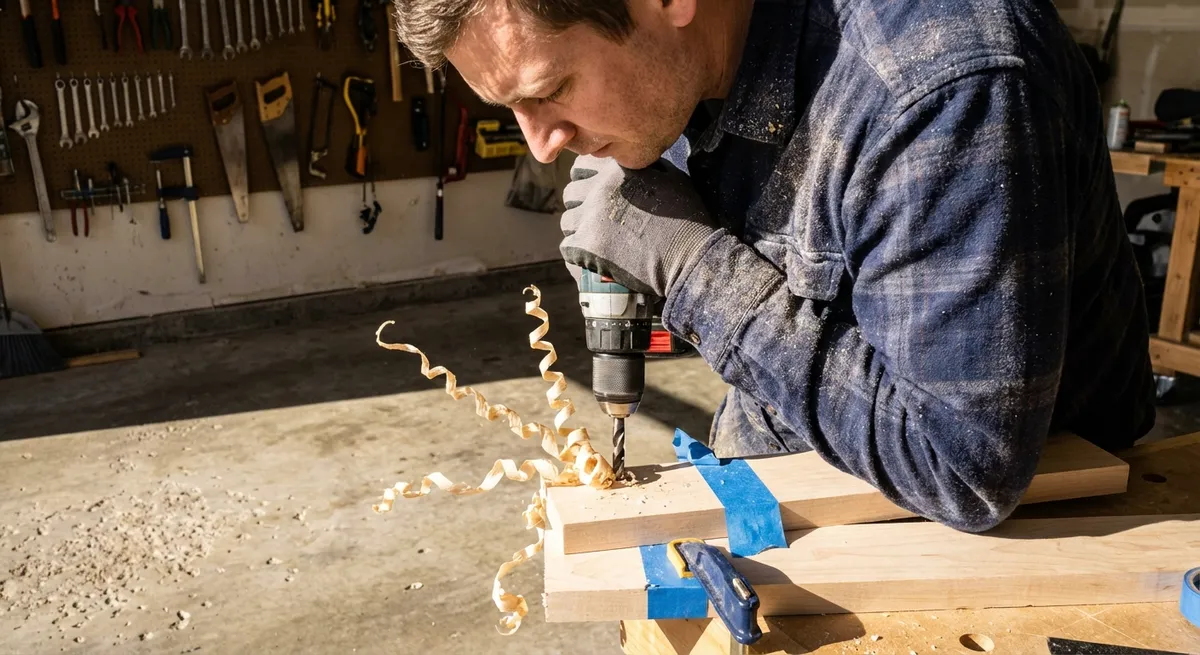
Step 3: Secure Your Work and Mark Accurate Hole Locations
Most “crooked hole” problems come from the workpiece moving or the bit wandering at the start, not from a bad drill.
Secure the work:
- On a workbench:
- On walls/ceilings:
- On metal or small parts:
Use clamps to hold the piece down. Two clamps prevent pivoting.
Support your body so you’re not using the drill to hold your balance. Stand on a stable platform, not the top step of a ladder.
Use a vise or clamping jig. Never hold small metal pieces in your hand while drilling.
Mark and start holes precisely:
- Measure and mark your hole location with a pencil or fine marker.
- For wood, use an awl or nail to make a small dimple where the bit’s tip will start.
- For metal, use a center punch and hammer to create a clear indentation. This keeps the bit from skating.
- Line up the bit’s point with your mark before you pull the trigger.
Start slow:
- Begin at a very low speed to create a shallow “starter” recess.
- Once the bit is anchored, increase speed and pressure slightly.
This extra 10–20 seconds per hole pays off dramatically in straighter holes and fewer mistakes.
Step 4: Drill Straight, Avoid Tear‑Out, and Protect What’s Behind
Once the hole is started, your main job is to control angle, pressure, and what happens when the bit exits the material.
Keep the drill square:
- Check from two angles: look from the side and then from above.
- If you struggle to keep it straight, use:
- A drill guide attachment, or
- A simple DIY guide: hold the side of the drill body against a factory‑square edge of a scrap board.
Control pressure:
- Let the bit cut; don’t lean your full weight into the drill.
- Too much pressure:
- Overheats the bit
- Makes the motor strain
- Risks blowout on the back side of the hole
- Too little pressure:
- Causes the bit to rub instead of cut
- Dulls the edge and burns the wood
You’re aiming for a smooth feed where chips come out steadily, not dust or smoke.
Prevent blowout (tear‑out) on the exit:
- Clamp a sacrificial board behind the workpiece. Drill through into it.
- If you can’t use a backing board:
- Slow down just before the bit exits.
- Reduce pressure and let the bit “score” its way out.
Know what’s behind the surface:
Before drilling into walls, especially in kitchens, bathrooms, or near outlets:
- Use a stud finder with wire detection if possible.
- Assume pipes and wiring run vertically and horizontally from outlets, switches, and fixtures.
- Avoid drilling in direct paths above/below outlets or switches unless you know what’s there.
This is the difference between a clean shelving install and a surprise plumbing or electrical repair.
Step 5: Use Smart Add‑Ons to Extend What Your Drill Can Do
You don’t need a bigger tool collection to solve most DIY drilling problems—just a few well‑chosen accessories that let your existing drill do more.
Helpful accessories to consider:
- Depth stop collar:
- Shelf pin holes
- Installing anchors in drywall or masonry
- Avoiding drilling into wiring or pipes behind thin walls
- Drill/driver bit set with magnetic holder:
- Right‑angle drill attachment:
- Drill guide or portable drill stand:
- Countersink bits:
Clamps onto the bit to limit how deep you can drill. Great for:
Lets you swap between drilling and driving quickly, and the magnet helps keep screws straight and secure.
Allows drilling and driving in tight spaces (inside cabinets, between joists, near corners).
Gives near‑drill‑press accuracy for straight, repeatable holes in furniture projects and jigs.
Drill a pilot hole and a cone‑shaped recess in one step so screw heads sit flush or slightly below the surface.
Basic care to keep performance consistent:
- Wipe bits clean after use; remove pitch and sawdust from flutes.
- Store bits in a case or labeled organizer to avoid dulling edges.
- If a bit is blue, scorched, or feels dull, retire or sharpen it—forcing a bad bit through wood is hard on you and the drill.
By adding a few of these accessories and maintaining the bits you already have, your drill becomes far more capable—without needing to upgrade the tool itself.
Conclusion
A drill that feels clumsy or underpowered is usually just mis‑set, mis‑matched, or mis‑used, not broken. When you match the bit to the job, choose the right speed and mode, secure your work, and control how the bit enters and exits the material, you get cleaner holes with less effort and fewer mistakes. Add a couple of smart accessories, and your existing drill can handle most of the common jobs you’ll face—hanging shelves, installing hardware, drilling pilot holes for lumber, and more—without the usual frustration.
Dial in these steps once, and every drilling task you do around the house gets easier, neater, and more predictable.
Sources
- [Occupational Safety and Health Administration (OSHA) – Hand and Power Tools](https://www.osha.gov/hand-power-tools) - Official safety guidance on using drills and other power tools correctly
- [Family Handyman – How to Use a Drill](https://www.familyhandyman.com/project/how-to-use-a-drill/) - Practical tips on drill settings, bits, and basic technique for homeowners
- [Fine Woodworking – Choosing the Right Drill Bit for the Job](https://www.finewoodworking.com/2008/01/30/choosing-the-right-drill-bit-for-the-job) - Detailed breakdown of drill bit types and when to use them, especially in woodworking
- [This Old House – How to Drill Into Concrete](https://www.thisoldhouse.com/masonry/21015118/how-to-drill-into-concrete) - Example of proper bit choice, hammer mode, and technique for masonry drilling
- [Massachusetts Institute of Technology (MIT) – Machine Shop: Drilling Guidelines](https://web.mit.edu/2.72/pdf/drill_press_safety.pdf) - Educational guidelines on speeds, feeds, and safe drilling practices (PDF)
Key Takeaway
The most important thing to remember from this article is that following these steps can lead to great results.


