A power drill is one of the first “real” tools most DIYers buy, but a lot of people never set it up correctly. That’s how you end up with stripped screws, wandering drill bits, and a drill that feels underpowered when it’s not. With a few simple adjustments and habits, you can turn a basic cordless drill into a precise, dependable workhorse for almost any home project.
This guide walks through five clear setup steps—from choosing bits to setting torque—so your drill works with you, not against you.
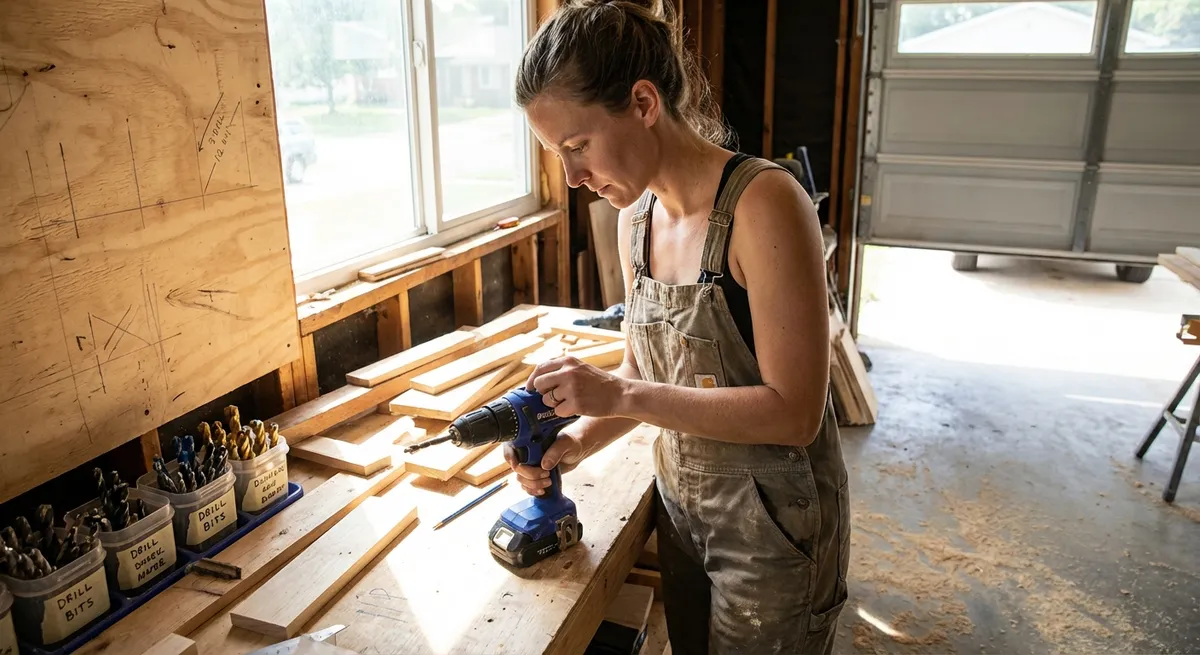
Step 1: Match the Drill and Bits to the Job
Before you even pull the trigger, make sure the tool and accessories fit what you’re doing. The wrong combo is the fastest way to wreck screws, burn out motors, and damage materials.
For most home projects, a 12V or 18V cordless drill/driver is plenty. Focus less on “max power” and more on a good clutch (torque settings) and a variable speed trigger. A basic impact driver is great too, but this guide focuses on standard drills.
When picking bits, use driver bits (for screws) and drill bits (for holes) that match both the fastener and the material:
- Use Phillips, Torx, or square drive bits that match the screw head exactly—loose fit equals stripped screws.
- For wood, go with standard twist bits or brad-point bits for cleaner holes.
- For metal, use high-speed steel (HSS) bits marked for metal.
- For masonry, you need masonry bits with carbide tips, used on a drill with hammer mode if available.
Keep your most-used bits in a small, labeled case near your drill. If you have to hunt for bits, you’re more likely to improvise with the wrong one.
Step 2: Adjust Speed and Torque Before You Start
Your drill has two main controls that matter a lot: speed and torque. Learning to set these correctly makes your work cleaner and your tool last longer.
Most cordless drills have a two-speed gearbox on top:
- Low speed (1): More torque, slower rotation. Use for driving screws and drilling large holes.
- High speed (2): Less torque, faster rotation. Use for drilling small holes in wood or metal.
- Use low numbers for small screws and soft materials (like pine or drywall).
- Use medium numbers for general wood screws into studs.
- Use higher numbers or the drill icon for drilling holes and driving big structural screws.
Then there’s the torque ring (clutch) near the chuck, marked with numbers and sometimes a drill icon:
Before you start the real work, test on a scrap piece:
- Set the drill to low speed.
- Pick a mid-range torque setting (e.g., 8–12 on a typical drill).
- Drive a screw into a scrap board.
- If the clutch “clicks” before the screw is seated, increase the torque.
- If it buries or strips the screw, lower the torque and try again.
Dial this in once, and you’ll move a lot faster—and break fewer screws—on the actual project.
Step 3: Secure the Bit in the Chuck the Right Way
A wobbly, slipping bit is usually a setup problem, not a drill problem. Securing the bit correctly makes your holes straighter and your driving more precise.
Here’s a simple, reliable way to load a bit:
Open the chuck
Turn the chuck sleeve counterclockwise until the jaws open wide enough for the bit.
Seat the bit fully
Insert the bit straight into the center of the jaws. Push it in as far as it will go (for drill bits) or until the shank is fully gripped (for driver bits). Check that it’s not crooked.
Hand-tighten while supporting the bit
Hold the bit lightly between two fingers to keep it centered. Turn the chuck clockwise by hand until you feel it firmly grip the bit.
Use the drill to lock the chuck
Hold the chuck sleeve firmly with one hand, then briefly tap the trigger with the other. This adds a final snug twist and helps prevent slipping.
Test for wobble
Run the drill at low speed in the air and watch the bit. If it wobbles, release it, reseat it straight, and tighten again.
Take the extra 10 seconds to do this and you’ll get cleaner, more accurate holes and far fewer “why is this bit spinning in the chuck?” moments.
Step 4: Use Simple Guides to Keep Holes Straight and Consistent
One of the easiest ways to level up your drill work is to stop “eyeballing” everything. Simple guides give your projects a more professional finish without expensive tools.
Try these practical techniques:
- Use a scrap board as a drilling guide
Clamp a straight scrap of wood to your workpiece and drill along its edge to keep your angle consistent.
- Mark drill depth with tape
Wrap painter’s tape around the drill bit at the depth you need (say, 1½ inches for a wall anchor). Stop when the tape edge reaches the surface.
- Drill pilot holes for screws
Use a bit slightly smaller than the screw’s shank (not including threads). This prevents splitting wood and helps screws drive straight.
- Use a speed square as a visual 90° guide
Hold a speed square next to the bit and line the bit up visually with the square’s edge to stay vertical.
- Double-check for hidden hazards
- Staying away from directly above/below outlets and switches.
- Using a simple stud finder with AC detection if you have one.
- Drilling shallow starter holes first if you’re uncertain.
When drilling into walls, avoid electrical and plumbing lines by:
These low-cost habits give you straighter shelves, cleaner hardware installs, and fewer ruined boards.
Step 5: Build a Quick Routine to Keep Your Drill Ready
A drill that’s always ready to go is a lot more likely to get used—and a lot less likely to fail halfway through a project. A short, repeatable routine keeps both the tool and accessories in good shape.
After each project, run through this checklist:
Recharge and rotate batteries
Put your battery on the charger when you’re done. If you have two, keep one charged and rotate them so neither sits dead for months.
Blow out dust and debris
Wipe the drill with a dry cloth. Use a soft brush or a shot of compressed air around the vents and chuck area, especially after drilling drywall or masonry.
Inspect bits for wear
Check for rounded driver tips and dull or burned drill bits. Set damaged ones aside to replace; using worn bits is a fast way to ruin screws and overheat your drill.
Store everything together
Keep the drill, charger, and your most-used bits in one case or bin. The easier it is to grab the full setup, the more likely you’ll actually do the job instead of putting it off.
Label your batteries and charger location
Put a piece of tape on each battery with a number (1, 2) and store the charger in a consistent, reachable spot. This avoids “Where did I leave the charger?” delays.
A few minutes of care extends the life of your drill and keeps your next project from starting with dead batteries and missing bits.
Conclusion
A power drill doesn’t need to be fancy to be effective, but it does need to be set up and used with some intention. When you match bits to the job, set speed and torque on purpose, lock the bit in properly, use simple guides, and follow a quick maintenance routine, you get cleaner work and fewer headaches.
Most “drill problems” are really setup problems. Fix those, and your basic cordless drill becomes a reliable, go-to tool for almost every home improvement project on your list.
Sources
- [Family Handyman – How to Use a Drill](https://www.familyhandyman.com/project/how-to-use-a-drill/) – Practical overview of drill settings, bits, and common DIY uses
- [This Old House – All About Drills & Drivers](https://www.thisoldhouse.com/tools/21018154/all-about-drills-drivers) – Explains different drill types, features, and when to use them
- [Bob Vila – The Best Drill Bits for Your Tool Kit](https://www.bobvila.com/articles/best-drill-bits/) – Breakdown of bit types and appropriate materials
- [UL Solutions – Cordless Power Tool Safety](https://www.ul.com/news/cordless-power-tool-safety-tips) – Safety tips and best practices for using cordless tools
- [OSHA – Hand and Power Tools Safety](https://www.osha.gov/hand-power-tools) – Official safety guidance for handling and maintaining power tools
Key Takeaway
The most important thing to remember from this article is that this information can change how you think about Tools & Equipment.


