A sagging interior door that sticks, scrapes the floor, or won’t latch is annoying—but it’s also a very fixable DIY project. With a few basic tools and a bit of patience, you can usually get the door swinging smoothly in under an hour. This guide walks you through multiple fixes, from quick hinge tweaks to slightly more advanced adjustments, so you can choose the right approach for your situation.
Diagnose Why Your Door Is Sagging
Before grabbing tools, figure out what’s actually causing the problem. The fix for a loose hinge screw is different from a warped door slab.
Stand back and look at the gaps around the door while it’s closed. Ideally, the gap is even along the top and sides. If the gap is tight at the top on the latch side and wider near the hinge side, the door is likely sagging from the top hinge. If the bottom edge of the door rubs the floor or carpet, the door may be sagging or the floor may have shifted slightly over time.
Open and close the door slowly. Notice where it sticks: at the latch, along the side, or on the floor. Put your hand on each hinge as you open and close; if you feel the door shift or wobble, the hinges or screws are loose. Also check if the screws in the top hinge are stripped or no longer grabbing solid wood—this is a very common cause of sagging doors in older homes.
Step 1: Tighten and Replace Loose Hinge Screws
Many sagging doors are fixed simply by tightening the hinge screws. This should always be your first move before making any bigger changes.
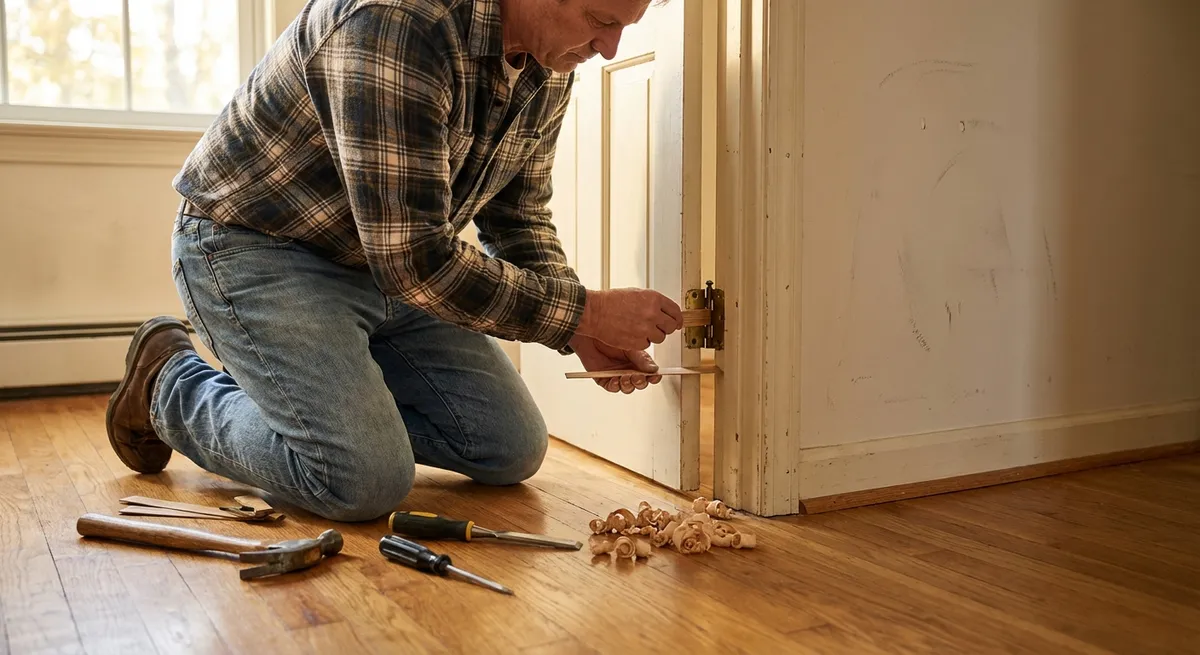
Use a screwdriver—not a drill—to snug up all the screws in the top, middle, and bottom hinges on both the door and the frame (jamb). Tightening by hand helps you feel resistance and avoid over-torquing. If a screw spins without grabbing, it’s stripped. Remove it and inspect the hole.
To repair a stripped screw hole quickly, fill it with wooden toothpicks or a short piece of wooden matchstick coated in wood glue. Pack them tightly, wipe away excess glue, and then drive the screw back in once the glue has set enough to hold. For a stronger, long-term fix, replace short hinge screws (often 3/4"–1") with longer 2½"–3" wood screws that reach into the wall stud behind the jamb—especially in the top hinge. This pulls the door back up and helps prevent future sagging.
Step 2: Adjust the Door Position with Hinge Shims
If the screws are tight but the door still rubs or won’t latch, you may need to nudge the door slightly by shimming one or more hinges. Shimming moves the door edge by a few millimeters, which is often enough to fix sticking.
First, decide which way you need the door to move. If the top latch side is rubbing the jamb, you usually want to bring the top hinge slightly out from the jamb (shim behind the leaf screwed to the frame). If the latch won’t engage because the door sits too far from the latch side, you may need to push the hinge deeper into the jamb or shim a lower hinge.
Support the door slightly with wedges, folded cardboard, or a helper so it doesn’t suddenly shift when you loosen screws. Then, loosen (don’t fully remove) the hinge screws on the jamb side of the hinge you want to adjust. Slip a thin shim—cut from playing card, business card, or purpose-made hinge shims—behind the hinge leaf. Retighten the screws, then test the door. Add or remove thickness as needed, always working in small increments and retesting after each change.
Step 3: Adjust or Move the Strike Plate for a Clean Latch
Sometimes the door swings fine, but it won’t latch or you have to push hard to get it to catch. In that case, the strike plate (the metal piece on the jamb that the latch clicks into) may need adjusting.
Close the door slowly and watch where the latch meets the strike plate. If it hits above or below the opening, mark the contact point with a pencil. For minor misalignment, loosen the strike plate screws and shift the plate up, down, in, or out as needed, then retighten and test. A small movement—often less than 1/8"—can make a big difference.
If the latch is slightly hitting the metal edge of the strike opening, you can carefully file the edge of the strike plate instead of moving the whole piece. Remove the plate, clamp it or hold it firmly, and use a metal file to enlarge or smooth the opening where needed. For larger adjustments (door has been planed, new carpet installed, or framing has moved), you may need to chisel the jamb mortise a bit deeper or fill and re-cut screw holes before reinstalling the strike plate in the right spot.
Step 4: Plane a Sticking Door Edge (Only If Necessary)
If tightening screws and shimming hinges still leaves the door scraping at one spot, you might need to remove a little material from the door edge. This is more advanced than simply adjusting hardware, but still very doable with careful setup.
Find the exact spot where the door sticks by closing it slowly and marking the contact area with a pencil. Take the door off its hinges by removing the hinge pins or unscrewing the hinge leaves from the door. Lay the door across sawhorses or on a stable work surface. Use a hand plane, block plane, or sanding block to remove a small amount of wood from the marked edge, working evenly and checking your progress frequently.
Aim to remove just enough material so the door clears the jamb with a small, consistent gap—usually around 1/8". Keep your strokes straight and along the grain to avoid tearing the wood. Once satisfied, lightly sand the edge, seal or paint the freshly cut surface to match the door, and rehang the door. Test its swing and latch; fine-tune with hinge shims or strike plate adjustments if needed.
Step 5: Check for Frame Movement and Long-Term Stability
If you keep fighting the same sagging issue on the same door, the problem might be the door frame or the surrounding wall, not just the door itself. Minor settling is common, especially in older homes or where there’s ongoing moisture issues.
Inspect the jamb with a level. If it’s significantly out of plumb, your hinge and latch fixes will be compensating for a larger structural shift. You can sometimes correct moderate issues by carefully loosening the trim, adding or adjusting shims behind the jamb, and re-securing it with longer screws into the framing studs. This is more involved and may require patching and repainting adjacent trim or wall areas.
Also look for signs of moisture damage: soft wood around hinges, peeling paint, or discoloration. If the wood is spongy or crumbling, repairing or replacing damaged sections of jamb may be necessary before your adjustments will hold. Finally, once you’ve made your fixes, periodically recheck hinge screws and door operation every few months—especially on high-use doors—to catch small issues before they turn into another sagging problem.
Conclusion
A sagging interior door is rarely a reason to call a contractor or replace the whole unit. By tightening or upgrading hinge screws, using simple shims, adjusting the strike plate, and only as a last resort planing the door edge, you can bring most problem doors back into smooth, reliable operation with basic tools. Take your time, work in small adjustments, and test frequently. The payoff is a door that closes cleanly every time—and one more practical home fix you can confidently handle yourself.
Sources
- [Family Handyman – How to Fix a Sagging Door](https://www.familyhandyman.com/project/how-to-fix-a-sagging-door/) - Step-by-step overview of common sagging door fixes with diagrams
- [This Old House – How to Fix a Sticking Door](https://www.thisoldhouse.com/doors/21017651/how-to-fix-a-sticking-door) - Explains diagnosing sticking points and when to plane or adjust hinges
- [Fine Homebuilding – Tuning Interior Doors](https://www.finehomebuilding.com/project-guides/doors-windows/tuning-interior-doors) - Advanced tips on adjusting doors, hinges, and strike plates for precise fit
- [University of Kentucky Extension – Wood Shrinkage and Swelling](https://forest-products.ca.uky.edu/content/shrinkage-and-swelling-wood) - Background on how wood movement from humidity can affect doors and frames
Key Takeaway
The most important thing to remember from this article is that this information can change how you think about DIY Projects.


