DIY projects don’t have to be flashy to make a big impact. Often, the real value is in simple, solid fixes that make your home safer, more comfortable, and easier to live in. This guide walks through five practical, step‑by‑step projects that almost any DIYer can tackle with basic tools. Each one is focused on reliability and real‑world use—not just looks.
Before You Start: Safety, Tools, and Planning
Before jumping into any project, set yourself up to work safely and efficiently. Taking 15–20 minutes to plan can save hours of frustration later.
First, protect yourself. Basic PPE (personal protective equipment) should be non‑negotiable: safety glasses, hearing protection if you’re using power tools, work gloves when handling rough materials, and a dust mask or respirator for sanding or drilling into old surfaces. If your home was built before 1978, be especially cautious of lead paint when sanding or cutting painted surfaces and consider testing or hiring a pro for anything involving heavy disturbance.
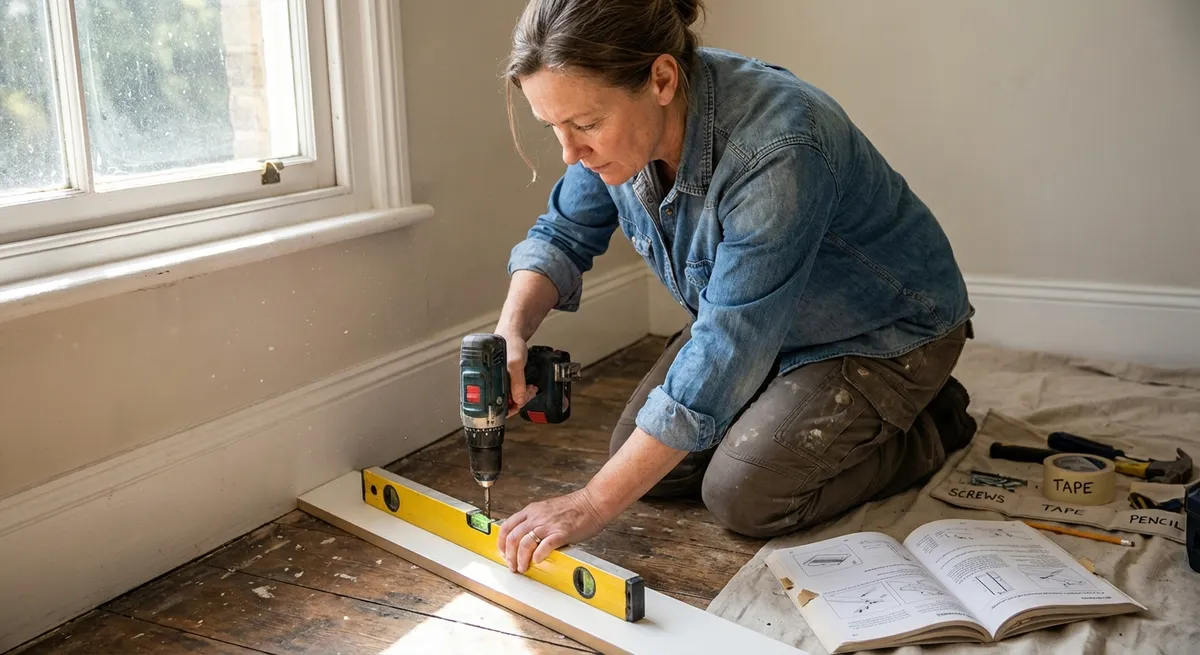
Next, gather your core tools. For most home projects, a solid starter kit includes: a tape measure, pencil, utility knife, stud finder, level, hammer, adjustable wrench, pliers, screwdrivers, drill/driver with bits, and a caulk gun. Keep these together in a single toolbox or tote so you aren’t constantly hunting for them mid‑project.
Then, define the scope. Decide exactly what you’re fixing or upgrading and what “done” will look like. Take photos of the existing condition, measure accurately, and write down a quick materials list. If a step involves water, electricity, or structural components, decide in advance what your “stop and call a pro” point is (for example, finding damaged wiring, rot, or mold).
Finally, give yourself enough time. A project you think will take an hour might reasonably take three if you’re learning. Don’t start something that affects a critical part of your home (like the only bathroom) late at night or right before guests arrive.
Project 1: Install a Solid, Wall‑Mounted Coat or Gear Rack
A strong coat or gear rack near the entry keeps clutter under control and protects your walls from random hooks and screws that eventually rip out.
Step 1: Choose the Right Location and Backing
Pick a wall where you naturally drop your stuff—near the front door, garage entry, or mudroom. Make sure the wall is free of switches or outlets in the exact area you’ll be drilling to reduce the risk of hitting wiring. Decide if you’ll mount individual hooks or a pre‑made rack. For heavier gear, consider mounting a wood board (like a 1x4 or 1x6) to the studs, then mount hooks to that board.
Step 2: Find Studs and Mark Your Layout
Use a stud finder to locate studs and mark their centers with light pencil lines. Standard spacing is 16" on center in many homes, but don’t assume—verify each stud. If using a board, cut it to length, then hold it against the wall and mark where the studs hit the board. If using a single rack, check that its mounting holes line up with at least one stud; if not, you’ll combine stud mounting with wall anchors.
Step 3: Pre‑Drill and Prepare the Mounting Surface
Pre‑drill holes in the board or rack where you’ll attach it to studs, using a drill bit slightly smaller than your screws. If you need wall anchors for non‑stud locations, mark those holes too. Lightly sand and paint or seal the board if desired before mounting—it’s much easier to finish now than after it’s on the wall.
Step 4: Secure the Board or Rack to the Wall
Hold the board or rack in position (use a level to ensure it’s straight) and mark your wall through the pre‑drilled holes. Set it aside, then pre‑drill into stud positions and install wall anchors where needed. Put the board or rack back up and drive screws firmly into studs and anchors, checking the level again before fully tightening.
Step 5: Add Hooks and Test for Strength
Install hooks onto the board or into the rack according to the manufacturer’s instructions, making sure each screw bites into solid wood or the built‑in mounting surface. Gently tug on the rack in multiple directions to test stability before loading it up. Start by hanging a few items and check again after a day or two for any movement or loosening.
Project 2: Upgrade a Wobbly Interior Door So It Closes Cleanly
Interior doors that won’t latch, rub the floor, or swing open on their own are annoying—but often simple to fix with basic adjustments.
Step 1: Diagnose the Problem
Close the door slowly and watch what happens. Does it hit the jamb before reaching the latch? Does the latch not line up with the strike plate? Is the gap at the top uneven? Look at the hinge side while the door is closed: bigger gaps at the top or bottom usually point to hinge issues. Try lifting up on the doorknob—if the door moves significantly, the hinges are likely loose or worn.
Step 2: Tighten and Adjust Hinges
With the door open, use a screwdriver to tighten all hinge screws on both the door and the jamb. If some screws spin without grabbing, remove them and replace with longer screws (2–3") that reach deeper into the framing. For doors rubbing on the latch side, you can slightly shim behind the lower hinge (using thin cardboard or hinge shims) to tilt the door away from the jamb. For doors touching at the top latch side, shim the top hinge instead.
Step 3: Tune the Latch and Strike Plate Alignment
Close the door and see where the latch hits the strike plate. If it hits above or below the opening, you may need to slightly move the strike plate or file the opening. Start small: loosen the strike plate screws and nudge it in the needed direction, then retighten and test. If shifting isn’t enough, carefully file the opening in the strike plate a little at a time, testing frequently.
Step 4: Fix Doors That Swing Open or Closed By Themselves
If your door won’t stay put, it’s usually due to the jamb being slightly out of plumb. The simplest DIY fix is to bend the hinge pin slightly. Remove the top hinge pin by tapping it out with a hammer and screwdriver. Gently bend the pin a tiny amount using a hammer on a hard surface, then reinstall. This adds friction and helps the door stay where you leave it. Bend more only if needed.
Step 5: Address Minor Bottom Rubbing and Finishing Touches
If the bottom of the door just barely rubs the floor or carpet, try tightening and adjusting hinges first. Only after that should you consider trimming the door. To trim, remove the door from its hinges, mark the smallest amount to cut, score the line with a utility knife, and use a circular saw or hand plane. Lightly sand the edge and seal any cut wood with paint or finish to prevent moisture absorption.
Project 3: Reseal a Drafty Window with Fresh Caulk
Drafty windows are uncomfortable and waste energy. Recaulking around the frame can cut down on drafts and moisture intrusion without replacing the entire window.
Step 1: Identify Where Air Is Getting In
On a cool or windy day, hold your hand near the window frame edges and sill to feel for drafts. A lit incense stick or a strip of toilet paper can help show air movement. Focus on the interior trim edge, the joint between trim and wall, and the joint between window frame and trim. Note any cracked, loose, or missing caulk.
Step 2: Remove Old, Failing Caulk
Use a utility knife or caulk removal tool to carefully cut along each side of the old caulk bead. Gently pry it out with a putty knife, being careful not to gouge the wall or window frame. Remove as much loose material as you can. Vacuum or brush away dust and debris so you have a clean surface for the new caulk to adhere to.
Step 3: Choose the Right Caulk and Prep the Area
For interior window sealing, a paintable acrylic latex caulk (often with silicone added) is usually a good choice. Check the label for “paintable” if you plan to repaint the trim. Wipe the joint areas with a damp cloth and let them dry completely. Use painter’s tape along both sides of the joint if you want cleaner lines and less cleanup.
Step 4: Apply a Consistent Bead
Cut the caulk tube tip at a 45‑degree angle, starting with a small opening. Puncture the inner seal if needed. Insert the tube into your caulk gun, then apply steady pressure while moving at a consistent speed along the joint. Aim for a continuous bead without big gaps or blobs. It’s better to use a little too much and smooth it out than too little and leave gaps.
Step 5: Tool the Bead and Clean Up
Immediately after applying, run a damp finger or caulk tool along the bead to press it into the joint and smooth the surface. Wipe away excess caulk with a damp rag. Remove painter’s tape before the caulk skins over so it doesn’t tear the bead. Allow the caulk to cure according to the manufacturer’s instructions before painting or heavy use of the window.
Project 4: Anchor a Freestanding Bookcase or Cabinet for Safety
Tall furniture can tip over, especially in homes with kids, pets, or in areas prone to earthquakes. Anchoring key pieces to the wall is a quick safety upgrade.
Step 1: Decide Which Pieces Need Anchoring
Walk through your home and note any tall, narrow, or heavily loaded furniture: bookcases, dressers, storage cabinets, or tall media units. Anything that could tip if pulled from the top should be considered. Prioritize rooms kids access, heavy storage areas, and pieces with higher centers of gravity.
Step 2: Choose Anchoring Hardware
Use furniture anchoring kits or L‑brackets rated for the weight of your piece. Kits typically include straps or brackets plus screws and sometimes wall anchors. For the strongest connection, plan to attach into wall studs whenever possible. If studs aren’t where you need them, choose heavy‑duty wall anchors appropriate for your wall type (drywall vs. plaster).
Step 3: Position and Mark Anchor Locations
Move the furniture into its final position, then gently pull it away from the wall by a few inches. Decide where to attach brackets or straps to the top or upper back edge of the furniture so they’ll be hidden but accessible. Hold each bracket in place and mark screw positions on both the furniture and the wall.
Step 4: Attach Brackets to Furniture and Wall
Pre‑drill pilot holes in the furniture where you marked, being careful not to drill through the top surface. Secure brackets or straps using the supplied screws or appropriately sized wood screws. On the wall side, use a stud finder to confirm stud location where possible, then pre‑drill and drive screws into studs. If you can’t hit a stud, install wall anchors according to their instructions, then attach the bracket screws.
Step 5: Tighten, Test, and Tidy
Reconnect the furniture to the wall hardware (tighten straps or screws) until the piece is snug but not overly stressed. Gently pull from the top front of the furniture to verify it doesn’t tip forward. If it moves more than slightly, recheck connections and consider adding a second anchoring point for security. Tuck or clip cords and tidy items on top so the anchors don’t have to resist unnecessary loads.
Project 5: Build a Simple, Sturdy Utility Shelf for a Closet or Garage
Extra shelving can quickly turn a cluttered space into something usable. A basic fixed shelf with supports is one of the most straightforward builds you can tackle.
Step 1: Measure the Space and Plan the Shelf
Measure the width and depth of the area where you want the shelf. Decide what you’ll store there: light items (like cleaning supplies) or heavier items (like paint cans or tools). This determines material thickness and support spacing. Sketch a quick plan: one shelf, depth (often 12–16"), and height from the floor or existing shelves.
Step 2: Choose Materials and Cut to Size
For most home utility shelves, 3/4" plywood, solid wood boards, or pre‑cut laminated shelf boards work well. Cut your shelf board to the measured width (wall to wall) and depth with a circular saw or have it cut at the store. You’ll also need support pieces: 1x2 or 1x3 boards to form a cleat along the back wall and short side supports if you have solid side walls.
Step 3: Locate Studs and Install the Back Cleat
Use a stud finder along the back wall to mark stud centers. Cut a back cleat to almost the full width of the shelf (leave a small gap at ends if needed). Level the cleat at your planned shelf height and mark screw locations at each stud. Pre‑drill through the cleat and into the studs, then secure with 2–3" wood screws. Check level again after tightening.
Step 4: Add Side Supports and Place Shelf
If you have solid side walls, cut two side cleats to match the shelf depth minus thickness of the back cleat, and mount them at the same height, level with the back cleat. If there are no solid sides, consider using small angle brackets instead, screwed into studs or with proper anchors. Once supports are in place, set the shelf board on top, pushing it firmly against the back wall and centering it side to side.
Step 5: Secure and Finish the Shelf
From above, drive a few screws down through the shelf into the back and side cleats to keep it from shifting, pre‑drilling if needed to prevent splitting. For heavier loads, add a center bracket or leg under the front edge. Lightly sand any rough edges on the shelf. If desired, seal or paint the shelf to resist stains and moisture, especially in garages or laundry areas, and let it dry fully before loading.
Conclusion
Solid DIY work isn’t about doing everything yourself—it’s about handling the projects that make your home feel more functional, safe, and comfortable. Installing a dependable coat rack, tuning up a problem door, sealing drafty windows, anchoring tall furniture, and adding sturdy shelving are all realistic wins for most homeowners with basic tools.
Start with the project that solves the most annoying problem in your daily routine, follow the steps, and give yourself time to learn as you go. The more you complete small, reliable fixes, the more confident you’ll be tackling the next repair or upgrade.
Sources
- [U.S. Consumer Product Safety Commission – Anchor It! Campaign](https://www.cpsc.gov/Safety-Education/Safety-Education-Centers/Anchor-It) – Guidance on preventing furniture and TV tip‑overs and why anchoring is important
- [U.S. Department of Energy – Weatherstripping and Caulking](https://www.energy.gov/energysaver/weatherize/air-sealing-your-home/weatherstripping) – Official tips on sealing air leaks around windows and doors
- [Family Handyman – How to Fix a Sticking Door](https://www.familyhandyman.com/project/how-to-fix-a-sticking-door/) – Step‑by‑step door adjustment techniques and hinge tips
- [Lowe’s – How to Install a Shelving System](https://www.lowes.com/n/how-to/install-shelving) – Reference for shelving materials, basic methods, and load considerations
- [Occupational Safety and Health Administration (OSHA) – Personal Protective Equipment](https://www.osha.gov/personal-protective-equipment) – Overview of basic PPE principles relevant to DIY and home projects
Key Takeaway
The most important thing to remember from this article is that this information can change how you think about DIY Projects.


