Walking through those “they-don’t-make-’em-like-they-used-to” century homes that are trending online right now, one thing stands out: the craftsmanship wasn’t done with apps or battery packs. It was chisels, hand planes, hammers, and saws—simple tools, used well, that still hold up a hundred years later. As viral photo collections of beautiful old houses circulate this week, a lot of DIYers are asking the same question: what tools do I actually need if I want my projects to age that well?
You don’t need a fully loaded workshop to build or fix things that last. But you do need a small, smart set of tools you can rely on. Inspired by the renewed love for old-school craftsmanship in those trending “beautiful old houses” photo series, here’s a modern, practical hand-tool setup that will actually earn its space in your home—plus how to use each piece step by step.
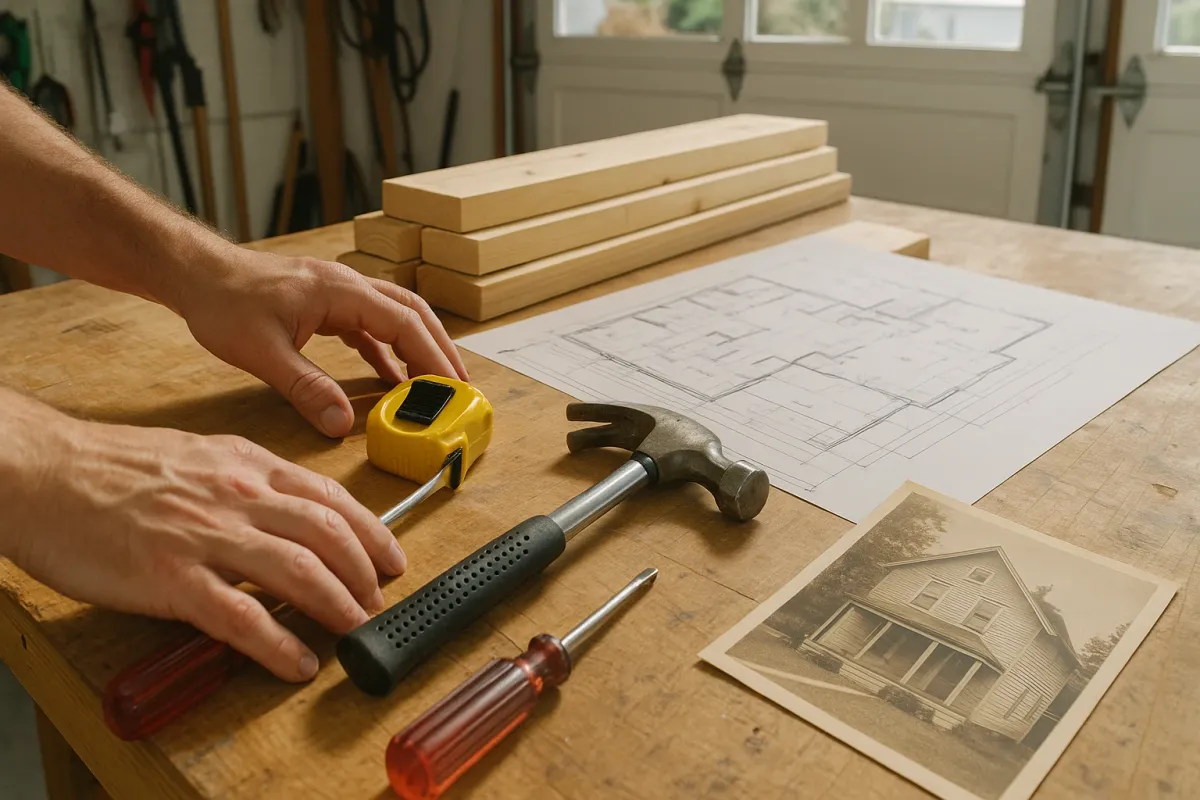
1. A Solid Tape Measure (That You’ll Actually Trust)
A lot of the clean lines and tight joints you see in old-home photos start with one thing: accurate measuring. A cheap, floppy tape that bends, sticks, or lies about the numbers will wreck your projects before you even start.
Step-by-step: Using Your Tape Measure Like A Pro
Choose the right tape first
Look for a 25 ft (8 m) tape with a wide, rigid blade and clear markings in both fractions and metric. Brands like Stanley, Milwaukee, and DeWalt are safe bets—contractors still carry them for a reason.
Hook it correctly
The metal hook at the end is supposed to wiggle. For outside measurements (hooking over an edge), pull it snug. For inside measurements (pushing against a surface), press it in. That movement compensates for the hook thickness.
Lock and mark clearly
Once you have your measurement, lock the tape before you reach for your pencil. Mark with a sharp, dark line and add a small “V” (a carpenter’s mark) where the point hits for better accuracy.
Measure the same way, every time
Don’t swap between tape measure, laser, and “eyeballing it” on the same project. Pick one main method and stick with it. Small differences pile up and cause gaps, crooked shelves, and doors that don’t close right.
Double-check critical cuts
For visible parts—like a new shelf, vanity top, or trim piece—measure twice from different reference points. If both measurements agree, then cut. If not, find the mistake before you waste material.
2. The Only Hammer Most DIYers Need (And How To Use It Safely)
Those trim details in old homes weren’t shot in with nail guns. They were usually done with a 16 oz claw hammer and patience. You don’t need a wall of hammers—just one well-balanced one you can control.
Step-by-step: Working Smarter With A Claw Hammer
Pick a balanced 16 oz hammer
Go for a curved-claw, 16-ounce hammer with a comfortable grip. Wood, fiberglass, or rubberized steel handles all work—what matters is that it feels controlled in your hand, not head-heavy.
Choke up for accuracy
For finish work (trim, small nails), grip closer to the head and use shorter, lighter swings. For framing or demolition, slide your hand toward the end of the handle for more power.
Start nails with taps, not swings
Hold the nail near the head with your fingers. Tap gently until the nail can stand by itself. Move your fingers away, then drive the nail with firm, controlled hits—not wild swings.
Pull nails without wrecking the surface
When removing nails from wood you plan to reuse, always place a thin scrap of wood under the hammer head before you pry. This spreads pressure and avoids deep dents.
Respect rebound and noise
On harder surfaces (like concrete under thin flooring), a hammer can bounce more than you expect. Keep your non-dominant hand clear and wear hearing protection during long sessions of hammering—especially on studs and framing.
3. A Three-Piece Hand Saw Setup That Covers Almost Everything
In those photos of classic homes, the crisp cuts in trim, floors, and framing weren’t done on fancy track saws. They were done with good hand saws and sharp teeth. You don’t need a giant collection—just three types can cover nearly everything.
Step-by-step: Getting Clean Cuts With Hand Saws
Start with a general-purpose handsaw
A 20–22" crosscut handsaw is your workhorse for 2x4s, fence boards, and basic framing. Look for induction-hardened teeth; they stay sharp longer, even if you can’t sharpen them yourself.
Add a pull saw for detail work
A Japanese-style pull saw is thinner and cuts on the pull stroke, giving you cleaner, more controlled cuts on trim, plywood, and delicate work. This is your go-to for visible cuts you actually care about.
Use a backsaw + miter box for perfect angles
For baseboards, window trim, and small moldings, a backsaw (with a reinforced spine) plus an inexpensive miter box gives you precise 45° and 90° cuts without needing a power miter saw.
Start each cut slowly
Don’t attack the wood. Place the saw where you want the cut, then take 3–4 light strokes to create a shallow groove. Once the saw is tracking in its own path, you can speed up.
Support the wood fully
Always support the piece on both sides of the cut. If wood pinches the blade or drops suddenly as you finish the cut, you’ll tear fibers, splinter edges, and potentially kink the blade.
4. The Screwdriver Setup That Beats “One Bit Fits All”
Those old interior doors and cabinet hinges still working today? They’re often held together by properly driven screws, not stripped heads and half-sunk hardware. Modern DIYers reach for a drill by default, but a good screwdriver set gives you control the drill can’t.
Step-by-step: Using Screwdrivers To Avoid Stripped Screws
Get a real set, not a junk drawer mix
Look for a set with: - Multiple sizes of Phillips - Multiple sizes of flat/slotted - At least one square/Robertson and one Pozidriv if you’re in a region where they’re common Magnetic tips are a bonus for overhead work.
Match the tip to the screw head
If the bit is too small, it will spin and strip the screw. Too big, and it won’t fully seat. The driver should feel like it “locks in” before you apply pressure.
Pre-drill for dense or old wood
Old framing studs and hardwood trim (common in those early-1900s homes) are dense. Use a drill with a small pilot bit before driving screws to prevent splitting and snapping.
Drive with pressure, not speed
Keep your wrist straight, put firm pressure directly behind the screw, and turn steadily. If you feel it starting to cam out (slip), stop, reseat the driver, and try again with more downward pressure.
Tighten hardware evenly
For door hinges, outlet covers, or cabinet handles, start all screws loosely first. Then tighten each a little at a time in rotation. This keeps the hardware straight and reduces stress on the material.
5. A Basic Chisel Set For Real Wood Repairs (Not Just “Caulk And Hope”)
Those sharp corners on old casings and the tight mortise joints you see online weren’t done with filler—they were cut with chisels. Even if you’re not building furniture, a simple chisel set can turn “I guess I’ll just caulk that” into a clean, solid repair.
Step-by-step: Safe, Effective Chisel Use For Home Repairs
Choose the right starter set
A good beginner set includes 3 or 4 widths: around 1/4", 1/2", 3/4", and 1". Look for hardened steel blades and handles you can tap with a mallet (wood or plastic).
Keep them sharp enough to be safe
Dull chisels slip. Even a basic sharpening stone or sandpaper-on-glass setup will dramatically improve control. If the chisel can shave thin curls off soft wood easily, it’s sharp enough for general DIY.
Always cut away from your body
Keep your hands behind the cutting edge, not in front of it. When paring or shaving wood without a mallet, use two hands: one on the handle, one guiding the blade from the top, both moving in the same direction.
Use a mallet, not a hammer, on the handle
A wood or rubber mallet delivers force without destroying the handle. For deeper cuts like hinge mortises, take multiple light taps instead of trying to remove all the material in one go.
Work in layers, not chunks
When cleaning up a mortise, shaving a swollen door edge, or squaring a notch, remove thin layers. After each pass, check your fit. This “sneak up on it” approach is how those clean, tight joints in old homes were made—and why they still look good now.
Conclusion
The photos of beautifully crafted old houses trending this week aren’t just nostalgia—they’re a reminder that good results come from good tools, used correctly, over and over again. You don’t need a room full of gear to get there. A reliable tape measure, one solid hammer, a small set of hand saws, proper screwdrivers, and a few sharp chisels will handle most real-world home projects.
Start with these, learn to use them well with the steps above, and your “weekend fixes” will start to look less like temporary patches and more like the kind of work that could still impress someone a hundred years from now.
Key Takeaway
The most important thing to remember from this article is that this information can change how you think about Tools & Equipment.


