Scrolling through that trending “50 Times People Made Something Amazing Out Of Wood” article? You’re not alone. Social feeds are packed right now with jaw‑dropping wooden lamps, sleek shelves, live‑edge tables, and carved decor that look straight out of a design magazine. The rise of makers on Instagram, TikTok, and Reddit’s r/woodworking has turned wood projects from niche hobby to mainstream weekend goal.
If those viral builds have you thinking, “I want to try that… but where do I even start?”, this guide is for you. Below is a practical, step‑by‑step path from “I’ve only built IKEA” to “I made this myself,” using simple tools and beginner‑friendly methods inspired by the current wood‑DIY wave.
1. Decide What To Build (And Don’t Start With a Dining Table)
Before you buy a single board, pick a project that matches your current skills, tools, and time. The internet is full of expert‑level wood art right now, but most of those pieces are built on years of practice. You don’t need that to start—just choose something that lets you learn without getting overwhelmed.
Step‑by‑step:
- Pick a small, useful project. Good first builds: a wall shelf, plant stand, simple bench, or charging station. These give you real practice cutting, sanding, and finishing without a huge lumber bill.
- Limit the complexity. Avoid drawers, curves, doors, or fancy joinery on your first build. Aim for straight cuts and simple butt joints (boards meeting at 90°).
- Check your space and tools. If you only have a small balcony and a drill, don’t choose a huge outdoor sofa. Match the project to your reality.
- Set a time budget. For a first build, plan for one weekend or two weeknights. If the plan looks like a multi‑week build, save it for later.
- Collect 2–3 reference builds. Search “beginner wood project shelf/bench/etc.” on YouTube or Pinterest and save a few examples. Look for creators who show measurements, mistakes, and fixes—not just polished montages.
Practical tip: If you’re torn between two projects, pick the one that uses fewer different tools. Learning one new tool at a time keeps things safer and less stressful.
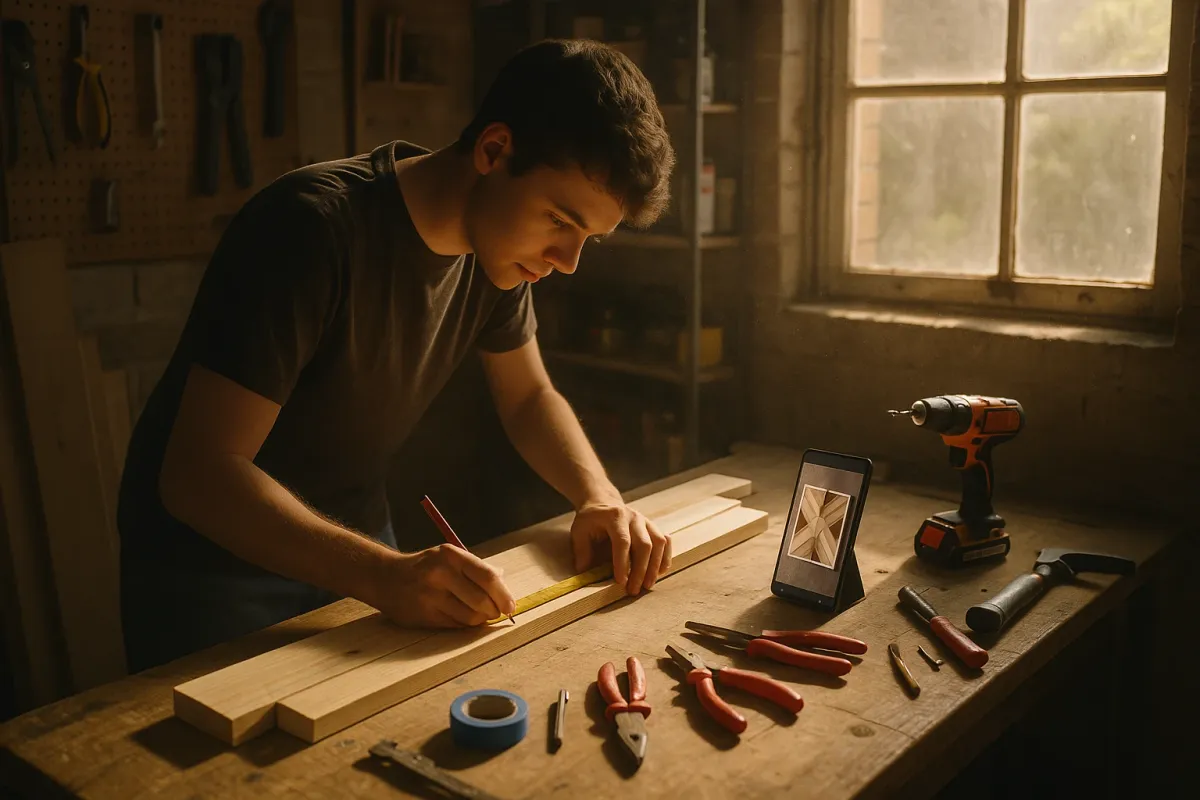
2. Gather Basic Tools Without Blowing Your Budget
Seeing pro‑level shops in those viral woodworking posts can be intimidating—full wall of clamps, track saws, CNC machines. You don’t need any of that to get started. For most beginner wood projects, a small, well‑chosen toolkit is enough.
Step‑by‑step:
Start with the core four:
- A tape measure (metric + imperial) - A pencil or fine marker - A speed square (for straight, 90° lines) - A hand saw or basic circular saw (if you’re comfortable and can use it safely)
Add drilling and fastening tools:
- Cordless drill/driver with a set of bits - Wood screws in 2–3 common lengths (e.g., 1 ¼", 1 ⅝", 2") - Optional but helpful: a countersink bit so screw heads sit flush
Plan for sanding and finishing:
- Sanding block or random orbital sander - Sandpaper in grits 80, 120, 220 - A simple finish: wipe‑on polyurethane, Danish oil, or water‑based poly 4. Rent or borrow when it makes sense. Many big‑box stores now rent tools by the hour or day. If your project needs, say, a miter saw for 10 cuts, renting is often smarter than buying immediately.
Don’t forget safety gear:
- Safety glasses - Dust mask or respirator (especially for sanding) - Hearing protection if using power tools
Practical tip: If you’re not ready for saws yet, get your boards cut in‑store. Most home centers will make straight cuts for a small fee or even free—perfect for early projects.
3. Choose The Right Wood and Have the Store Cut It
A lot of the viral wood builds you’re seeing use hardwoods like walnut, oak, or maple. They’re beautiful—but they can be pricey and harder to work with if you’re brand new. For your first project or two, you can get great results from simple materials.
Step‑by‑step:
Pick a beginner‑friendly material:
- Pine boards (cheap, easy to cut, good for shelves/benches) - Plywood (¾" thick for most furniture, ½" for lighter pieces) 2. Plan your cut list before you shop. Sketch your project on paper, then write down: - Each piece name (e.g., “top”, “leg”) - Thickness, width, and length - Total quantity per piece 3. Check what your local store actually stocks. Look up your home center online and see common board sizes (1x4, 1x6, 2x2, etc.). Adjust your plan so most cuts are just “cut this board shorter,” not ripping boards to a new width. 4. Use store cutting to your advantage. At the lumber desk, say: - “I need this sheet cut into: x by y, x by y,” etc. - Keep in mind: they usually only do straight 90° cuts and may not be perfectly precise—plan to sand/trim at home if needed. 5. Inspect boards before you buy. Sight down the length to check if they’re twisted or bowed, and look for big knots where screws will go. Slight imperfections are fine; you just don’t want a dramatically warped piece.
Practical tip: For a “nicer” look without hardwood prices, choose select pine or poplar boards. They’re still beginner‑friendly but finish more smoothly than cheap stud lumber.
4. Assemble Straight, Strong Joints (Without Fancy Joinery)
A lot of pieces in that trending wood art collection use advanced joinery—finger joints, mortise and tenon, intricate glue‑ups. You don’t need any of that to build something sturdy and attractive. For your early projects, focus on making simple 90° joints that are straight, square, and secure.
Step‑by‑step:
- Dry‑fit everything first. Before glue or screws, clamp or hold boards in place and check:
- Are edges flush?
- Are corners square (use your speed square)?
- Does it wobble when set on a flat floor or table?
- Use pilot holes for screws. This reduces splitting and makes driving screws easier:
- Choose a drill bit slightly smaller than the screw’s core (the solid center, not including threads).
- Drill straight, stopping just shy of going all the way through the front face.
- Add wood glue for strength. Run a thin bead along the joint where two boards meet, then spread it lightly with a scrap piece or finger (wear a glove if you prefer). Wipe squeeze‑out with a damp rag.
- Clamp whenever possible. Even a couple of basic clamps help a lot:
- Clamp pieces in position before driving screws so they don’t shift.
- If you don’t have clamps yet, you can use heavy items (paint cans, books) for simple flat glue‑ups, but be extra careful with alignment.
- Check for square as you go. After attaching each side or leg, check with your speed square or measure diagonals (on rectangles, diagonals should match). Adjust before the glue fully sets.
Practical tip: If the visible screw heads bother you, you can either:
5. Sand and Finish So Your Project Looks “Store‑Bought,” Not “School Project”
What sets a lot of the viral wood creations apart isn’t just design—it’s the finish. Even a simple pine shelf can look high‑end if you sand it properly and use a clean, consistent stain or clear coat. Rushing this step is the fastest way to make good work look sloppy.
Step‑by‑step:
- Start with the right grit.
- For rough lumber or visible saw marks: start at 80 grit.
- For smoother boards: start at 120 grit.
- Sand in stages. Work through:
- 80 → 120 → 220 (or 120 → 220 if starting smoother)
- Remove dust between grits with a vacuum or clean cloth—don’t just sand over the dust.
- Break sharp edges. Lightly run sandpaper along corners and edges to soften them. This makes the piece feel better in the hand and reduces splinter risk.
Choose a simple finish:
- For a natural look: Danish oil or wipe‑on poly - For a subtle sheen and good protection: water‑based polyurethane (less odor, dries quick) - For color: a stain + clear coat combo 5. Apply thin, even coats. - Stir (don’t shake) your finish to avoid bubbles. - Use a clean cloth or foam brush; wipe or brush with the grain. - Let it dry fully between coats, lightly sand with 220 grit, and wipe dust before the next coat.
Practical tip: If you’re sharing your build online (like the makers inspiring you), take photos before and after finishing in good natural light. Clean background, simple styling, and a quick “materials + steps” caption make your project more shareable.
Conclusion
The explosion of viral wood projects—from intricate art pieces to clean, minimalist benches—has a lot of people asking if they could build something similar at home. You can. The key is to start small, use basic tools well, and focus on the unglamorous fundamentals: straight cuts, square joints, patient sanding, and simple finishes.
You don’t need a full pro shop to join the trend you’re seeing all over your feed. One thoughtful project built this month—no matter how simple—teaches you more than a hundred saved posts. Pick a build, keep the steps above handy, and let your first woodworking project be the start of a lot more “Wait, you made that?” moments in your home.
Key Takeaway
The most important thing to remember from this article is that following these steps can lead to great results.


