Step 1: Identify a Dedicated Space
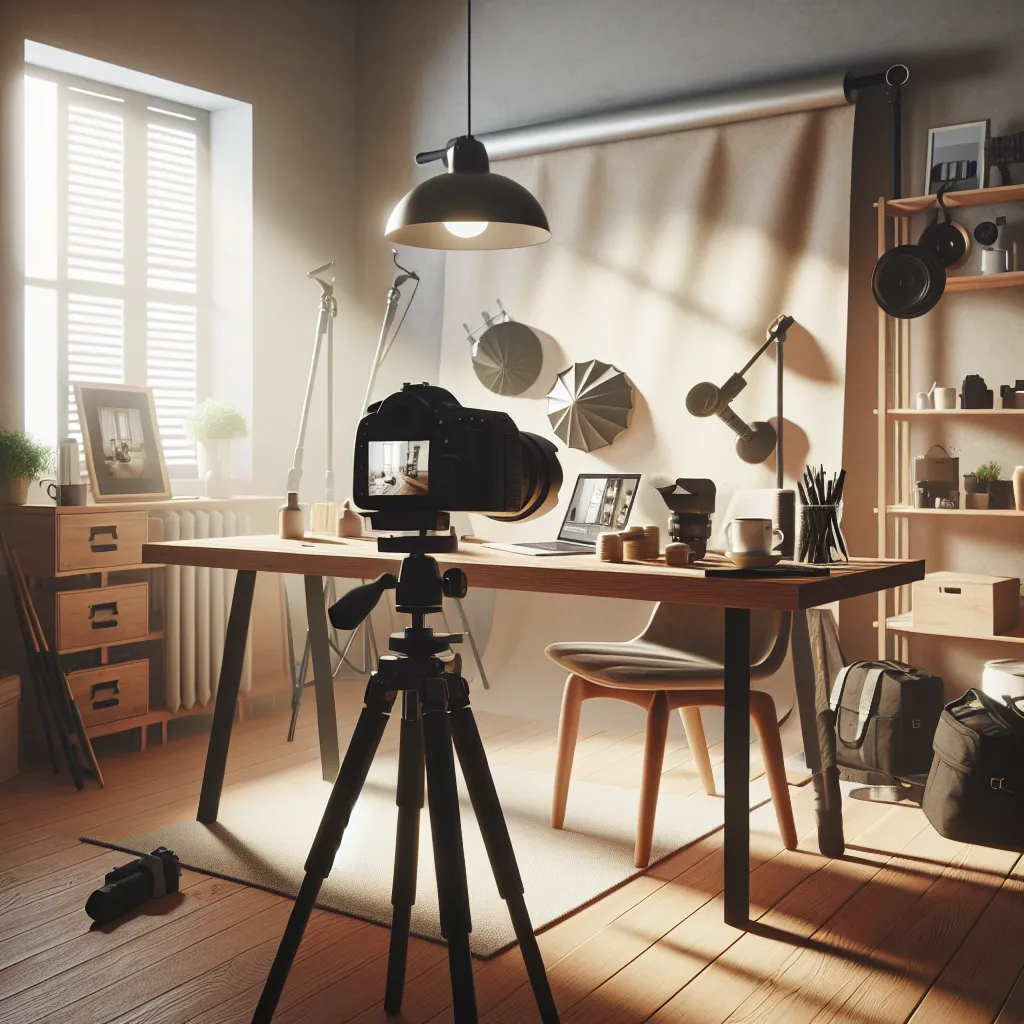
The first step to creating your home photography studio is to identify a suitable space. This could be a spare room, a basement, or even a well-lit corner of your living room. The area should be spacious enough to accommodate your photography equipment, props, and subjects comfortably. Also, consider the lighting conditions of the selected space, as good lighting is crucial for high-quality photography.
Step 2: Invest in Essential Photography Equipment
Once you have your space, it's time to invest in the necessary equipment. This includes a decent DSLR or mirrorless camera, a sturdy tripod, and a variety of lenses for different types of shots. Lighting equipment like softboxes, umbrellas, or ring lights can help achieve the desired lighting effects. A backdrop stand with different colored backdrops can change the ambiance and mood of your shots.
Step 3: Organize Your Space
Organization is key in a home photography studio. Use shelves, drawers, and storage boxes to keep your equipment and props organized. Label everything for easy access. Make sure to have a clean and clutter-free shooting area. The better organized your studio is, the more efficient your photography sessions will be.
Step 4: Set Up the Lighting
Lighting is a crucial aspect of photography. Position your lighting equipment effectively to achieve the desired effects. You may need to experiment with different positions and settings to find what works best. Remember, the goal is to illuminate the subject adequately without creating harsh shadows or overexposure.
Step 5: Experiment and Innovate
Finally, don't be afraid to experiment. Try different setups, use different props, and play around with your equipment settings. Innovation is key in photography. The more you experiment, the more you will learn, and the better your photographs will become.
Conclusion
Building a home photography studio may seem like a daunting task, but with a bit of planning and creativity, it's entirely achievable. Remember, the goal is to create a space that allows you to explore your photography skills and passion fully. Happy shooting!