Harnessing the sun's power to create electricity for your home is an excellent way to save on energy costs, reduce your carbon footprint, and contribute to a more sustainable future. As daunting as it may sound, with the right tools and guidance, building your own DIY solar panel system is an achievable task. Here's a step-by-step guide to help you through the process.
Step 1: Understand Your Energy Needs
The first step in building a DIY solar panel system is understanding your energy needs. Assess your electricity bills to gauge the average amount of energy you consume monthly. This will help you determine the size of the solar panel system you need to build. Remember, the goal is to produce enough electricity to cover your energy usage.
Step 2: Gather Your Tools and Materials
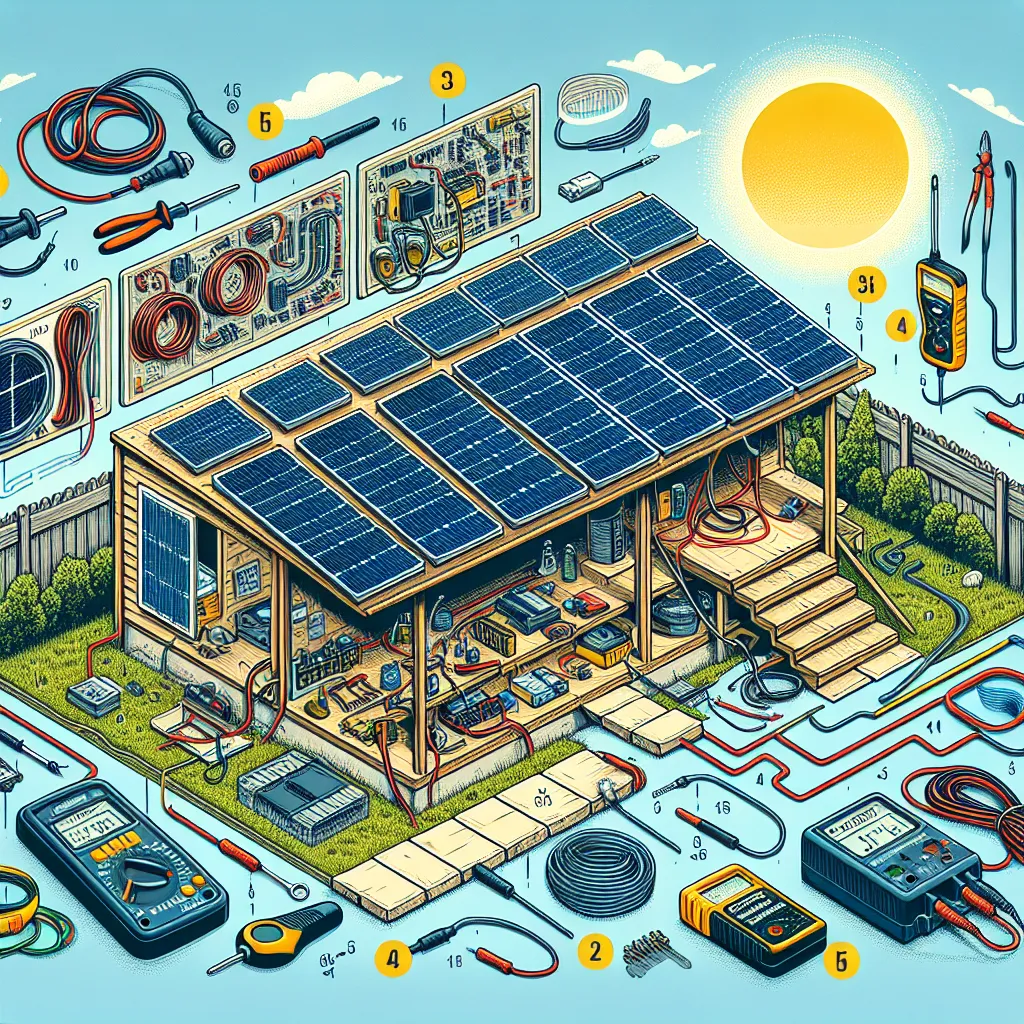
For this project, you'll need photovoltaic cells, a charge controller, a battery bank, an inverter, and wiring. These components are essential for creating and storing energy, then converting it into a usable form for your home appliances. You can find these materials online or at a local hardware store.
Step 3: Build The Solar Panels
Start by soldering the photovoltaic cells together based on your energy needs. Once done, mount these cells on a panel board. Make sure it's sturdy and waterproof to protect your cells from the elements. After mounting, connect your panels to the charge controller using the specified wiring.
Step 4: Set Up The Energy Storage System
Next, connect the charge controller to your battery bank. The charge controller ensures that your batteries don't overcharge, which can lead to damage. Your battery bank will store the energy generated by your solar panels. Choose batteries designed for solar power systems, as these are built to handle the charge and discharge cycles associated with solar energy.
Step 5: Connect Your Inverter and Test Your System
The final step is to connect your inverter to the battery bank. The inverter converts the stored energy into AC power, which is usable by your home appliances. After connecting the inverter, test your system to ensure everything is working correctly.
Conclusion
Building your own DIY solar panel system is an excellent project for those passionate about sustainable energy and home improvement. By following these steps, you'll not only create a renewable energy source for your home but also gain invaluable skills in the process. Remember, safety is paramount, so always take necessary precautions when handling tools and equipment. Whether you're a seasoned DIY enthusiast or a beginner, this project is a great way to contribute to a greener future.