Step 1: Choose the Right Location
The first step is to decide where you want to set up your vertical garden. Ideally, it should be a wall that receives ample natural light, as most plants prefer bright, indirect light. However, if you're planning to grow shade-loving plants, a less brightly lit area would work too.
Step 2: Select the Right Plants
Choosing the right plants for your vertical garden can make all the difference. Consider factors such as light requirements, growth speed, and maintenance needs. Herbs like mint, basil, and parsley are great for vertical gardens. Other options include ferns, succulents, or air plants.
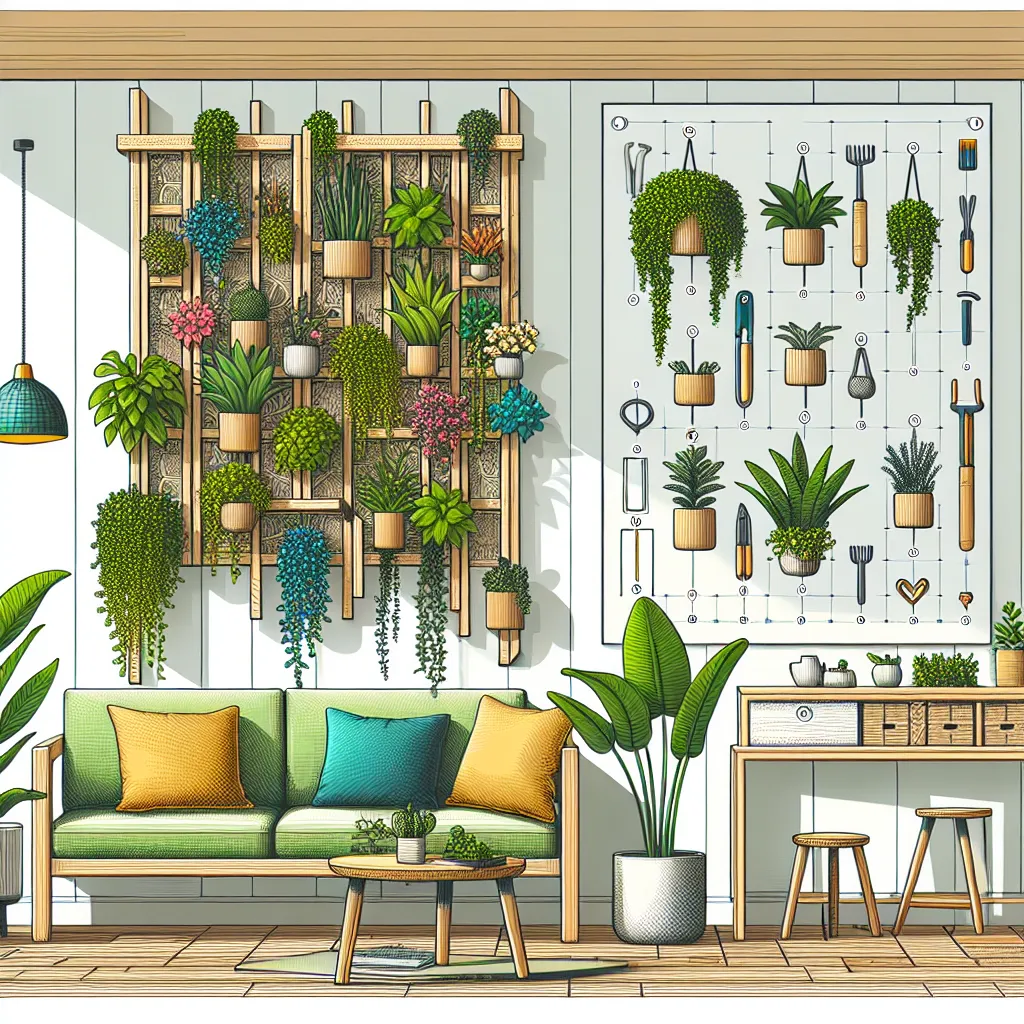
Step 3: Choose Your Vertical Garden System
There are numerous vertical garden systems available in the market. You can choose from wall planters, hanging pots, or even fabric pocket planters. If you're feeling particularly crafty, you can create your own system using wooden pallets or PVC pipes.
Step 4: Install the Vertical Garden System
Once you've chosen your system, it's time to install it. For wall planters and fabric pocket planters, you'll need to secure them to the wall using appropriate fixtures. If you're using hanging pots, ensure they are hung securely. For DIY systems like wooden pallets, you might need to add a waterproof backing and shelves to hold your plants.
Step 5: Plant and Care for Your Indoor Garden
Now it's time to add your chosen plants. Plant them carefully into the pockets or pots of your vertical garden system. Once all the plants are in place, water them thoroughly. Going forward, care for them as per their individual needs. Regular watering, occasional fertilizing, and proper light are key to a thriving vertical garden.
Conclusion
Creating a DIY indoor vertical garden can be a fun and rewarding project. Not only does it enhance the aesthetics of your home, but it also provides a green, soothing environment to unwind. So follow these steps, unleash your creativity, and enjoy the process of crafting your personal indoor garden.