Creating professional-quality photos doesn't require a professional studio. With a few household items and a dash of creativity, you can create your own DIY photo studio right at home. Here's a guide on how to do it.
Step 1: Setting Up the Space
First things first, you need to find a suitable space for your photo studio. It doesn't have to be huge, but it should be well-lit and free from clutter. A spare room, a garage, or even a corner in your living room can serve the purpose. Make sure the walls are painted white or a light color to reflect light evenly.
Step 2: Creating a Backdrop
A versatile backdrop is essential for any photo studio. Purchase a roll of seamless white paper for a clean and professional look. You can also use different colored papers or fabrics for variety. Secure the backdrop to a wall or a sturdy stand. Remember, the smoother the backdrop, the better the photos.
Step 3: Setting Up the Lighting
Lighting is crucial in photography. Natural light is ideal, but if that's not an option, you can create your own lighting set up. You can use desk lamps with adjustable necks or even floor lamps. For a softer effect, you can cover the lamps with white cloth or paper.
Step 4: Crafting Your Props
Props can add depth and interest to your photos. Household items can be transformed into unique props with a little creativity. Old books, vintage suitcases, or colorful fabrics can all be used to add character to your photos.
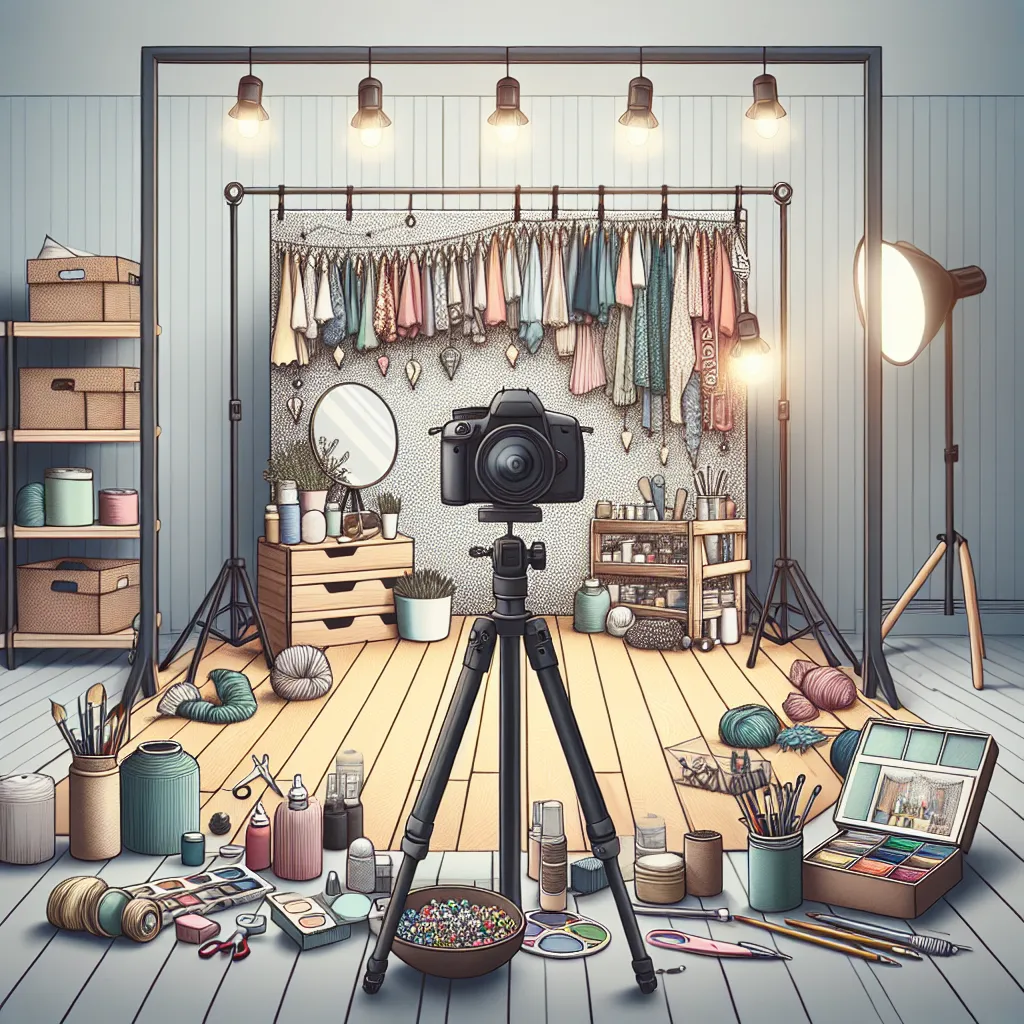
Step 5: Assembling Your Camera Setup
Your camera setup can be as simple or as advanced as you want it to be. A smartphone with a good camera can work just as well as a professional camera for simpler shots. If you're using a smartphone, consider investing in a tripod for steady shots. If you're using a professional camera, ensure you have the correct lenses for your desired shots.
Conclusion
Creating your own DIY photo studio is not only cost-effective but also allows you to explore your creativity in a new way. With a bit of time and effort, you can create professional-quality photos right at home. So, get started and have fun with it!