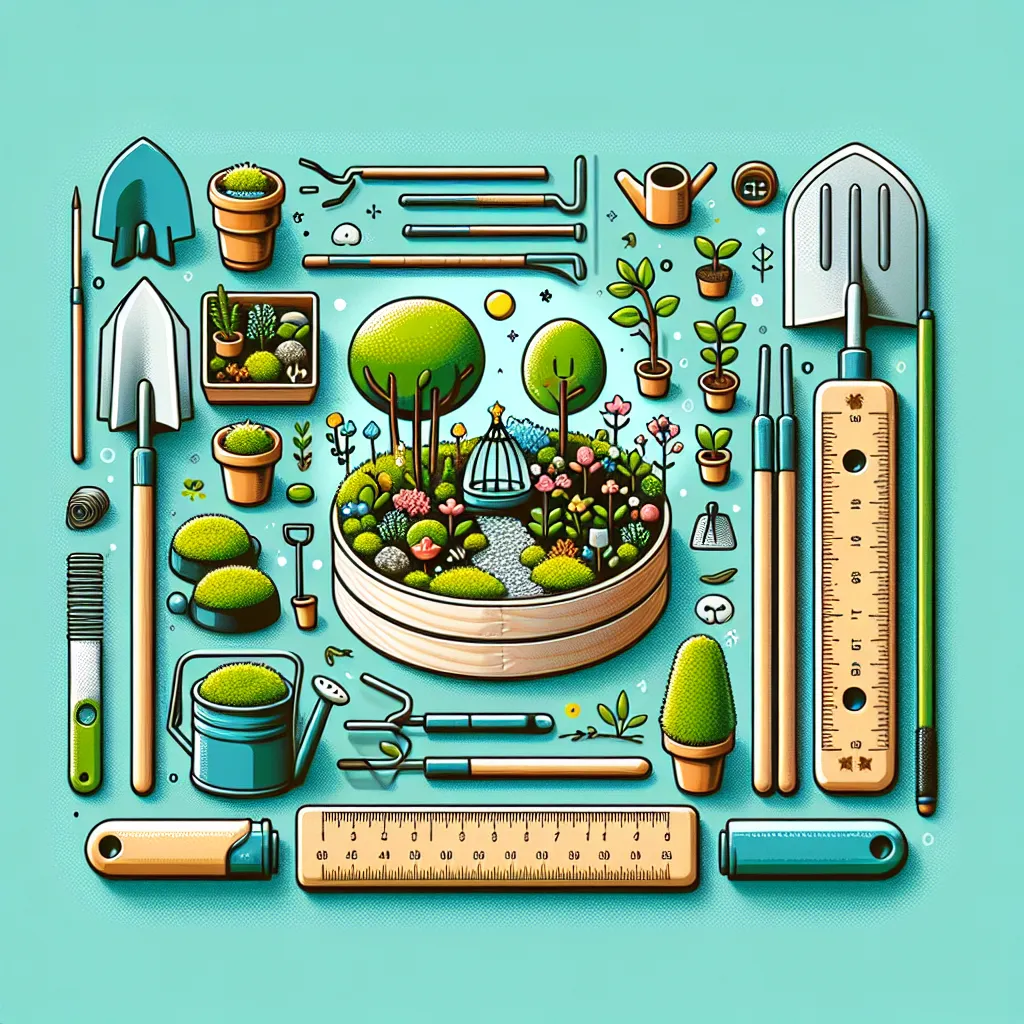
Have you ever dreamed of having your very own secret garden but are restricted by space? A miniature DIY garden might be just what you need! This project is an excellent way to add a touch of green to your home or office. In this step-by-step guide, we'll walk you through the process of creating your very own miniature DIY garden.
Step 1: Gather Your Materials
First, you'll need to gather your materials. You'll need a clear glass container with a lid, small pebbles or gravel, activated charcoal (found in pet stores), potting soil, and small plants or moss. Plus, don't forget about those miniature accessories to add a personal touch!
Step 2: Lay the Foundation
Start by placing a layer of pebbles or gravel at the bottom of your container. This will provide a space for drainage and prevent the roots of your plants from becoming waterlogged.
Step 3: Add Charcoal and Soil
Next, add a layer of activated charcoal. This helps to filter the air within your miniature garden and prevents the growth of bacteria. After the charcoal, add a thick layer of potting soil. Make sure to leave enough room for your plants to grow.
Step 4: Plant Your Garden
Now for the fun part - planting your garden! Choose small plants that enjoy a similar environment. Succulents, ferns, and mosses are all excellent choices. Remember to leave space for your miniature accessories!
Step 5: Accessorize
Add in your miniature accessories. This could be anything from tiny garden gnomes to miniature fairy houses. Get creative and make it your own!
Conclusion
Creating a DIY miniature garden is a fun and easy project that can add a touch of nature to any space. With just a few materials and a bit of creativity, you can create your own miniature oasis. Happy gardening!