Step 1: Identify Your Space
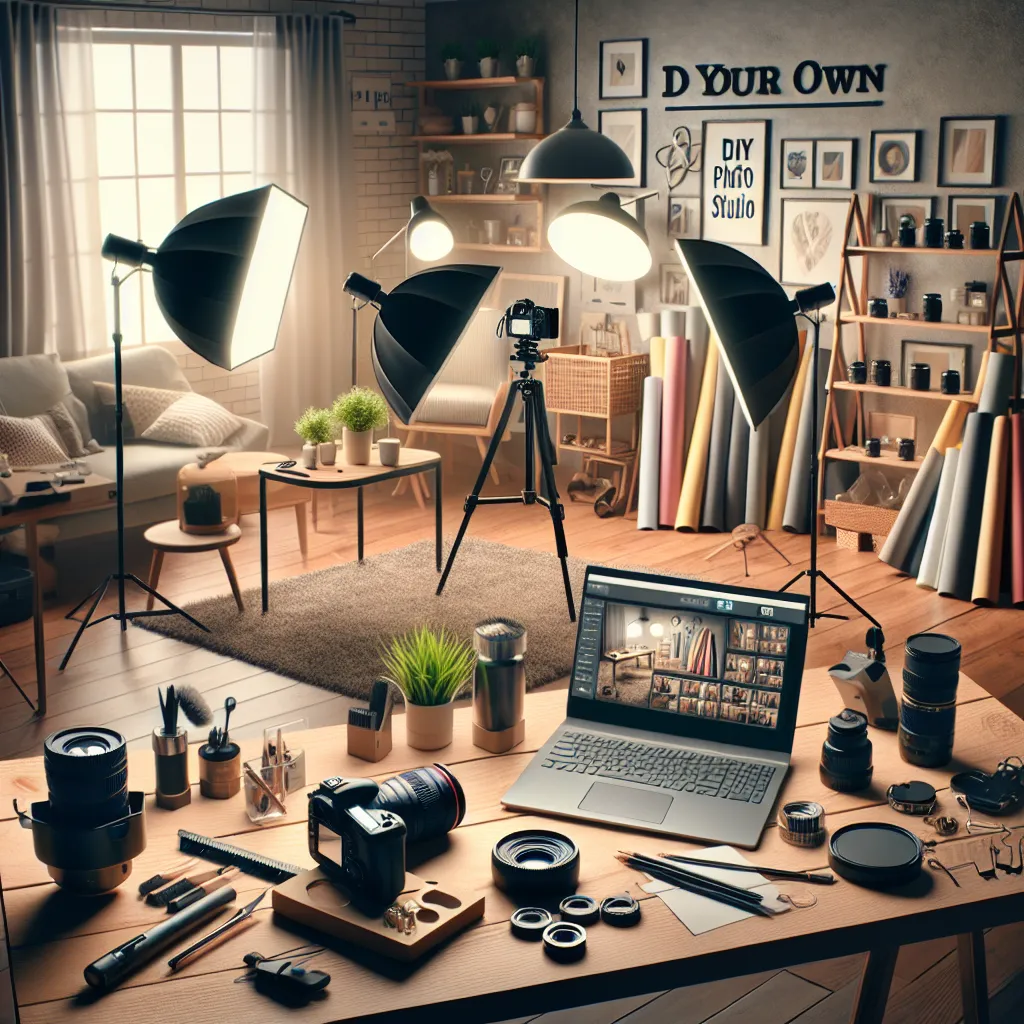
The first step in creating your DIY photo studio is to identify a space that will serve as your studio. This could be a spare room, a garage, a well-lit corner in your living room, or any other space that can be dedicated to your photography. Ensure the space is free from clutter and is well ventilated. The size of the space will also determine the type of photography you can do - a larger space can accommodate full-body portraits or large product photography.
Step 2: Gather Your Equipment
Next, you'll need to gather your equipment. At a minimum, this includes a camera, a tripod, and lighting equipment. Look for affordable, high-quality options that suit your needs and budget. Consider investing in a variety of backdrops to provide flexibility in your shots. A reflector can also be a valuable addition, helping to manipulate the light in your studio to create different effects.
Step 3: Set Up Your Lighting
Lighting is key in photography. For a basic setup, consider using a three-point lighting system: a key light (your main light), a fill light (to fill in the shadows), and a back light (to separate your subject from the background). Experiment with different positions until you find what works best for your specific needs. Natural light from windows can also be a great resource, especially for portrait photography.
Step 4: Arrange Your Backdrops
Your choice of backdrop can greatly impact the mood and style of your photos. They can be as simple as a plain white wall or as complex as a painted scene. Fabric backdrops are cost-effective and come in a wide variety of colors and textures. Alternatively, you can use a roll of seamless paper for a clean, professional look.
Step 5: Organize and Maintain Your Studio
Finally, keep your studio organized and well-maintained. A clean, tidy space will make your photo sessions smoother and more efficient. Regularly dust your equipment, roll up your backdrops when not in use, and keep your props and accessories neatly stored. An organized studio is not only a productive one but also a space where your creativity can thrive.
Conclusion
Creating your own DIY photo studio might seem like a daunting task, but with careful planning and a bit of creativity, it's an achievable goal. This five-step guide should help you get started on your journey to crafting a space that is uniquely yours and perfect for capturing stunning, professional-quality photos. So, why wait? Start crafting your own DIY photo studio today!


