Ever dreamt of sleeping under the stars? Now, you don't need to go camping to make your dreams come true. With a little creativity and some DIY spirit, you can transform your bedroom ceiling into a mesmerizing home planetarium. Here's our 5-step guide to creating your very own indoor night sky.
Step 1: Plan Your Starry Sky
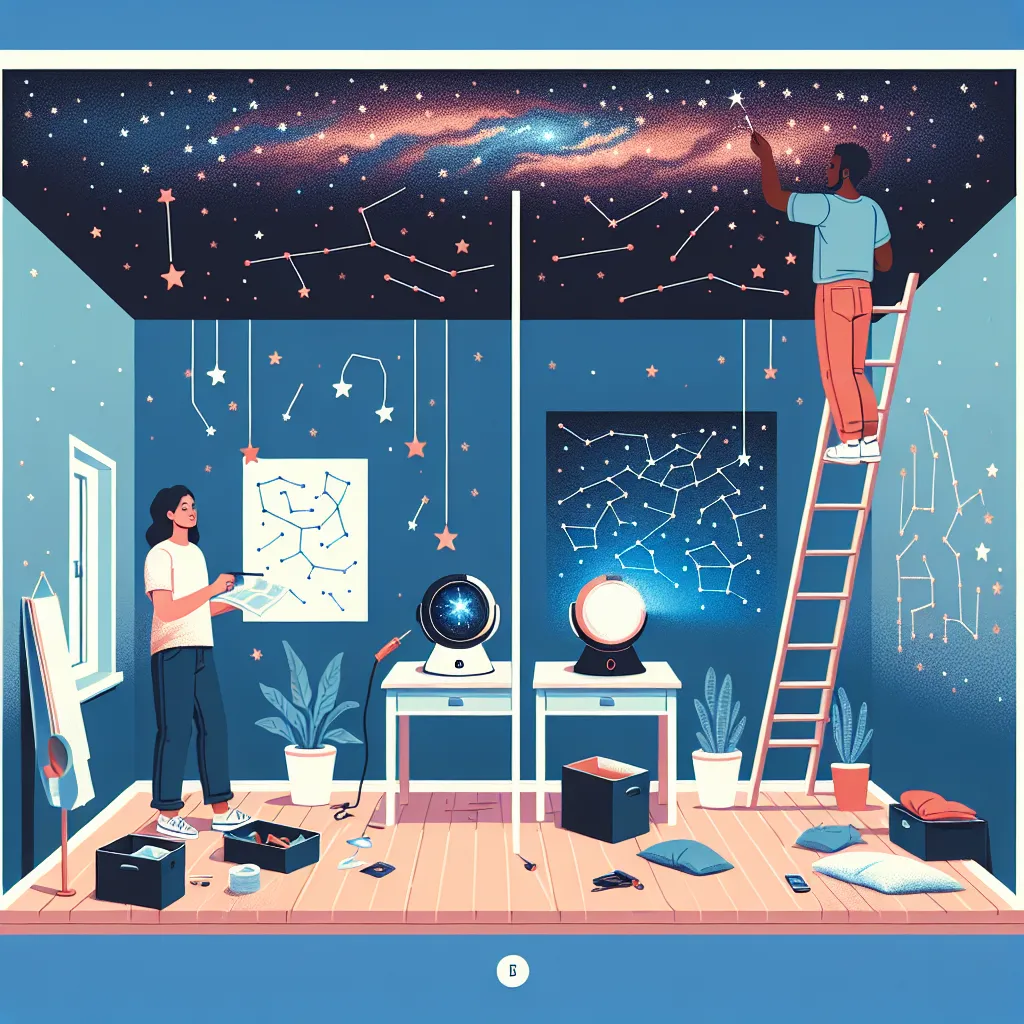
Before starting, it's crucial to plan out your design. Choose whether you want to replicate an actual night sky or create a fictional one. If you choose the former, you can use star maps as a reference. If you prefer the latter, you have the freedom to place your stars wherever you like.
Step 2: Gather Your Materials
You'll need glow-in-the-dark stars which are readily available online or in craft stores. You'll also need a ladder, a pencil, and adhesive (usually included with the stars). For a more realistic effect, get stars in different sizes.
Step 3: Prepare Your Ceiling
Ensure your ceiling is clean, dry, and free from dust. This will allow the stars to stick better, ensuring they stay in place for longer.
Step 4: Stick Your Stars
Start on one side of the ceiling and work your way across. Use your pencil to mark the placement of each star based on your plan. Then, peel off the adhesive backing and stick the stars on. Be careful when climbing the ladder and ask for help if needed.
Step 5: Switch Off the Lights
Once you've stuck all your stars, turn off the lights and watch your ceiling transform into a beautiful night sky. The glow-in-the-dark stars will illuminate, creating a relaxing and magical atmosphere right in your home.
Conclusion
Creating a DIY home planetarium is a fun and easy project that can turn your bedroom into a tranquil space. It's also a great activity to do with kids, teaching them about constellations while sparking their creativity. So why not give it a try? Your starry night awaits!