In the age of Instagram and TikTok, having a unique backdrop for your photos can make all the difference. With a touch of vintage charm, you can transform an ordinary space into a photo studio that exudes nostalgia and character. Here's a step-by-step guide to help you create your own DIY vintage photo studio at home.
Select a Space
The first step in creating your vintage photo studio is selecting the right space. It doesn't have to be a large area; a small corner in your living room or bedroom will suffice. Look for areas with good natural light or spaces where you can easily install artificial lighting. Keep in mind the vintage theme when choosing a location – an area with a brick wall or old wooden floors can add an authentic touch.
Gather Vintage Props
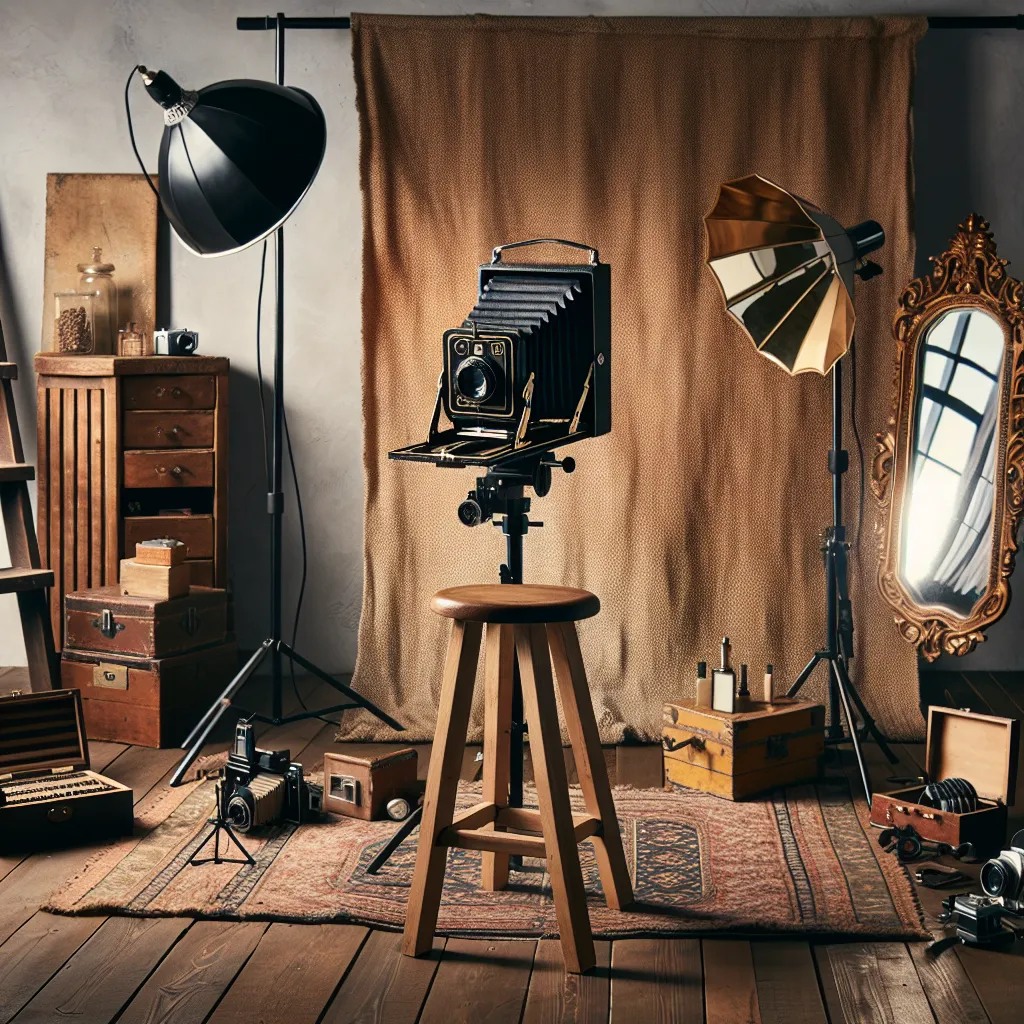
The key to a vintage photo studio lies in the props. Hit your local thrift stores, flea markets, or online marketplaces like eBay or Etsy to find unique vintage items. Old suitcases, antique cameras, rustic ladders, vintage mirrors, and retro furniture pieces can all add a touch of nostalgia to your studio. Remember, the props should not only be aesthetically pleasing, but also meaningful to you.
Invest in a Quality Backdrop
A backdrop can significantly transform the look of your photos. Invest in a quality backdrop that complements your vintage theme. You can choose a distressed wood pattern, a vintage floral design, or even a plain white backdrop for a minimalist approach. Fabric backdrops with vintage prints can also add a unique charm to your studio.
Set Up the Lighting
Proper lighting is crucial in photography. While natural light is ideal, you can also invest in a good set of studio lights to ensure you can take photos at any time of the day. Softbox lights are a great choice for a home studio as they provide soft, even lighting. Vintage lamps can also serve as both a light source and a prop.
Arrange Your Studio
Once you have all the elements, arrange your studio in a way that maximizes your space and showcases your props. Play around with different arrangements until you find one that suits your style. Remember to leave enough space for you to move around and take photos from various angles.
Conclusion
Creating a DIY vintage photo studio at home is a fun and rewarding project. Not only does it provide a unique backdrop for your photos, but it also allows you to express your creativity and personal style. With these steps, you're well on your way to having your own vintage photo studio. Happy shooting!