Step 1: Plan Your Space
Before you begin, decide on the size and location of your Zen garden. It can be as large or as small as you desire. A quiet corner of your backyard, a balcony, or even a section of your indoors can serve as your Zen space. Sketch your design on paper, considering the essential elements like rocks, sand, water features, and plants.
Step 2: Prep the Area
Once you have your design, it's time to prep the area. Clear the space of any debris, weeds, or unwanted elements. You might need to level the ground if you're creating your Zen garden in your yard. If you're working indoors, ensure you have a waterproof tray or container to hold the elements.
Step 3: Lay the Foundation
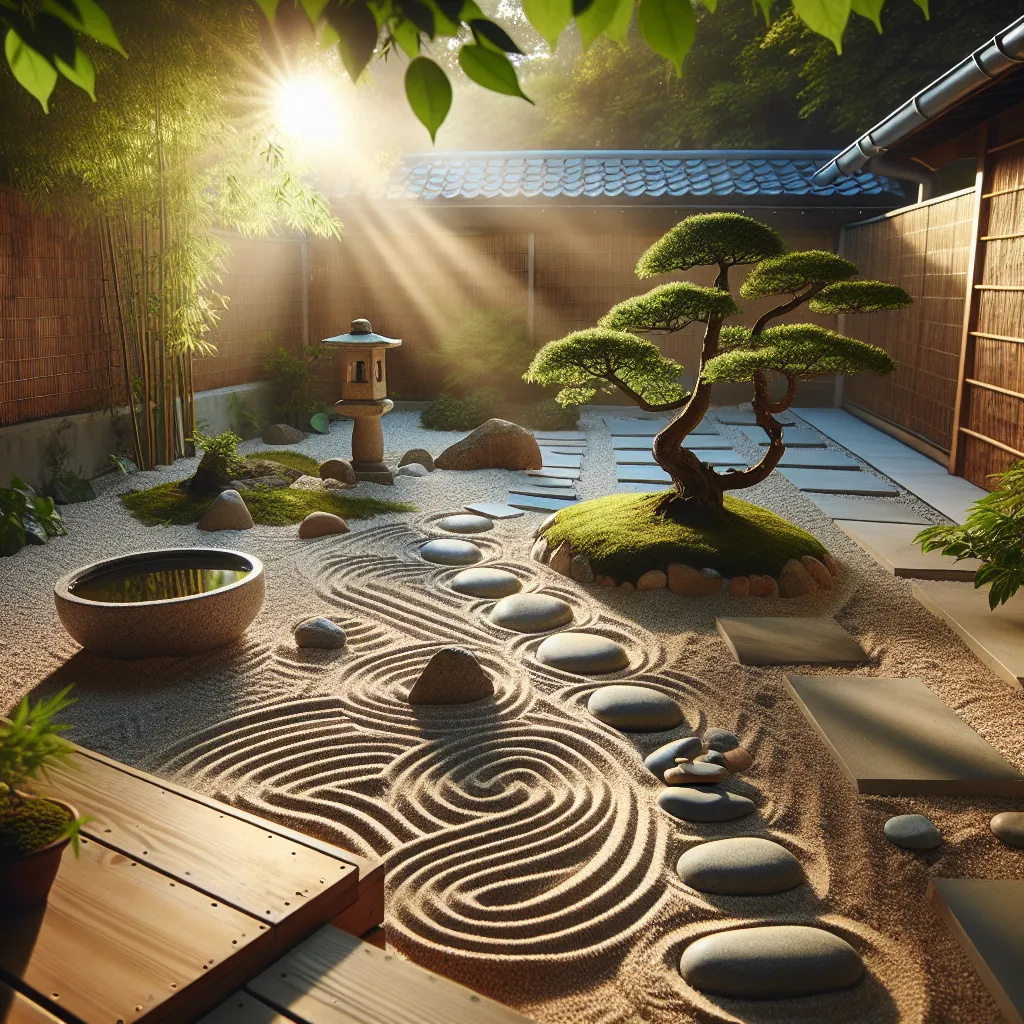
The foundation of a Zen garden is typically sand or fine gravel. Pour your chosen material into your space, creating a thick layer. Use a rake or a broom to smooth the surface. This blank canvas symbolizes the water element in a Zen garden.
Step 4: Add Your Features
Now, add your chosen features. Arrange rocks, which symbolize islands, in your sand or gravel. These can be of any shape and size but aim for natural, unpolished stones. If you wish, you can add a water feature like a small fountain or a birdbath. Plants are optional in a Zen garden; however, if you choose to include them, opt for simple, green, and leafy plants like moss or ferns.
Step 5: Maintain Your Zen Garden
Maintaining your Zen garden is an essential part of the process. Regular raking of the sand or gravel helps to keep it smooth and can be a meditative practice. Keep your features clean and your plants well-tended. Remember, a Zen garden is a space for calm and tranquility, so regular upkeep will aid in maintaining its peaceful aura.
Conclusion
Creating a Zen garden can be a rewarding project that provides you with a soothing retreat at home. It's a simple, cost-effective DIY project that can transform any available space into a peaceful sanctuary. With just a few steps and materials, you can bring a touch of serene Japanese culture to your home.