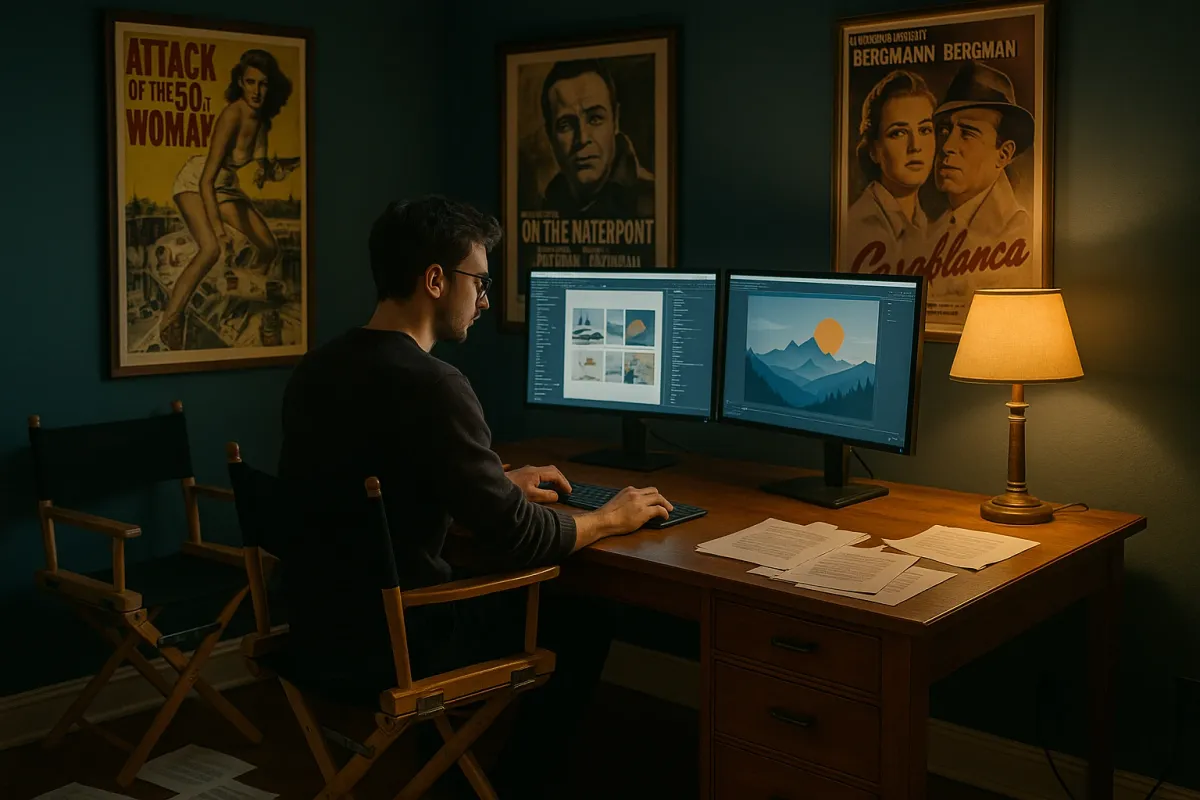
It’s not just you—everyone is rethinking their workspace right now. With remote and hybrid work still common, home offices have become as important as kitchens. That’s why design projects like Budget Direct’s new 3D renders of home offices inspired by famous movie directors (think Wes Anderson symmetry, David Lynch mood lighting, and more) are getting so much attention online. People don’t just want a desk in a corner anymore; they want a space that feels intentional, cinematic, and productive.
You don’t need a film‑studio budget to pull this off. With some planning, a weekend, and a few smart upgrades, you can turn a spare room (or even a small nook) into a home office that actually supports how you work—while still looking good enough to share on social media.
Below is a straightforward, step‑by‑step renovation guide to get you there.
Step 1: Plan the Space Like a Director Plans a Set
Before you buy anything, treat your office like a small renovation project, not just a furniture swap.
- Define the “story” of the room. Are you editing videos, taking client calls, coding for hours, or juggling kids’ homework and your job in the same space? Write down your top three tasks; your layout should serve those first.
- Map the room on paper. Sketch the walls, doors, windows, and outlets. Note where natural light hits during the day—this matters for both comfort and video calls.
- Choose a focal wall. Just like those director‑inspired office renders, you want one wall that “anchors” the room—either behind your screen (so you see it) or behind you (so everyone on Zoom sees it). This is where accent paint, shelving, or art goes.
- Decide on your “visual style.” You don’t need Wes Anderson‑level color palettes, but pick a direction: minimal and light, moody and dark, warm and natural, or bold and colorful. This will guide every finish you choose.
- Set a realistic budget. Break it into:
- Surfaces (paint, wall treatment, flooring if needed)
- Core furniture (desk, chair, storage)
- Lighting (overhead, task, accent)
- Tech + cable management
Prioritize function first, visuals second—then see what’s left for styling.
Planning like this up front prevents you from ending up with a pretty room that’s terrible to work in.
Step 2: Fix the Envelope — Walls, Sound, and Light
The biggest difference between a thrown‑together desk and those designer offices trending online is the “envelope” of the room: walls, sound, and light.
- Start with paint or wall treatment.
- For video calls and focus work, soft neutrals (warm white, greige, light taupe) are practical and forgiving.
- For a “cinematic” feel, try a darker accent wall behind your desk—deep blue, forest green, or charcoal—especially if you have decent natural light.
- Use high‑quality painter’s tape, lightly sand glossy walls, and use primer over dark colors to avoid streaks.
- Upgrade background walls for Zoom.
- Install simple wall‑mounted shelves or a shallow bookcase (9–11" deep) behind you.
- Style them with books, plants, and a few personal items—avoid clutter and anything too distracting.
- Address sound (especially for calls and recording).
- Add a large rug if you have hard floors.
- Hang thick curtains, even if you don’t “need” them for privacy—they soften echo noticeably.
- For a low‑profile solution, mount a few fabric‑wrapped cork boards or acoustic panels in the areas opposite your desk and above eye level.
- Take control of natural light.
- If your desk faces a bright window, add sheer curtains or a light‑filtering shade to avoid eye strain and washed‑out video calls.
- If the window is behind you, you may need a brighter front light for calls (see Step 4).
- Fix any minor wall and trim issues while you’re at it. Patch nail holes, caulk gaps in trim, and touch up baseboards. These small repairs make the space feel “finished” and more professional on camera.
Doing these envelope upgrades first gives you a solid, quiet, good‑looking backdrop before you move in a single piece of furniture.
Step 3: Build a Layout That Actually Supports How You Work
Now that the shell is ready, you can design the “blocking” of the room—the way you move through it, just like blocking a scene on a film set.
- Position the desk with intention.
- Ideally, place your desk perpendicular to a window: you’ll get natural side light without harsh glare.
- If space is tight, a wall‑mounted desk or floating countertop can free up floor area and make the room feel bigger.
- Create zones, even in small rooms.
- Work zone: Desk, chair, main monitor.
- Reference/storage zone: Shelving, filing, printer.
- Thinking/reading zone (optional): Small armchair or bench with a side table.
- Keep essential tools within arm’s reach.
- Use a drawer unit or rolling cart under or next to the desk for everyday items.
- Install a simple pegboard or rail system above the desk for headphones, cables, notebooks, or tools if you do hands‑on work.
- Plan for a standing or alternate work position.
- If a full sit‑stand desk is out of budget, use a desktop riser on part of your desk.
- Alternatively, create a secondary high surface (like a bar‑height counter or a shelf at chest height) where you can move your laptop for short standing sessions.
- Leave breathing room around the chair.
- You want at least 30–36" of clearance behind the chair so you can roll back comfortably.
- Avoid placing storage directly behind the chair; you’ll end up annoyed every time you need to access it.
When possible, keep each zone against or near a wall so the center of the room stays open.
A good layout makes your office feel larger and more functional than it really is, which is why you see so much careful composition in those movie‑inspired office renderings.
Step 4: Install Lighting That Makes You Look and Feel Better
Those cinematic home office renders trending now all have one thing in common: layered, intentional lighting. You can recreate that on a normal budget.
- Fix bad overhead lighting first.
- Swap harsh “builder‑grade” dome lights for a simple flush or semi‑flush fixture with a diffuser.
- Use LED bulbs around 2700–3500K (soft white to neutral white) for a balance between cozy and alert.
- Add a strong task light at the desk.
- Choose an adjustable desk lamp with a wide arm so you can move light exactly where you need it.
- Place it opposite your writing hand to reduce shadows (right‑handed: lamp on left, left‑handed: lamp on right).
- Set up “call lighting” you can rely on.
- For video meetings, you want even, front‑facing light.
- Use a small dimmable LED panel or ring light mounted behind your monitor, or a table lamp with a white shade placed just off to the side of your screen.
- Layer in ambient and accent lighting.
- Add a floor lamp in a corner or a wall sconce near your reading or thinking zone.
- Consider LED strip lights behind shelves or under wall cabinets for a soft glow—keep colors neutral or warm rather than bright RGB if you’re aiming for a professional look.
- Put key lights on smart or plug‑in dimmers.
- This lets you shift from bright, focus mode during work hours to softer, relaxed lighting when you’re done.
- You can also save preferred settings for “Call Mode,” “Deep Work,” and “Evening.”
Thoughtful lighting not only helps you stay focused; it also makes your office look polished on camera—much like a well‑lit movie set.
Step 5: Tame the Cables and Finish With Functional Details
The fastest way to ruin a great office renovation is a tangle of cords and clutter under the desk. The studios and designers behind those viral office images never show cable chaos—and you don’t have to either.
- Plan where every plug will go.
- List all devices (monitor, laptop, charger, printer, speakers, lamps, router, etc.).
- Use a quality surge protector mounted under the desk or on the wall, not sitting loose on the floor.
- Mount and route cables off the floor.
- Use under‑desk cable trays, adhesive clips, or raceways to route wires along the underside of your desk.
- Run cables vertically down one “spine,” like a cable sleeve or cord channel, instead of letting them dangle everywhere.
- Use shorter or right‑angle cables where possible.
- Long, extra‑slack cables are what create most tangles.
- Swapping a few key cords to shorter or right‑angle versions can instantly clean up the look.
- Add storage that matches how you actually work.
- If you’re paper‑heavy, prioritize closed cabinets or files so your background doesn’t look chaotic.
- If you mostly work digital, a single drawer unit and one closed cabinet may be enough—don’t overbuy storage you’ll fill with junk.
- Finish with a few high‑impact, low‑clutter decor pieces.
- One large piece of art or a clean gallery of 3–4 frames beats a dozen small items.
- A couple of real plants (or good faux ones if light is poor) add life and soften edges.
- Keep your desktop mostly clear: monitor, keyboard, mouse, one notebook, one pen cup, one personal object you actually like.
Once everything is wired, stored, and styled, take a few photos of your finished space. You’ll spot any lingering clutter instantly—and you’ll have share‑ready content that rivals those trending director‑inspired office designs.
Conclusion
With remote and hybrid work still very much part of everyday life, upgrading your home office is one of the most practical renovations you can do this year. Take a cue from the highly curated, movie‑inspired workspaces making the rounds online: they work because they’re intentional, not because they’re expensive.
By planning your layout, fixing walls and sound, layering your lighting, and getting serious about cable control, you can turn any spare room—or even a corner—into a workspace that looks good on camera and actually helps you get things done. If you want, describe your current office setup and your room size, and we can map out a specific renovation plan tailored to your space.
Key Takeaway
The most important thing to remember from this article is that following these steps can lead to great results.


