In the age of podcasts, vlogging, and homegrown music production, a home recording studio is no longer a luxury but a necessity for many. With a little DIY spirit, you can set up your own professional-grade recording space. Here's how to get started in five easy steps.
Step 1: Choose the Ideal Space
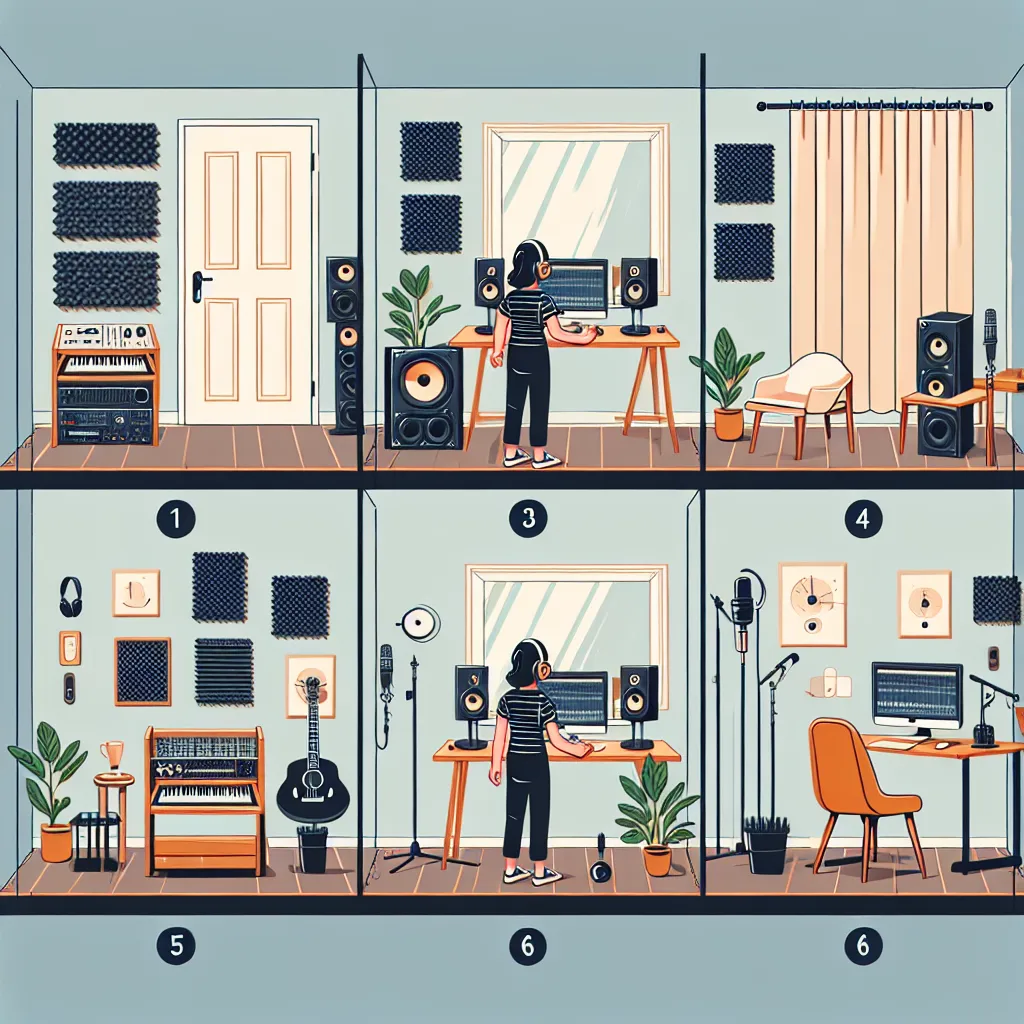
The first step in building a home recording studio is selecting the right room. You need a quiet, isolated space with minimal noise interference from outside sources. An unused bedroom, basement, or garage could be perfect. It should be spacious enough to house your equipment and comfortable for long hours of work.
Step 2: Soundproof the Room
Soundproofing is crucial in a home studio to block out external noises and prevent your sound from leaking out. Use materials like foam panels, bass traps, and diffusers to absorb sound and prevent echoes. Remember to cover the walls, ceiling, and even the floors. If needed, consider installing soundproof curtains for the windows and a solid core door for better isolation.
Step 3: Install the Necessary Equipment
Your equipment will be the heart of your studio. Invest in a good quality microphone, headphones, and audio interface. A pop filter is also essential for recording vocals. You'll need a computer with audio editing software and a reliable set of studio monitors for playback. Remember to consider your personal needs and budget when selecting your equipment.
Step 4: Set Up the Recording Area
Set up your recording area with your comfort in mind. A comfortable chair and adjustable microphone stand will make long recording sessions less strenuous. Also, organize your space efficiently. Keep your equipment within easy reach and ensure the room has good lighting.
Step 5: Test and Tweak Your Setup
Once everything is set up, it's time to test your setup. Record some audio and listen carefully for any background noise or echo. Adjust the soundproofing if necessary and tweak your equipment settings for the best sound quality. This step may take some time, but it's crucial for achieving a professional sound.
Conclusion
Designing your own home recording studio may seem like a daunting task, but with careful planning and a bit of DIY spirit, it's perfectly achievable. Remember, the key is to create a space that is comfortable, functional, and tailored to your specific needs. Happy recording!