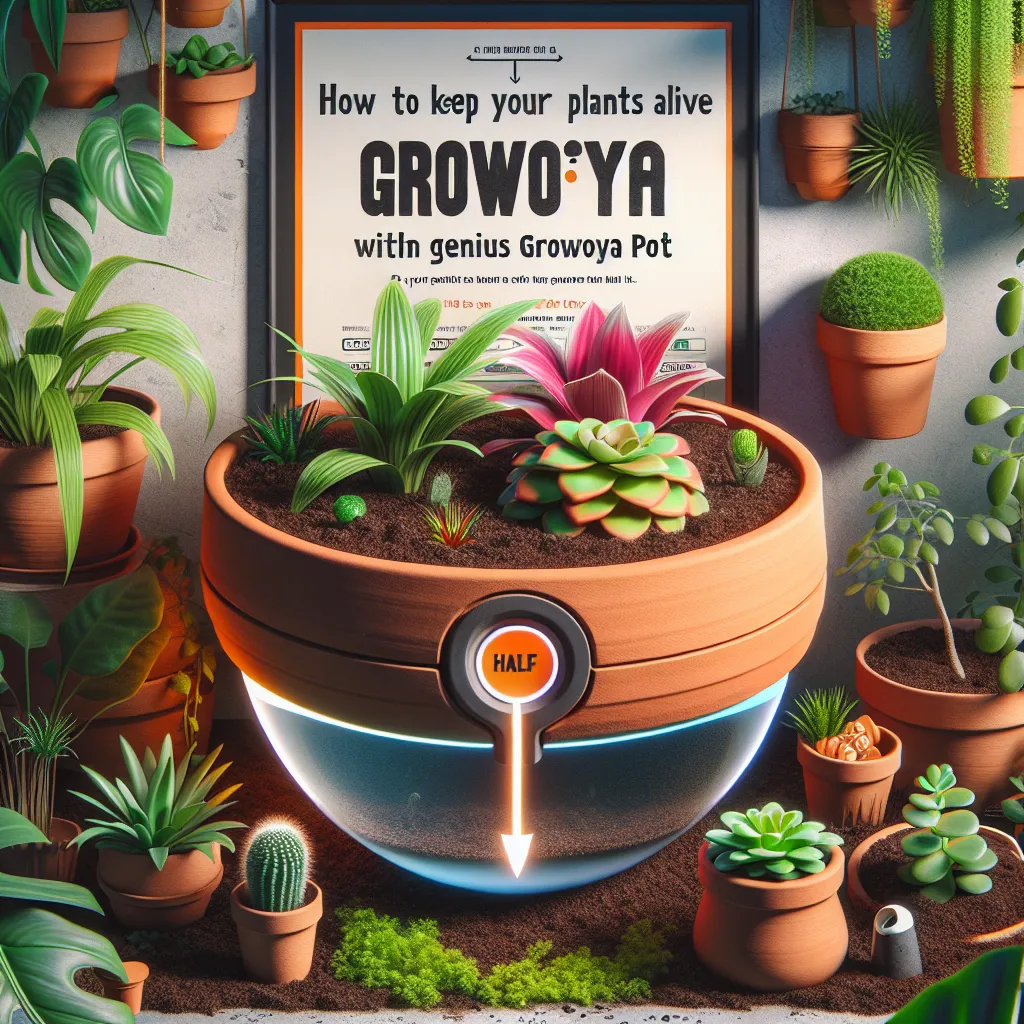
Keeping houseplants alive and thriving can be a challenge, especially if you're always on the go or simply forget to water them. But, with the GrowOya pot, you can say goodbye to daily watering and hello to thriving plants! Here's exactly how you can use this clever gadget to make your green thumb greener.
Step 1: Choose Your Plant
First things first, choose the plant you want to use with your GrowOya pot. The pot is suitable for a wide range of plants, from herbs and vegetables to ornamental plants. Ensure you choose a plant that will fit comfortably into the pot size you have.
Step 2: Setup Your GrowOya Pot
The GrowOya pot is designed to be buried in your plant's soil. Dig a hole that's large enough to securely fit the pot, making sure that the top part of the pot is level with the soil surface. The pot's top should remain exposed for easy watering.
Step 3: Plant Your Plant
Once the GrowOya pot is in place, it's time to plant your plant. Make sure to plant it close enough to the pot so that it can benefit from the water seeping out of it. Remember to leave adequate space for the plant to grow and spread.
Step 4: Fill the GrowOya Pot with Water
After planting, fill the GrowOya pot with water through the exposed top. This water will seep out through the terracotta walls of the pot and keep the soil moist, providing a steady supply of water to your plant's roots.
Step 5: Monitor and Refill
Monitor your plant and the GrowOya pot regularly. When the pot is empty, simply refill it with water. Depending on your location, weather, and type of plant, you may need to refill the pot every few days to once a week.
Conclusion
The GrowOya pot is a game-changer for plant lovers who struggle with keeping their green friends hydrated. This easy-to-use tool takes the guesswork out of watering and ensures your plants receive just the right amount of moisture. Not only does it save time, but it also promotes deeper root growth and healthier plants. So why not give it a try? Your plants will thank you for it!


