1. Evaluating the Furniture
Before you start, evaluate the condition of the furniture. Look for any signs of damage, such as cracks, stains, or loose joints. This step will help you determine the level of restoration required and the tools and materials you need. Also, consider the value of the piece – if it’s an antique, extensive modifications might decrease its worth.
2. Gathering Your Tools
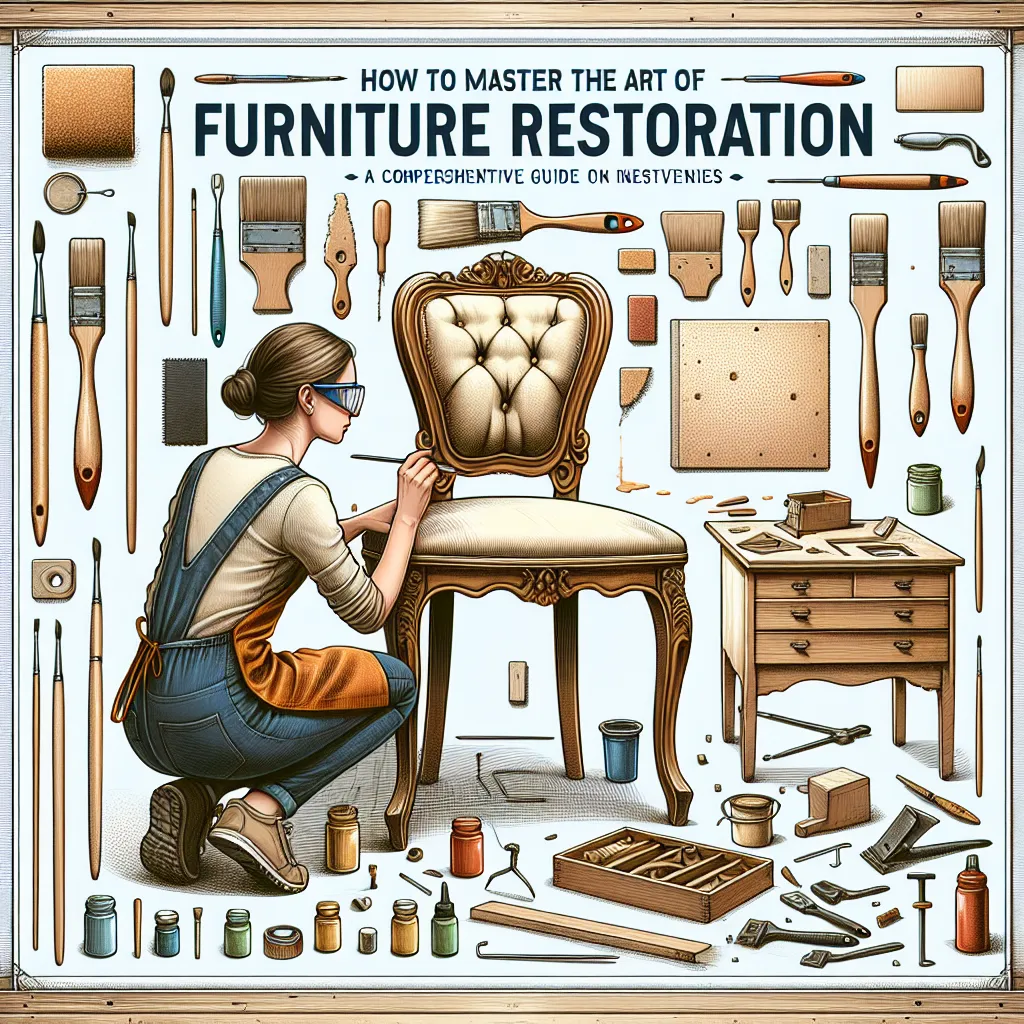
Next, gather your tools. For sanding, you'll need both medium and fine-grit sandpaper. A screwdriver set is necessary for disassembling and reassembling parts. Brushes, rollers or paint sprayers are needed for applying paint or finish. Don't forget safety gear like goggles, gloves, and a dust mask.
3. Prepping the Furniture
Start by cleaning the furniture with mild soap and water to remove any dirt or grease. Then, using your medium-grit sandpaper, start sanding the surface to remove the old finish. Once the old finish is removed, switch to the fine-grit sandpaper for a smooth, ready-to-paint surface.
4. Applying the New Finish
After sanding, wipe down the furniture with a damp cloth to remove any dust. Now you're ready to apply the new finish. If you're painting, start with a primer, then add your chosen color. If you're staining the wood, apply the stain following the wood grain, then add a clear sealer for protection.
5. Reassembling and Admiring Your Work
Once the finish is completely dry, reassemble any parts you may have removed. Now's the time to replace any old hardware with new pieces if desired. Lastly, step back and admire your newly restored piece of furniture!
Conclusion
Restoring furniture is a fantastic way to improve your living space while adding a touch of personal flair. By following these steps, you'll be well on your way to mastering the art of furniture restoration. So, roll up your sleeves and let your creativity flow!