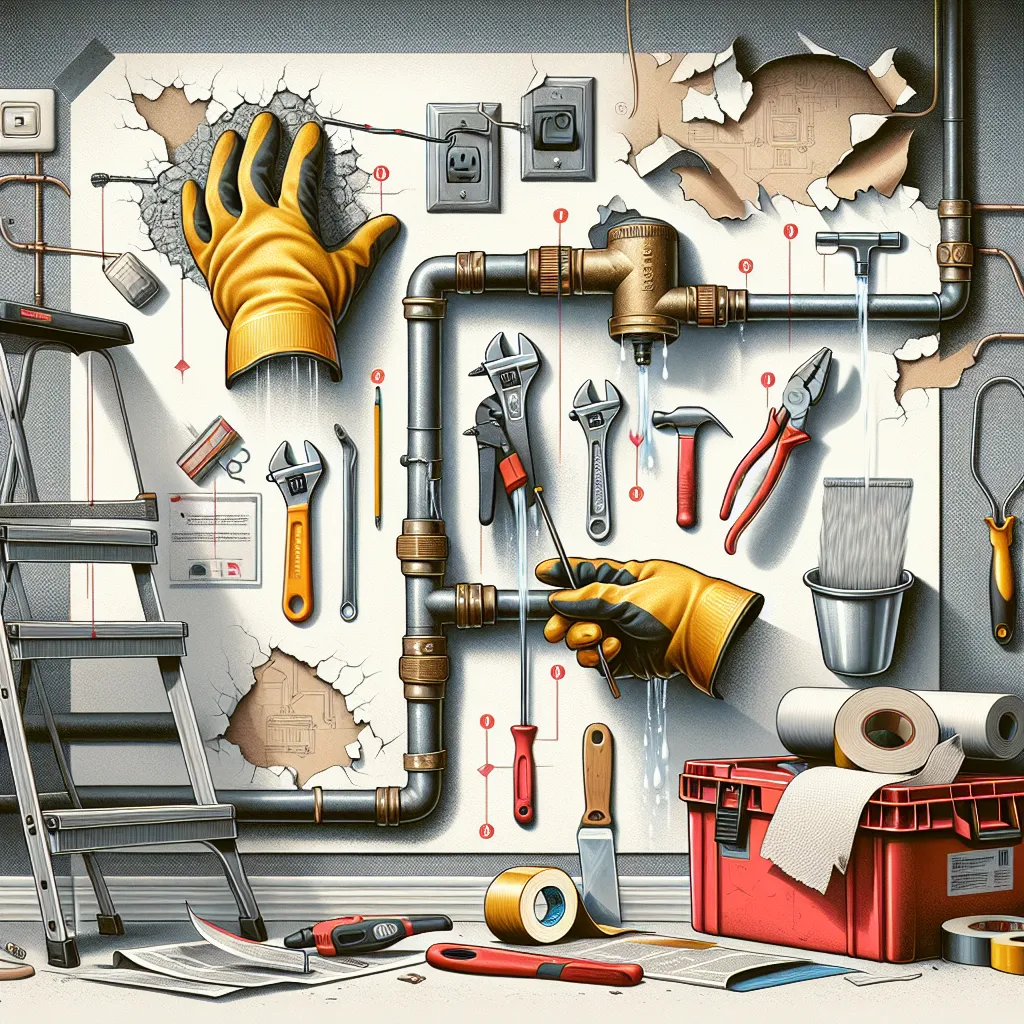
Step 1: Fixing a Leaky Faucet
A dripping faucet isn't just annoying—it can also be a major waste of water. Thankfully, it's relatively easy to fix. First, make sure you have the right tools: a set of screwdrivers, an adjustable wrench, and replacement parts if necessary. Turn off the water supply, remove the faucet handle, and inspect the inner workings. Often, a worn-out washer is the culprit, which can be easily replaced.
Step 2: Unclogging a Drain
Slow or blocked drains can be a nuisance. Before you call a plumber, try a few DIY methods. Use a plunger, or try a mixture of vinegar and baking soda followed by boiling water. If these methods don't work, you might need to use a plumber's snake or hand auger. Remember, if the clog is severe, it might be best to call a professional.
Step 3: Patching a Hole in Drywall
Accidents happen, and sometimes they result in holes in your drywall. To fix this, you'll need a patching compound, a utility knife, and some sandpaper. First, clean the area around the hole and apply the patching compound. Once it's dry, sand the area until it's smooth and then repaint to match your wall.
Step 4: Fixing a Sticking Door
If you've got a door that sticks, it's often due to changes in humidity causing the wood to expand. To fix this, identify where the door is sticking and mark it. Use a plane or sandpaper to gently remove material from the marked area. Remember to work slowly and check your progress frequently to avoid removing too much material.
Step 5: Repairing a Loose Tile
Loose tiles can be a tripping hazard and can make your home look unkempt. To fix this, remove the loose tile and clean the area underneath. Apply a fresh layer of adhesive, and carefully reposition the tile. Wipe away any excess adhesive and wait for it to dry before walking on it.
Conclusion
Home repair doesn't need to be intimidating. With a bit of patience and the right tools, you can become your own handyman. Remember, always take safety precautions when doing any home repair. Happy fixing!