Identify the Damage
First, you need to understand the exact nature of the damage. Is it a tear, a stain, or a missing button? Each issue requires a different repair approach. For tears, you'll want to consider the size and location of the tear, as this will determine the best method for repair.
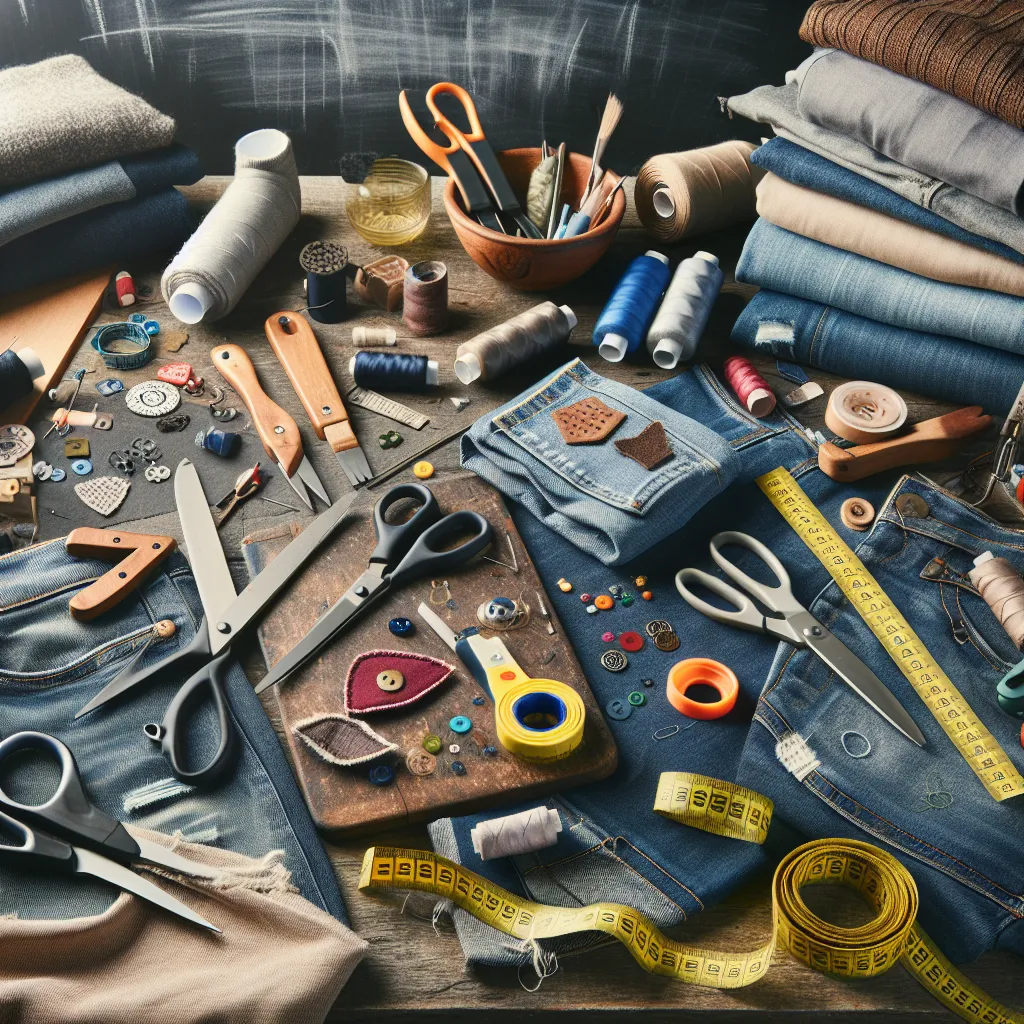
Gather Your Tools
For most clothing repairs, you'll need a basic sewing kit, which should include needles, thread in various colors, a seam ripper, and a measuring tape. For stain removal, you may need a stain remover or some DIY ingredients like vinegar, baking soda, or dish detergent. Make sure you have everything you need before you start the repair process.
Repair Tears and Rips
To fix a tear, you'll need to sew it up. Start by threading a needle with a thread that matches the color of your clothing item. Then, use a simple running stitch to sew along the edge of the tear. Make sure to secure the thread at both ends to prevent it from coming undone.
Remove Stains
For stain removal, the method will depend on the type of stain and the fabric. Generally, you should start by blotting the stain with a clean cloth to remove excess liquid. Then, apply a stain remover or a DIY solution and let it sit for a few minutes. Rinse the area with cold water and repeat if necessary. Remember to always test the stain remover on a small, hidden area first to ensure it won't damage the fabric.
Replace Buttons
If you've lost a button, start by finding a replacement button that matches the others on the garment. Thread your needle, and create a small 'X' where the button should go. Then, push the needle through one of the holes on the button, and then through the opposite hole. Repeat this a few times, then push the needle through the fabric one more time, but not through the button. Wrap the thread around the thread between the button and fabric a few times to create a shank, then push the needle through the fabric on the other side of the button and tie it off.
Conclusion
With these handy techniques, you can give your damaged clothing items a new lease of life. Remember, the key to successful DIY clothing repair is patience and practice. So, don't despair the next time you find a tear or stain on your favorite garment – fix it yourself and keep enjoying it for years to come.