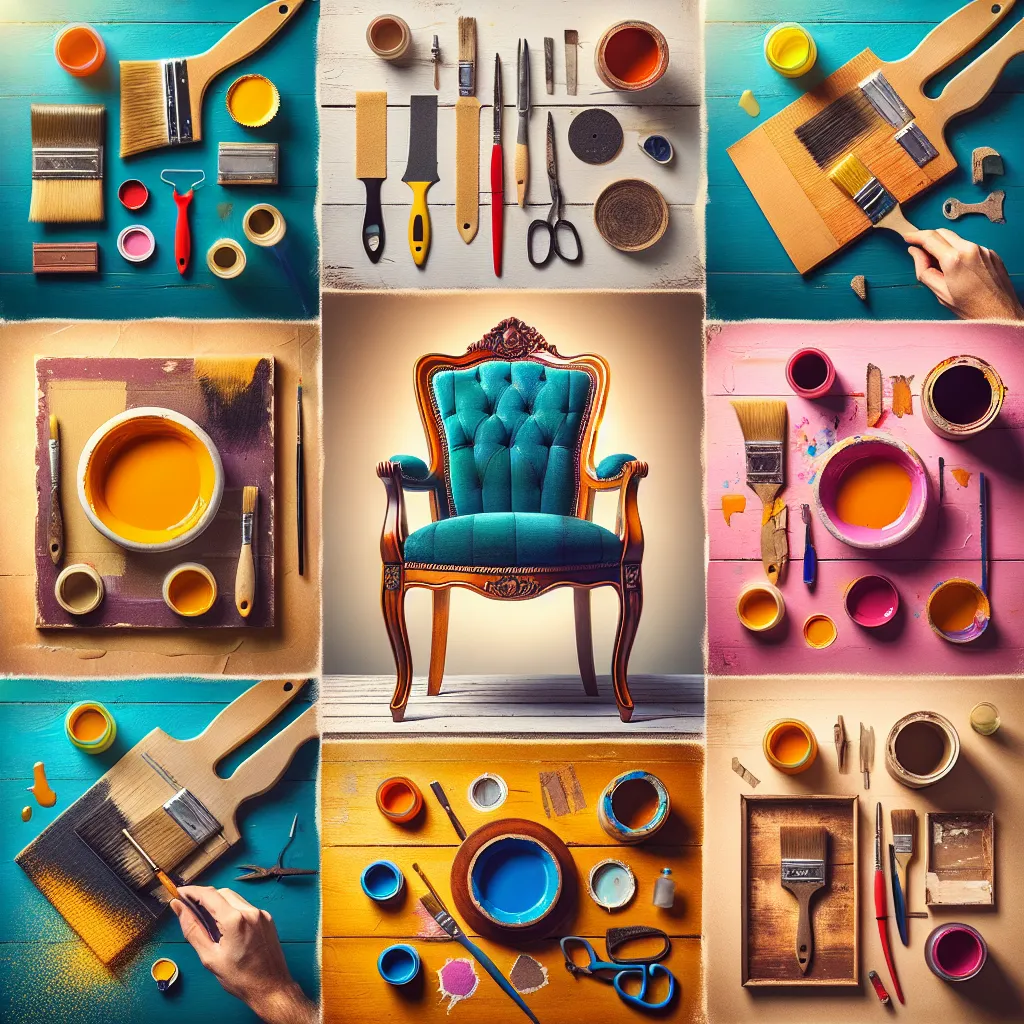
Project 1: Distressed Wooden Chair Revamp
Do you have an old wooden chair that's seen better days? Don't toss it out just yet. With a bit of sandpaper, paint, and a touch of patience, you can turn it into a rustic masterpiece.
First, sand down the chair to remove the old paint or varnish. Then, apply a layer of primer and let it dry. Next, paint the chair in your chosen color. Once dry, use sandpaper to strategically distress parts of the chair to give it a worn, vintage look. Finish with a coat of clear varnish for protection.
Project 2: Coffee Table Makeover
A boring and outdated coffee table can become the focal point of your living room with a little creativity. One trend that's popular right now is the faux marble effect.
First, clean the table thoroughly. Apply a coat of primer and let it dry. Use a gray paint as the base for your faux marble effect. Once dry, dip a feather in white paint and start creating vein-like lines on the table. Blend the lines with a soft brush to mimic the marble effect. Seal with a clear, glossy varnish for that sleek marble finish.
Project 3: Dresser Transformation
Turn an old dresser into a statement piece with some paint and new hardware.
First, prepare the dresser by removing the hardware and sanding the surface. Apply a primer and let it dry. Paint it with your chosen color. For a modern and chic look, consider a matte black or deep navy. Replace the old hardware with modern pulls or knobs. For a unique touch, consider leather pulls or brass knobs.
Project 4: Bookshelf Update
Even the most basic bookshelf can become a standout piece with a bit of creativity. A fun and trendy idea is to turn it into a faux built-in.
First, measure the area where you want to place your bookshelf. Then, find or build a bookshelf that fits that space perfectly. Next, paint the bookshelf the same color as your walls for a seamless look. Finally, adorn the shelves with books, plants, and decorative items for a stylish and functional piece.
Project 5: Side Table Refresh
A simple side table can be transformed into an eye-catching piece with the help of some decorative contact paper.
First, clean the table thoroughly. Measure the surface of the table and cut out the appropriate size from your contact paper. Carefully apply the contact paper, smoothing out any air bubbles as you go. And just like that, you have a brand new table with a stunning design.
Conclusion
These DIY upcycling projects will not only save you money but also provide you with unique pieces that reflect your personal style. Remember, the beauty of upcycling lies in seeing the potential in the old and worn, and the joy of transformation. So roll up your sleeves and start your DIY journey today!