DIY projects don’t fall apart because you’re “not handy.” They fall apart because tools are scattered, dull, dead, or used the wrong way. This guide shows you how to build a simple, repeatable workflow with the tools and equipment you already own (plus a few smart additions). Follow these steps and your projects will run smoother, safer, and faster—without turning your garage into a hardware store.
Step 1: Map Your Project, Then Match the Tools
Before you touch a tool, get clear on the job you’re actually doing. This cuts wasted trips to the store and makes your workspace safer.
- Write one sentence that defines the project. Example: “Install two shelves in the living room wall to hold 40 pounds each.”
- Break the job into basic actions: measure, mark, cut, drill, fasten, finish, clean.
For each action, list the tools you truly need:
- Measure/mark: tape measure, pencil, level, stud finder - Cut: handsaw or circular saw (if you have one), utility knife - Drill/fasten: drill/driver with bits, appropriate wall anchors, screws - Finish: sandpaper, caulk or wood filler, paint and brush 4. Check what you already own. Put missing or worn-out essentials on a short list: - A reliable tape measure (with clear markings and a locking mechanism) - A decent drill/driver with at least one charged battery - Basic safety gear (glasses, hearing protection, dust mask)
Decide what to borrow, rent, or buy:
- Borrow or rent for large, infrequent tools (tile saw, cordless nailer). - Buy only tools you’ll use at least a few times a year (drill, stud finder, orbital sander).
Practical tip: Avoid “just in case” tool purchases. Start the project first—if you hit a clear limitation, then upgrade.
Step 2: Set Up One Safe, Repeatable Work Zone
A stable, organized work zone is more important than a fancy tool collection. You want a layout you can recreate in a garage, driveway, or spare room.
Pick your workspace:
- Indoors: a room with a door you can close to contain dust and noise. - Outdoors: driveway or patio with a flat, dry surface and shade if possible.
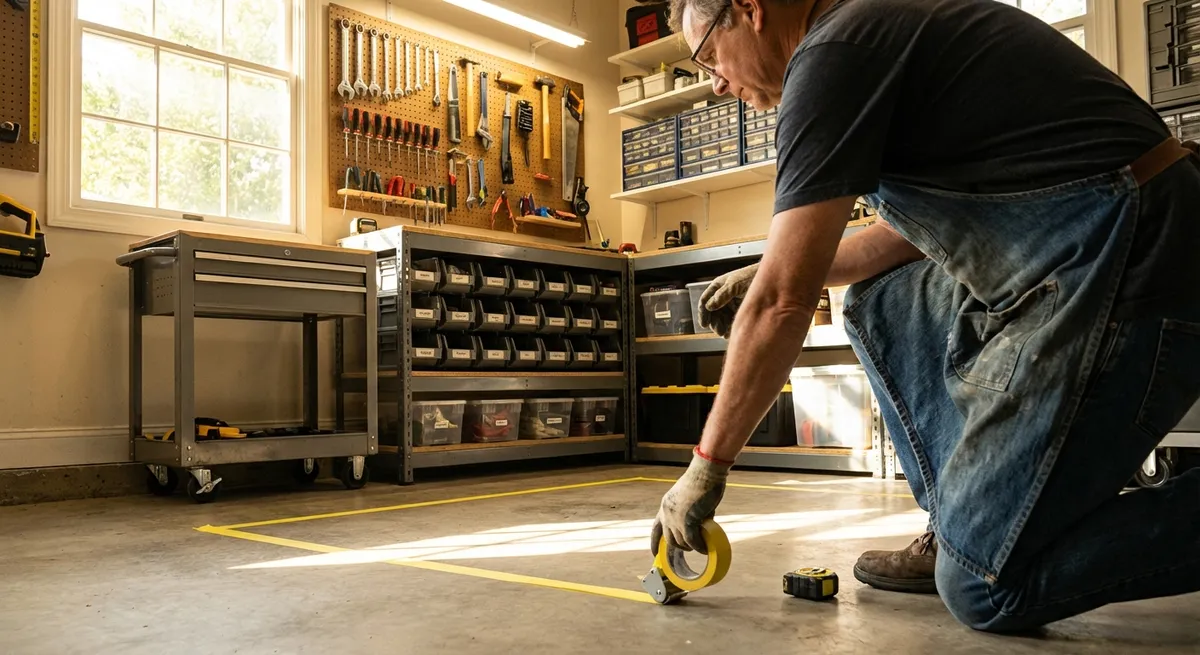
Establish three basic zones:
- Tool zone: tools laid out within arm’s reach, ideally on a bench, table, or rolling cart. - Material zone: lumber, boards, boxes, or panels stacked safely against a wall or on sawhorses. - Cut/dust zone: one specific area for drilling, sanding, and cutting (to keep dust controllable).
Create a stable surface:
- Use a workbench, sturdy table, or two sawhorses with a plank or sheet of plywood on top. - Check it doesn’t wobble by pushing from different angles before using saws or drills.
Plan your cable and battery setup:
- Run extension cords along walls where possible, never across walking paths. - Use a grounded, heavy-duty extension cord rated for outdoor use if you’re outside. - Keep chargers in one “power station” so batteries rotate from “charging,” “in use,” and “backup.”
Put safety gear where you can’t ignore it:
- Hang safety glasses and hearing protection at eye level near the entry. - Keep a small fire extinguisher and first-aid kit in the same visible spot.
Practical tip: Snap a quick photo of your setup when it feels “right.” Use it as a reference next time so you can recreate a safe, efficient layout quickly.
Step 3: Lock In Core Safety Habits With Common Tools
Most DIY injuries happen with simple tools: a dull knife, a slipping drill bit, or a wobbly ladder. Build a few habits around the tools you use most.
Hand tools (hammers, screwdrivers, utility knives)
- Always cut away from your body with utility knives and keep your off-hand out of the line of the blade.
- Replace blades as soon as they feel like they’re “dragging.” Dull blades slip more and cause deeper injuries.
- Match screwdriver size and type to the screw head (Phillips, slotted, Torx) to avoid stripping and slipping.
- Hold hammers closer to the end of the handle, not near the head. Let the weight of the hammer do the work.
Power drill/driver
- Wear safety glasses every time—drilling produces chips even in soft materials.
- Start holes at a lower speed to avoid the bit “walking,” then increase speed as the bit bites.
- Pre-drill pilot holes in hardwood or near edges to prevent splitting and to keep screws straight.
- Use the drill’s clutch setting when driving screws; set it low and increase until it stops driving too early, then bump up one notch.
Saws (hand saws and circular saws)
- Clamp workpieces instead of holding them by hand. A $10 clamp can prevent a serious injury.
For circular saws, always:
- Check that the blade guard moves freely and returns automatically. - Support both sides of the cut so the material can’t pinch the blade. - Stand slightly to the side, not directly behind the blade path.
Practical tip: If you feel like you need to use more strength than seems reasonable, stop. Tools are designed to work with moderate force. Excess force usually means the wrong tool, dull blades, or incorrect technique.
Step 4: Maintain Tools So They Work When You Need Them
Well-maintained tools are safer, cut cleaner, and last longer. You don’t need a full workshop—just a basic routine.
Create a 10-minute “shutdown ritual” at the end of each project session:
- Brush or vacuum dust off power tools, especially vents and moving parts. - Wipe hand tools with a dry cloth to remove moisture and debris.
Protect metal from rust:
- Store tools in a dry spot, not directly on concrete floors (they hold moisture). - Lightly wipe exposed metal with a bit of machine oil or a rust-prevention cloth if you live in a humid climate.
Keep cutting tools sharp:
- Utility knife blades: snap or replace frequently instead of forcing dull blades. - Wood chisels and hand planes (if you own them): use a basic sharpening stone or take them to a sharpening service. - Circular saw blades: replace when you see burn marks or feel heavy resistance even with clean wood.
Care for batteries:
- Avoid fully draining lithium-ion batteries; recharge when they get low. - Store batteries in a cool, dry place (not in a hot car or damp shed). - Clean contacts gently with a dry cloth if you see dust buildup.
Label and sort:
- Keep drill bits in labeled cases: wood, metal, masonry. - Use small bins or jars for screws, anchors, nails, and specialty fasteners. - Put a piece of masking tape on tools that “need attention” (new blade, repair, or replacement).
Practical tip: Set a calendar reminder every 3–6 months called “Tool Health Check.” Spend 30–45 minutes inspecting cords, replacing worn bits and blades, and tossing anything cracked or unsafe.
Step 5: Use Smart Starter Routines Before Every Project
A simple pre-project checklist will save you from half-finished jobs, missing tools, and unnecessary mistakes.
Walk the space:
- Identify outlets, switches, vents, and windows. - Note flooring type (carpet, hardwood, tile) so you can protect it with drop cloths or cardboard.
Confirm the wall or surface type:
- Drywall over studs, plaster, concrete, brick, tile—each needs the right drill bit and anchor type. - Use a stud finder and test in an out-of-the-way area to understand what’s behind the wall.
Lay out and “dry fit” materials:
- Place shelves, fixtures, or boards roughly where they’ll go before drilling or cutting. - Check that doors, windows, and drawers can still open after installation.
Stage your tools in order of use:
- Front row: measuring and marking tools. - Middle row: cutting and drilling tools. - Back row or separate tray: finishing tools (sandpaper, caulk, paint).
Do a 60-second safety check:
- Safety glasses, hearing protection, dust mask (if sanding or cutting). - Extension cords routed safely and not overloaded. - Kids and pets out of the immediate work area.
Practical tip: Before plugging in any power tool, say out loud what you’re about to do (“Drill a 1/8-inch pilot hole, two inches deep”). It sounds silly, but it forces you to check you’ve got the right bit, depth, and location before you pull the trigger.
Conclusion
You don’t need a massive tool chest or a contractor’s truck to do solid DIY work. What you really need is a clear way to match tools to the job, a safe place to use them, a few unbreakable safety habits, and a basic maintenance routine. Once you lock in this workflow, every project gets easier—because your tools are where you need them, working the way they’re supposed to, when you’re ready to work.
Sources
- [U.S. Consumer Product Safety Commission – Power Tool Safety](https://www.cpsc.gov/Safety-Education/Safety-Education-Centers/Power-Tools) - Guidance on safe use and common hazards of power tools
- [Occupational Safety and Health Administration (OSHA) – Hand and Power Tools](https://www.osha.gov/hand-power-tools) - Official safety standards and best practices for tool use
- [Family Handyman – Essential Workshop Safety Tips](https://www.familyhandyman.com/project/workshop-safety-tips/) - Practical, homeowner-focused safety advice for common DIY tools
- [Fine Homebuilding – Caring for and Storing Power Tools](https://www.finehomebuilding.com/2016/03/29/caring-for-and-storing-power-tools) - Detailed tips on maintenance and storage to extend tool life
- [University of California ANR – Safe Use of Hand and Power Tools](https://safety.ucanr.edu/files/1337.pdf) - Educational PDF outlining basic tool safety and handling procedures
Key Takeaway
The most important thing to remember from this article is that following these steps can lead to great results.


