Renovating your home doesn’t have to turn into an endless, expensive project. The difference between a smooth upgrade and a stressful money pit usually comes down to planning, not just skills or tools. This guide walks you through a practical, five-step process to plan and execute a renovation that fits your budget, timeline, and skill level—without losing your sanity halfway through.
Step 1: Define the Real Goal of Your Renovation
Before you buy anything, get clear on why you’re renovating. This keeps you from overspending on features that don’t actually matter to you.
Start by writing down the main reason for the project: are you trying to improve function (more storage, better layout), fix a problem (leaks, outdated wiring), or increase resale value? Rank these in order of importance. For example, “Fix the leaky shower” should outrank “Add a luxury rain head.”
Walk the space and list everything you’d like to change—then split it into three lists: “Must Have,” “Nice to Have,” and “Later.” Be strict about what goes in “Must Have.” Safety issues, structural concerns, and anything causing damage (like water intrusion) belong there; decorative upgrades can move to “Nice to Have.”
Take a few reference photos of the space from multiple angles. These help you compare “before and after,” share with contractors if you hire help, and keep you focused on the original scope. Finally, decide how much disruption you can tolerate. For example, if you’re renovating a kitchen, can you live without a stove for two weeks, or do you need a phased approach? Your tolerance for disruption will shape your plan and schedule.
Step 2: Build a Realistic Budget (With a Safety Cushion)
Once your goals are clear, translate them into numbers. A renovation budget is not just materials and labor; small “extras” add up fast.
Start with a simple spreadsheet or a notebook and create basic categories: Demolition, Structural/Framing, Electrical/Plumbing, Insulation/Drywall, Flooring, Cabinets/Storage, Fixtures/Finishes, Tools/Equipment, and Permits/Inspections. Even small DIY projects benefit from this breakdown; it forces you to think through each stage.
Research rough cost ranges for your type of project using reputable sources like contractor associations, home improvement stores, or national cost guides. Then price out specific materials at local stores or online: tile per square foot, paint by the gallon, fixtures, and any rental equipment (like a tile saw or floor sander). Add tax and expected delivery fees.
Next, add a contingency—at least 10–20% of your total budget—for surprises like hidden water damage, extra materials, or code-required upgrades. For older homes or anything involving plumbing or electrical, lean closer to 20%. Treat this cushion as untouchable unless a real issue comes up.
Decide what you’re willing to compromise on if prices run high: maybe you choose a less expensive tile but keep the better faucet, or skip custom built-ins in favor of ready-to-assemble cabinets. Having pre-planned tradeoffs helps you adjust quickly without blowing the whole plan when costs change.
Step 3: Decide What You’ll DIY vs. Hire Out (Safely)
Not everything should be DIY—especially when safety or building codes are involved. The smartest renovation plans mix DIY and professional help where it makes the most sense.
Start by listing every task in your project, step by step: demo, framing, electrical changes, plumbing moves, insulation, drywall, painting, flooring, trim, fixture installation, and cleanup. For each task, ask three questions:
1) Does this involve structural elements (load-bearing walls, beams, roof)?
2) Does this touch plumbing, gas lines, or electrical systems?
3) Would a mistake here be unsafe or extremely expensive to fix?
For anything that involves major structural changes, new electrical circuits, panel work, gas lines, or moving plumbing, strongly consider hiring a licensed professional. In many areas, these tasks legally require permits and inspections—and often must be done by licensed trades. Check your local building department website to see what’s allowed for homeowners.
Then look at the tasks that are usually DIY-friendly: demolition (with care), painting, installing trim, basic flooring (laminate, click-lock vinyl), replacing simple light fixtures (where legal and safe), and installing hardware or shelving. Be honest about your comfort level, but also remember that many of these skills can be learned with good tutorials and practice.
If you’re hiring out part of the job, get at least two to three written quotes that clearly outline scope, materials, and timeline. Ask whether you can handle some tasks (like demo or painting) yourself to reduce labor costs—many contractors are open to this if responsibilities are clear from the start. Always verify licenses, insurance, and references before committing.
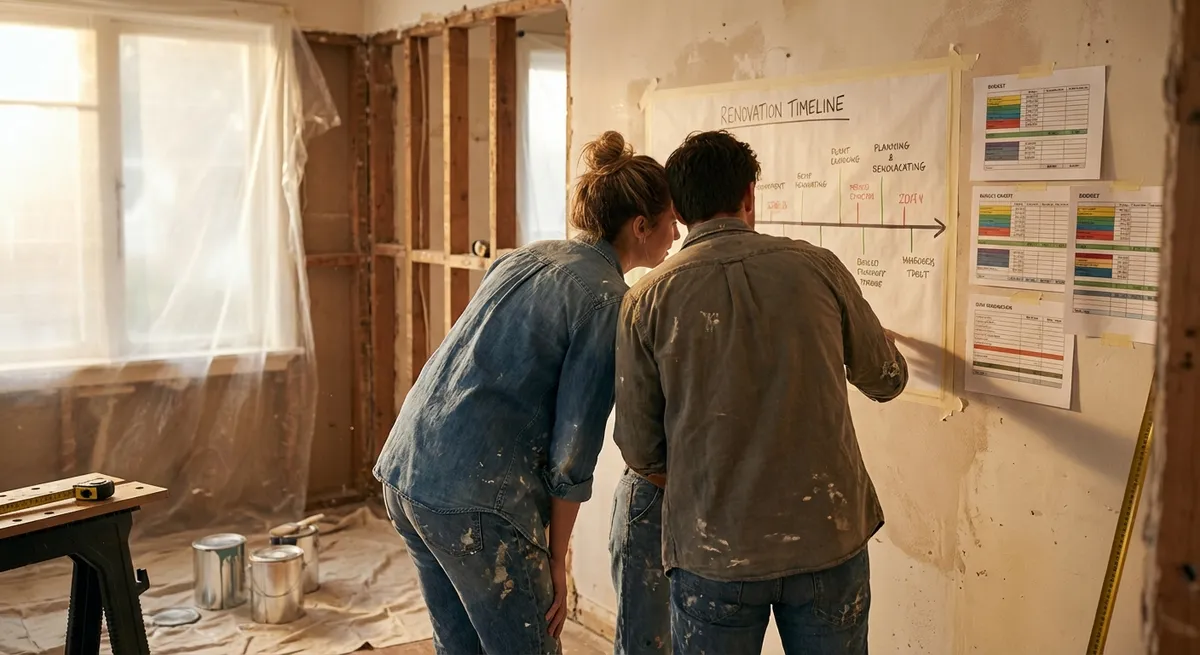
Step 4: Create a Simple, Realistic Project Timeline
A renovation without a timeline easily drags on for months. You don’t need complex software—just a clear sequence of tasks and realistic time estimates.
Start by ordering tasks in the correct order. A typical sequence looks like this: planning and permits → demo → structural work (if any) → rough plumbing/electrical → inspections (if required) → insulation → drywall → priming/painting → flooring → trim and doors → fixtures and final touches. Even small projects roughly follow these steps.
Estimate how long each task will take you, then double your estimate if you’re new to DIY. For example, if you think you can paint a room in one day, plan for two—prep and cleanup always take longer than expected. Block specific days or weekends on a calendar for each task, and make sure your timeline respects lead times for materials (special-order cabinets, custom windows, or certain finishes can take weeks).
Build in buffer days between major phases, especially anything tied to inspections or delivery schedules. If an inspector is late, or a delivery is rescheduled, your whole plan won’t collapse. Also plan for life events—busy work weeks, kids’ activities, or travel—and avoid scheduling big tasks the day before or after them.
Finally, print your timeline or keep it visible on a wall near the project area. As you work, update it realistically: if painting took twice as long, adjust future estimates rather than pretending you’re “still on track.” This honesty keeps the project from slowly becoming an open-ended frustration.
Step 5: Set Up the Space and Work Safely from Day One
A well-organized, safe work area makes renovation less stressful and helps you avoid injuries or damage to the rest of your home.
Before you start demo, clear the room as much as possible—remove furniture, decor, curtains, rugs, and anything that can collect dust. For items that must stay, cover them with plastic and tape it down securely. Use plastic sheeting and painter’s tape to create dust barriers at doorways, and consider a zipper dust door if you’ll be working in the space for more than a weekend.
Protect floors in adjacent areas with rosin paper, cardboard, or drop cloths, especially along the path where materials and debris will be carried. Plan a clear route for moving trash from the work area to your vehicle, dumpster, or trash cans, and keep that path free of tools and cords to prevent tripping.
Gather and stage your tools before each work session: basic hand tools, drill/driver, measuring tools, utility knife, pry bar, plus any specialty tools for the day’s tasks. Having a dedicated bin or tool bag for this project saves time hunting for things. Keep a trash can or contractor bags in the room so debris doesn’t pile up on every surface.
Most important, protect yourself. Wear proper safety glasses, hearing protection for loud tools, and a dust mask or respirator when sanding, cutting, or demolishing. Use gloves when handling sharp or rough materials. If your home was built before 1978, learn about potential lead-based paint and check your local guidance before sanding or disturbing old finishes.
End each work session with a 10–15 minute cleanup: sweep or vacuum, stack materials, coil cords, and put tools back in one place. This small habit makes it much easier to restart the next day and reduces the risk of accidents in a cluttered space.
Conclusion
A successful renovation doesn’t start with swinging a hammer—it starts with a clear plan, realistic budget, smart task choices, and a safe, organized workspace. By breaking your project into these five steps, you avoid the most common DIY pitfalls: scope creep, blown budgets, endless timelines, and avoidable mistakes.
Whether you’re updating one room or planning a larger home overhaul, treat each project like a mini construction job: define the goal, run the numbers, choose what to DIY and what to hire, build a timeline, and set up your space for safe, steady progress. That’s how you turn renovation ideas into finished spaces you can actually enjoy.
Sources
- [U.S. Consumer Product Safety Commission – Home Safety Guides](https://www.cpsc.gov/Safety-Education/Safety-Guides) - Covers key safety practices for tools, electrical work, and general home projects
- [U.S. Environmental Protection Agency – Lead Renovation, Repair and Painting Program](https://www.epa.gov/lead/renovation-repair-and-painting-program) - Explains rules and safety for working in homes with potential lead-based paint
- [U.S. Department of Housing and Urban Development – Rehab and Repair](https://www.hud.gov/program_offices/housing/sfh/rehab/rehabloan) - Provides context on common renovation scopes and considerations for older homes
- [Family Handyman – Home Remodeling Planning Tips](https://www.familyhandyman.com/project/home-remodeling-planning-tips/) - Practical examples of remodeling planning, budgeting, and sequencing
- [National Association of Home Builders – Remodeling](https://www.nahb.org/working-with-a-builder/remodeling-your-home) - Guidance on working with contractors, estimates, and project scope planning
Key Takeaway
The most important thing to remember from this article is that this information can change how you think about Renovation.


