A full renovation can feel overwhelming, but transforming a single room over a weekend is absolutely doable with the right plan. Instead of tearing everything out, you’ll focus on high-impact changes: surfaces, layout, lighting, and details. This approach saves money, keeps the mess manageable, and gives you a finished space you can actually enjoy by Sunday night.
This guide walks you through a practical, step-by-step process any DIY-minded homeowner can follow to refresh a bedroom, living room, office, or den—without needing a contractor or a huge budget.
Step 1: Define the Room’s Job and Set a Realistic Budget
Before you touch a paintbrush or move a sofa, get clear on what this room is supposed to do for you and how much you can spend.
Start by writing down the room’s primary purpose (for example: “relaxing and watching TV,” “working from home,” or “guest sleeping and storage”). If the room tries to do everything, it usually does nothing well, so pick one main function and one backup.
Next, measure the room: length, width, ceiling height, and the size/location of windows, doors, and major outlets. Jot this down or sketch a quick floor plan. These dimensions will guide decisions on rugs, furniture placement, and how much paint you’ll need.
Set a firm budget that covers:
- Materials (paint, caulk, hardware, basic tools)
- Decor (curtains, pillows, lamps, rug)
- Contingency (10–15% for surprises or upgrades)
Divide that total into categories so you don’t blow everything on one item. For example, you might allocate 40% to paint and wall fixes, 30% to lighting and electrical accessories, 20% to textiles (curtains, rug, bedding), and 10% to decor.
End this step by choosing a simple color palette: one main wall color, one neutral, and one accent. This keeps shopping decisions faster and prevents mismatched impulse buys.
Step 2: Prep Like a Pro on Friday (Declutter, Clean, and Patch)
A weekend makeover succeeds or fails on prep. Most people skip this part and then wonder why their finished space still feels “off.”
Start by removing everything that’s not furniture: decor, small storage, wall art, rugs, extra chairs, and loose clutter. Sort items into four piles: keep in room, move to another room, donate/sell, and trash/recycle. Be ruthless—every piece you leave must earn its spot.
Once surfaces are clear:
- Vacuum and dust thoroughly, including baseboards, vents, and window sills.
- Wash walls where you’ll paint with a mild detergent or cleaner designed for prepping walls; this helps paint adhere and removes oils and grime.
- Inspect for damage: nail holes, hairline cracks, dents, or separated trim.
Patch small holes with lightweight spackle, sand lightly once dry, and wipe off dust. For slightly larger dents, use a patching compound and allow proper dry time per manufacturer instructions. Re-caulk where trim has pulled away from the wall or gaps have opened near windows; smooth it with a damp finger or caulk tool.
Finally, move furniture away from walls and cover remaining items with drop cloths or old sheets. Tape off trim, windows, and outlets if you plan to paint. Doing all this Friday night sets you up for smooth progress across the weekend.
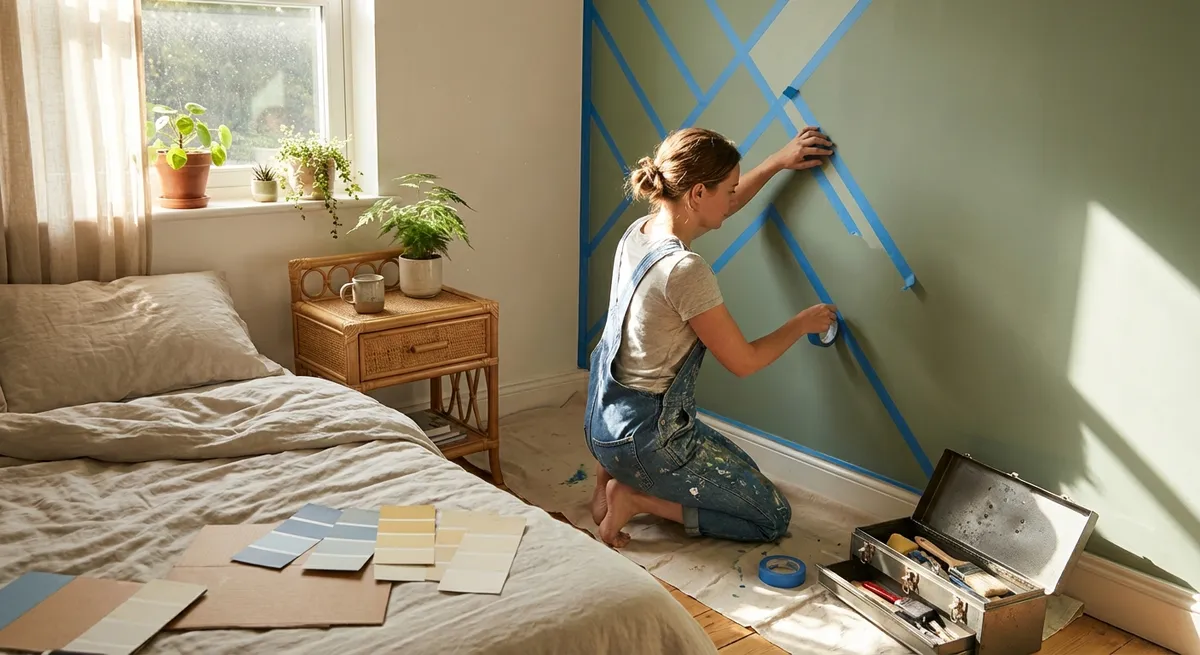
Step 3: Refresh Surfaces for Maximum Visual Impact
Changing what you see at eye level is one of the fastest ways to make a room feel “renovated” without actually rebuilding anything.
If you’re painting:
- Use primer on patched areas or over dark colors to improve coverage.
- Cut in around edges with a quality angled brush before rolling.
- Apply two thin coats rather than one heavy coat to avoid drips and uneven sheen.
Choose a washable, low-VOC paint, especially for high-traffic rooms. A matte or eggshell finish hides minor imperfections on walls better than high-gloss.
Don’t forget ceilings and trim. A clean, bright white on the ceiling can visually raise the room height. Fresh semi-gloss paint on baseboards, door frames, and window trim instantly makes the whole room feel sharper and more deliberate, even if you changed nothing else.
If the floor is in decent condition, a deep clean can be enough:
- For hard floors, sweep, vacuum, then mop with the appropriate cleaner (wood-safe, laminate-safe, or tile-safe).
- For carpet, do a thorough vacuum and, if needed, rent or borrow a carpet cleaner for high-traffic areas.
- A correctly sized area rug to define the main zone (front feet of sofas and chairs on the rug in living spaces, or at least two-thirds under the bed in bedrooms).
- Rug pads to prevent slipping and add cushioning.
If your flooring looks tired but replacing it isn’t in the budget, consider:
At the end of this step, your walls, trim, and floors should feel clean, intentional, and ready for furniture and decor to shine.
Step 4: Rethink Layout, Lighting, and Storage
Now that you have clean surfaces, it’s time to make the room actually work better. This is where the “renovation” happens without moving walls or running new plumbing.
Start with layout. Use your earlier room measurements to:
- Position the largest piece of furniture (sofa, bed, desk) first.
- Orient it toward the room’s main focal point (window, TV, fireplace, or feature wall).
- Maintain comfortable pathways (aim for 30–36 inches for main walkways, minimum 18 inches around furniture where possible).
Experiment by physically moving pieces or using painter’s tape outlines before committing. If something feels cramped, remove rather than squeeze—one fewer chair often makes a room feel more usable.
Next, address lighting. Aim for three layers:
- Ambient: general lighting (ceiling fixture or multiple floor lamps).
- Task: desk lamps, reading lamps, under-cabinet or shelf lighting where you need focused brightness.
- Accent: wall sconces, picture lights, or even LED strips behind shelves or TVs for subtle glow.
Use energy-efficient LED bulbs with consistent color temperature (for most living areas, 2700K–3000K feels warm but not orange). Swap outdated or dim bulbs for brighter, more efficient ones. Simple changes like adding a floor lamp to a dark corner can make the room feel larger and more inviting.
Finally, tackle storage in a way that supports how you use the room:
- Use closed storage (baskets, boxes with lids, cabinets) for messy or small items.
- Reserve open storage (shelves, hooks) for things you want to see or grab quickly.
- Place frequently used items at arm’s reach and rarely used items higher or out of sight.
In a living room, that might mean baskets under a console for throws and games. In a bedroom, it could be under-bed storage bins and a set of matching boxes on the closet shelf. The goal is to make everyday tidying fast and almost automatic.
Step 5: Add Finishing Details That Tie Everything Together
The last step is what makes your weekend renovation look finished rather than halfway done. These are smaller upgrades that carry a lot of visual weight.
Focus on items that align with your color palette and function:
- Textiles: Replace or update curtains, bed linens, throw pillows, and blankets in colors that connect with your wall and accent choices. Hang curtains high and wide to make windows feel larger.
- Hardware: Swap dated doorknobs, cabinet pulls, and switch plates for simple, modern options. This is usually a screwdriver-and-30-minutes kind of project with a big payoff.
- Wall decor: Hang art at eye level (center around 57–60 inches from the floor) and group smaller pieces instead of spreading them randomly. Consider one strong focal piece instead of many tiny frames.
- Greenery: Add at least one real or realistic plant to soften corners and surfaces. Choose low-maintenance options if you’re not confident with plants.
- Cords and tech: Use cable clips, cord covers, or raceways to tame visible wires around TVs, desks, and lamps. This instantly makes the room feel cleaner and more intentional.
Step back and look at the room from different angles. Remove anything that feels like visual noise or doesn’t fit the new palette or purpose. A successful weekend makeover isn’t about adding as much as possible; it’s about making sure everything left in the room has a clear role.
Conclusion
A weekend room makeover doesn’t require a contractor, a huge budget, or specialized tools. By planning your space, prepping thoroughly, refreshing the main surfaces, optimizing layout and lighting, and finishing with focused details, you can get renovation-level impact in just a couple of days.
If you treat this as a repeatable process—define, prep, refresh, rearrange, and refine—you can move through your home one room at a time, building skills and confidence with each project and getting closer to a space that actually works for how you live right now.
Sources
- [U.S. Department of Energy – Lighting Choices to Save You Money](https://www.energy.gov/energysaver/lighting-choices-save-you-money) - Guidance on efficient lighting, bulb types, and color temperatures
- [Benjamin Moore – How to Paint Interior Walls](https://www.benjaminmoore.com/en-us/interior-exterior-paints-stains/how-to-advice/interior-how-to-paint-a-room) - Step-by-step wall painting techniques and preparation tips
- [Sherwin-Williams – Interior Painting FAQ](https://www.sherwin-williams.com/en-us/homeowners/color/how-to/painting-faq) - Practical answers about paint finishes, primers, and application
- [NYU Langone Health – Indoor Air Quality and VOCs](https://nyulangone.org/news/what-you-should-know-about-volatiles-organic-compounds-vocs) - Explains VOCs and why low-VOC paints are beneficial indoors
- [IKEA – Living Room Planning Tips](https://www.ikea.com/us/en/rooms/living-room/how-to-plan-a-living-room-pub9b3fb7e1) - Ideas and principles for layout, storage, and functionality in living spaces
Key Takeaway
The most important thing to remember from this article is that this information can change how you think about Renovation.


