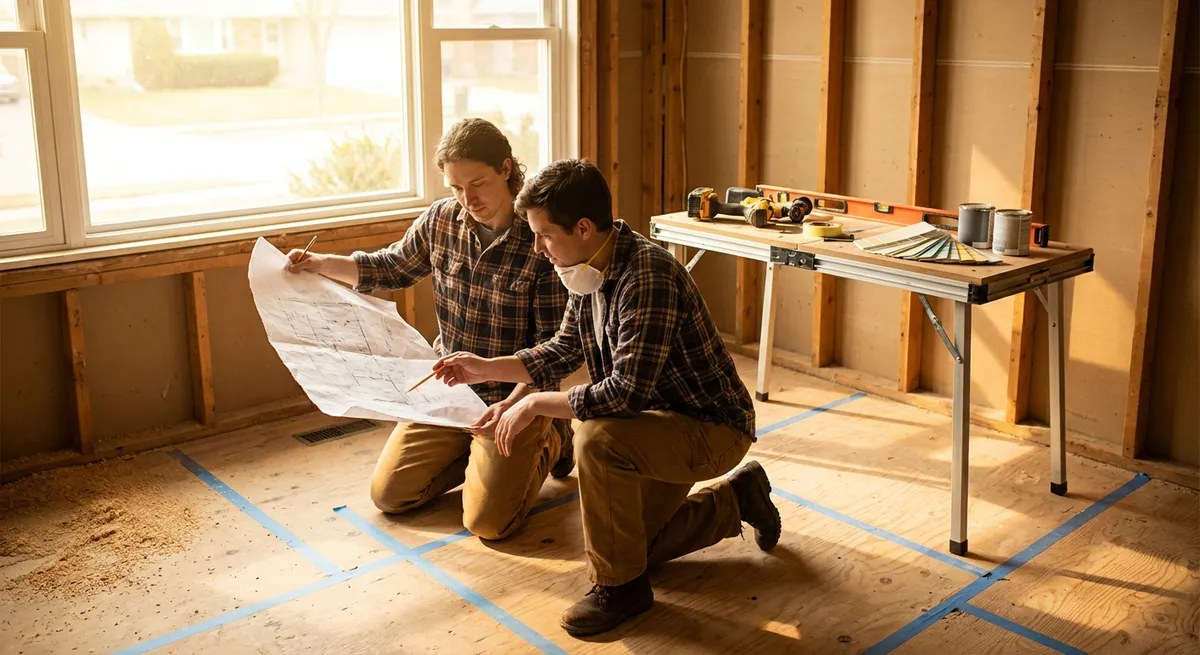
Renovation goes wrong most often before a single wall is opened or a tool is picked up. Cost overruns, delays, and half-finished rooms usually come from weak planning, not weak skills. This guide walks you through a practical, step‑by‑step way to plan and execute a renovation so you can do more work yourself, avoid common pitfalls, and actually finish what you start.
Step 1: Define the Renovation’s Job (Not Just How It Looks)
Before you think about paint colors or fixtures, get clear on what the renovation needs to do for you.
Start by writing a one‑sentence goal for the project: “This bathroom renovation should fix the leaks, improve storage, and make cleaning easier,” or “This kitchen update should improve workflow and add durable surfaces for heavy cooking.” Functional goals help you choose materials and layouts that solve real problems, not just look good.
Walk the space at different times of day and take notes: Where is it cramped? What feels unsafe or annoying? Do you have enough outlets, light, and storage? Take photos and short videos to document issues like water stains, cracked tiles, or tripping hazards. This becomes your “problem list.”
Next, separate your list into three categories: safety/structural (water damage, bad wiring, loose railings), functionality (layout, storage, lighting), and aesthetics (paint, hardware, decor). Plan to address safety and structural items first, even if they’re less visible. Cosmetic fixes on top of unresolved leaks or wiring issues will waste money and often have to be redone.
Finally, define your “must-have” and “nice-to-have” items. Must-haves tie directly to safety, code, or daily use (no more leaking shower, replace unsafe outlet). Nice-to-haves are upgrades that improve comfort or appearance (heated floors, premium countertop stone). This simple filter will become essential when you’re balancing time, budget, and what you can safely DIY.
Step 2: Build a Realistic Budget and Scope (Before Demolition)
Once you know the job, you can build a budget and scope that fits reality instead of wishful thinking.
Start by listing all major components of the project: demolition, framing/structural, plumbing, electrical, insulation, drywall, flooring, cabinets, fixtures, paint, and cleanup. Even if you’re not touching each category, seeing them all in one place keeps you from forgetting line items that add up later (like dump runs or tool rentals).
Research ballpark material costs from multiple sources—big‑box stores, local building suppliers, and reputable online retailers. For higher‑risk items (like waterproofing systems or electrical components), prioritize quality and manufacturer support over the lowest price. Note estimated costs in a simple spreadsheet, including tax and likely delivery fees.
If you’ll hire pros for any part (like electrical service changes, gas lines, structural changes, or roofing), get at least two to three written estimates that clearly state what is and isn’t included. Ask about permits, disposal, and what happens if they find hidden damage. Build in a 10–20% contingency line in your budget for surprises—more if your home is older or you already see signs of water or structural issues.
Clarify where DIY actually makes sense: demolition, painting, trim work, flooring, or installing simple fixtures are good candidates for many homeowners. Structural work, main panel electrical, and complex plumbing usually belong to licensed pros. Define your “DIY boundaries” in writing so you don’t talk yourself into risky last‑minute heroics when you’re tired.
Finally, decide on a scope freeze point. Once materials are ordered and the first work begins, commit to avoiding major changes unless you uncover a real problem (like rot or code violations). Constant scope changes are where budgets and timelines explode.
Step 3: Check Codes, Permits, and Hidden Systems Before You Build
Skipping this step is how renovations turn into expensive redos—or become unsafe.
Look up your local building department’s rules for residential work. Many cities and counties post clear guides online explaining what kind of work needs a permit: structural changes, adding or moving plumbing or electrical circuits, modifying load‑bearing walls, or changing window sizes. Even some “small” projects require permits when systems are involved.
If you’re unsure whether a wall is load‑bearing, don’t guess. Check your home’s framing direction from the basement or attic—generally, walls that run perpendicular to floor joists and support beams are more likely to be load bearing. When in doubt, bring in a structural engineer or qualified contractor for at least a consultation before cutting anything.
Locate utilities and hidden systems before you open walls or floors. Use stud finders that detect live wires and pipes, and confirm with small test holes rather than long blind cuts. Know where the main shutoffs are for water, gas, and electricity, and test that you can actually turn them off. Label valves and breakers clearly with tape and a marker.
If your home was built before the late 1970s, assume you may encounter lead-based paint or asbestos-containing materials (like old floor tiles, pipe insulation, or some textured ceilings). Do not sand, grind, or demo suspect materials aggressively. Use certified testing services or lab kits approved by reputable authorities, and follow official guidance if hazardous materials are present.
Keep a simple renovation “code binder” (physical or digital) with any permits, inspection notes, manufacturer installation guides for key products (like waterproofing membranes and windows), and contact info for inspectors or trades you’ve consulted. Inspectors are typically much more helpful when they see you’re organized and following the rules.
Step 4: Sequence the Work to Avoid Re-Doing Tasks
The order you do things in is as important as the work itself. A good sequence prevents you from installing work that later has to be cut out for access.
A typical interior renovation sequence looks like this: protect unaffected areas, demolition, rough mechanicals (plumbing, electrical, HVAC), structural adjustments, insulation, drywall, flooring (or subfloor prep), trim and doors, cabinetry and built-ins, then paint and final fixtures. Customize this to your project, but avoid jumping ahead just to “see progress.”
Start by protecting floors, doorways, and vents in nearby areas with drop cloths, temporary plastic walls, and vent covers. Dust and debris travel fast and can damage finished surfaces in other rooms. Plan your path for debris removal and deliveries so you’re not carrying heavy materials across delicate flooring or through tight hallways unprotected.
During demolition, remove carefully rather than just smashing everything. Salvage reusable trim, doors, and hardware when possible. As walls open, take photos of the framing, plumbing, and wiring before everything is covered again—these reference photos are extremely valuable for future work or troubleshooting.
Rough work (moving or adding plumbing, electrical, vents, or structural supports) should happen before insulation and drywall. Always follow manufacturer installation instructions for critical assemblies like showers and window systems. Many warranties are only valid if you follow specific installation steps.
Don’t rush to install final flooring, cabinets, or expensive fixtures until “wet” work and messy sanding are complete. Paint, drywall dust, and dropped tools can quickly damage finished surfaces. Think in layers: get the “bones” right, then the base surfaces, then the finishes.
End with punch‑list work: caulking gaps, touching up paint, aligning cabinet doors, tightening loose fixtures, installing cover plates, and cleaning thoroughly. These details often separate a “DIY project” from a professional‑looking result.
Step 5: Build a Safe, Efficient DIY Setup That You Can Reuse
A smart setup makes every renovation project faster, safer, and less frustrating.
Start with workspace planning: choose a dedicated staging area for tools, materials, and cutting. Ideally, this is a garage, basement, or part of the yard under cover. Keep noisy and dusty cutting (like saw work) out of primary living spaces when possible. Use sturdy work surfaces—simple 2x4 sawhorses and plywood sheets make an affordable, flexible workbench.
Invest in personal protective equipment (PPE) that matches the work: safety glasses, hearing protection, dust masks or respirators rated for fine dust, work gloves, and knee pads. Keep a basic first aid kit near your work zone and make sure you have good lighting; cheap portable LED work lights can transform dim areas and help you avoid mistakes.
Organize your tools in zones: cutting and drilling tools together, fastening tools and hardware together, measuring and layout tools in one pouch or box. Label organizers for screws, anchors, and connectors so you’re not constantly hunting for the right fastener. The less time you spend searching, the more energy you’ll have for doing careful work.
Use checklists before and after each work session. Before: confirm you have required materials for your planned tasks, batteries charged, blades sharp, and the area cleared of tripping hazards. After: clean up debris, vacuum dust (especially around vents and doorways), put tools back in designated places, and make a quick note of what’s next. This makes it much easier to restart on your next workday.
Finally, think long term. When you buy tools or learn new techniques for this renovation, choose options you can reuse on future projects. Solid basics like a quality drill/driver, level, stud finder, and reliable measuring tools will serve you across almost every home improvement task you tackle next.
Conclusion
Renovation doesn’t have to be chaotic or overwhelming. When you define the job clearly, build a realistic budget and scope, respect codes and hidden systems, sequence your work wisely, and set up a safe, efficient DIY environment, you put yourself in a strong position to deliver results that last. Use this step‑by‑step framework as your renovation backbone, then customize it to your space, skills, and timeline. The more intentional you are up front, the more you’ll like living with the finished project.
Sources
- [U.S. Consumer Product Safety Commission – Home Remodel Safety Tips](https://www.cpsc.gov/safety-education/safety-guides/home) - Guidance on staying safe during home projects, including tool use and hazard awareness
- [U.S. Environmental Protection Agency – Renovation, Repair and Painting Program](https://www.epa.gov/lead/renovation-repair-and-painting-program) - Official information on handling lead-based paint safely during renovations
- [U.S. Department of Housing and Urban Development – Rehab Guide Series](https://www.huduser.gov/portal/publications/rehabguide.html) - Detailed technical guides on various aspects of home rehabilitation and renovation
- [National Association of Home Builders – Understanding Building Codes](https://www.nahb.org/advocacy/top-priorities/building-codes) - Overview of why codes matter and how they affect residential construction
- [International Code Council – Building Safety Resources for Homeowners](https://www.iccsafe.org/building-safety-journal/resources-for-homeowners/) - Resources that explain code, permits, and safety considerations for residential projects
Key Takeaway
The most important thing to remember from this article is that this information can change how you think about Renovation.


