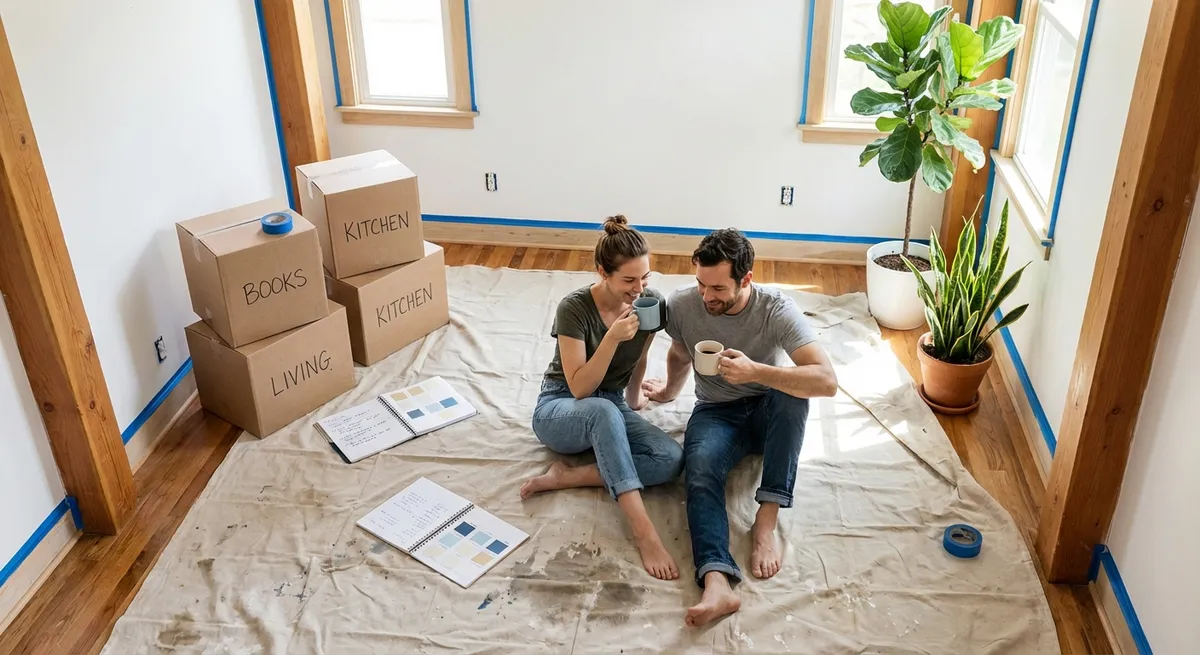
Renovation doesn’t have to mean living in a construction zone for months while everything feels upside down. With the right plan and a realistic approach, you can update your space, keep your sanity, and avoid the most common DIY derailers. This guide walks you through a practical, step‑by‑step process to renovate smarter, not louder—whether you’re tackling a single room or a whole-home refresh.
Step 1: Define the Real Problem Before You Touch a Wall
Most renovation stress starts before demo ever begins—because the goal isn’t clear.
Slow down and pinpoint what actually needs to change:
- List your daily frustrations. Is it bad lighting, no storage, awkward traffic flow, or worn-out finishes? Write down specific moments that annoy you: tripping over shoes, fighting over outlets, squinting at counters.
- Separate cosmetic from functional issues. Paint, fixtures, and hardware are cosmetic. Electrical, plumbing, layout, insulation, and structural elements are functional. Functional fixes usually cost more but add more long-term value.
- Measure how you use the space today. For a kitchen, note where you prep, cook, and clean. For a bathroom, track where clutter piles up and what you actually use daily.
- Decide what must change vs. what would be nice. “Must” items solve real problems (leaky shower, unsafe stairs, no ventilation). “Nice” items improve comfort or style (new tile, different color scheme).
- Set a clear scope in one sentence. Example: “Make the bathroom safer and easier to clean without moving plumbing.” This line will guide every decision.
Doing this upfront helps prevent mid-project additions (“While we’re at it…”) that blow up your budget and timeline.
Step 2: Build a Grounded Budget (and Stop Surprises Early)
A renovation without a budget is just a wish list. A practical budget keeps your project moving and stops half-finished rooms.
Here’s how to build one that actually works:
- Get rough cost ranges first. Check a few reputable remodeling cost guides online, then adjust for your location. Use the midrange number as your starting point.
- Break the project into categories. Typical buckets:
- Materials (flooring, tile, fixtures, cabinets, paint)
- Tools and equipment (that you must buy or rent)
- Trades (electrician, plumber, HVAC, structural engineer if needed)
- Permits and inspections
- Dump fees or haul-away costs
- Contingency (emergency cushion)
- Always add a 10–20% contingency. Older homes or any project involving walls, plumbing, or wiring almost always reveal surprises.
- Match the budget to the home’s value. Overspending on high-end finishes in a starter home rarely pays off. Underspending on critical systems (wiring, plumbing) can cost more later.
- Plan for recurring or hidden costs. Think about:
- Temporary storage or a pod if you’re clearing rooms
- Eating out more often during kitchen work
- Pet boarding or safety gates
- Decide where you’ll save—and where you won’t. Good places to save: paint, hardware, light fixtures, DIY demo. Places not to skimp: waterproofing, electrical, plumbing, structural work.
If your budget doesn’t match your scope, shrink the project now—not after you’ve torn out half a room.
Step 3: Map the Work in a Logical Sequence (Your DIY Game Plan)
Renovation chaos usually comes from doing tasks out of order. A clear sequence keeps you from redoing work and living in dust longer than necessary.
Use this general order and adapt it to your project:
Planning and permits
- Finalize your design and material choices enough to estimate quantities. - Check with your local building department on what requires a permit (structural work, electrical changes, plumbing moves, major HVAC updates often do). - Schedule any inspections early—you’ll need them between key stages.
Prep and protection
- Clear the room completely if possible. If not, push everything to one side and cover it with plastic. - Protect floors with rosin paper, cardboard, or drop cloths. - Seal off adjacent areas with plastic and painter’s tape to limit dust.
Demo (demolition)
- Turn off power and water to the area before removing anything. - Remove fixtures, cabinets, trim, then walls or flooring as needed. - Keep materials you might reuse (doors, trim, hardware) neatly stacked and labeled. - Bag debris as you go to keep the workspace safe and walkable.
Rough work (behind-the-walls jobs)
- Electrical, plumbing, HVAC, and any structural changes happen now. - If you DIY some of this, be sure you’re complying with local codes and pulling permits where required. - Take photos of open walls showing wiring, pipes, and framing before you close them up.
Close-up and surfaces
- Insulate (if needed), then install drywall or patch walls. - Tape, mud, and sand. - Prime walls and ceilings.
Floors, tile, and major surfaces
- Install new flooring, tile, or large surface materials after most messy overhead work is done.
Finish work
- Install trim, baseboards, and casings. - Hang doors and hardware. - Install cabinets, vanities, and built-ins. - Add light fixtures, switches, and outlet covers.
Painting and touch-ups
- Paint walls, trim, and doors. - Patch any dings and do final caulk lines.
Final fixtures and cleanup
- Install faucets, showerheads, mirrors, towel bars, and accessories. - Deep clean: dust, vacuum, and wipe all surfaces. - Move furniture and items back in intentionally, not all at once.
Print this sequence and keep it visible. When you feel overwhelmed, just focus on the next step in the order.
Step 4: Set Up a Safe, Efficient DIY Work Zone
A well-organized workspace saves time and reduces injuries and mistakes—especially in lived-in homes.
Use these practical setup tips before you start:
- Create two zones: work and “normal life.”
- Work zone: where cutting, sanding, and messy tasks happen.
- Clean zone: one room that stays as dust-free and normal as possible for daily living.
- Setup a basic tool station.
- Keep your most-used tools (tape measure, utility knife, drill/driver, bits, stud finder, pencils, square) in one place.
- Use small bins or a toolbox for fasteners and anchors—label each.
- Upgrade your dust control.
- Use a shop vacuum with a HEPA filter when cutting or sanding indoors.
- Attach vacuum adapters to saws if possible.
- Fan in a window blowing OUT, not in, to vent dust.
- Prioritize safety from day one.
- Wear eye protection, hearing protection, and a dust mask or respirator when cutting or sanding.
- Use gloves when handling demolition debris or rough lumber.
- Keep a first-aid kit and a fire extinguisher close to the work area.
- Never disable safety guards on tools “just for a quick cut.”
- Plan for kids and pets.
- Use baby gates or closed doors to keep them out of the work zone.
- Store sharp tools and chemicals out of reach at the end of each day.
- End each work session with a 10-minute reset.
- Put tools back in their home.
- Sweep or vacuum the main walking paths.
- Bag garbage and stack lumber or materials neatly.
Use a small table, workbench, or even a sturdy plastic folding table:
An organized setup doesn’t just feel better—it directly reduces project delays caused by lost tools, injuries, or accidental damage.
Step 5: Finish Strong: Inspection, Punch Lists, and Maintenance
The end of a renovation is where many DIY projects stall. A focused final phase makes the space truly ready—not just “almost done.”
Work through this final checklist:
- Do a slow, critical walkthrough.
- Look at every wall, corner, trim piece, and joint in good lighting.
- Use blue painter’s tape to mark spots that need touch-up: paint misses, gaps in caulk, nail holes, uneven cuts.
- Create a short punch list.
- Write down each issue and group similar tasks (all paint touch-ups together, all caulk fixes together).
- Tackle them in batches to stay efficient.
- Test everything.
- Flip every switch and test each outlet (consider using a plug-in outlet tester).
- Run water at each fixture and check below for leaks.
- Open and close drawers, doors, and windows multiple times.
- Verify fans, vent hoods, and bathroom ventilation actually move air outside, not just recirculate.
- Document your work.
- Store receipts, warranties, paint colors, and product manuals in one folder (physical or digital).
- Save photos of:
- Shut-off valve locations
- Electrical panel changes
- What’s behind major walls (stud, wire, and pipe locations)
- Set a basic maintenance schedule.
- Put reminders on your calendar for:
- Recaulking wet areas as needed
- Resealing stone or grout if required
- Changing HVAC filters and cleaning vents
- Inspecting for minor cracks, nail pops, or leaks
- Evaluate what you’d do differently next time.
- Note which steps took longer than expected.
- Record any tools you wish you’d had earlier.
- Capture lessons while they’re fresh—they’ll save you time on your next project.
A renovation isn’t truly complete until it’s safe, functional, and easy to maintain. Taking this last step seriously protects the time and money you’ve already invested.
Conclusion
Renovation doesn’t need to be dramatic to be effective. By clearly defining the problems you’re solving, building a realistic budget, following a logical sequence, setting up a safe work zone, and closing out the project with intention, you turn an overwhelming idea into a manageable series of steps. The result is a home that works better for you—without burning you out in the process.
Sources
- [U.S. Department of Housing and Urban Development – Rehab a Home](https://www.hud.gov/program_offices/housing/sfh/203k/203kmenu) – Overview of common renovation considerations and financing, useful for understanding typical project scopes and costs
- [U.S. Consumer Product Safety Commission – Home Safety Checklist](https://www.cpsc.gov/s3fs-public/pdfs/blk_media_513.pdf) – Guidance on household safety issues to keep in mind during and after renovation
- [Occupational Safety and Health Administration (OSHA) – Construction Industry Safety](https://www.osha.gov/construction) – Authoritative information on tool use, protective equipment, and safe jobsite practices
- [U.S. Environmental Protection Agency – Renovation, Repair and Painting Program](https://www.epa.gov/lead/renovation-repair-and-painting-program) – Important regulations and safety tips for working in homes that may contain lead-based paint
- [Harvard Joint Center for Housing Studies – Remodeling Futures](https://www.jchs.harvard.edu/remodeling) – Research and data on renovation trends and spending that can help homeowners benchmark realistic project budgets
Key Takeaway
The most important thing to remember from this article is that this information can change how you think about Renovation.


