Renovation doesn’t always mean tearing your house apart or living in dust for months. With a clear plan and a few focused projects, you can make your home feel noticeably newer, quieter, and more functional—without moving walls or draining your savings. This guide walks through five practical, step‑by‑step upgrades that DIY‑minded homeowners can handle with basic tools and some patience.
Step 1: Refresh Walls the Smart Way (Prep More, Paint Less)
A clean, well‑finished wall makes every room look newer, even if nothing else changes. Instead of rushing to just roll on new paint, focus on preparation—that’s where the “renovated” look actually comes from.
- Inspect, don’t guess. Walk the room with good lighting and blue painter’s tape. Mark nail pops, cracks, dents, and shiny spots (old patched areas or gloss). These will show through if you skip prep.
- Clean before sanding. Use a mild degreaser or TSP substitute on high‑touch areas like around switches, doors, and near cooking zones. Grease and dust can stop paint from sticking and cause peeling later.
- Fix defects properly.
- Hairline cracks: open slightly with a utility knife, fill with lightweight spackle, and feather with a 6" taping knife.
- Larger dents or gouges: use joint compound, let it fully dry, sand smooth, then repeat if needed.
- Glossy or shiny patches: scuff sand with 120–150 grit so primer can grip.
- Prime where you must, not everywhere.
- Prime bare drywall, patched spots, and stains (use stain‑blocking primer for water marks, smoke, or crayon).
- If the existing paint is sound and similar in color, you can often skip full‑room priming.
- Use the right nap roller.
- Smooth walls: 3/8" nap.
- Slight texture or older walls: 1/2" nap for better coverage.
- Cut in systematically. Work one wall at a time: cut in along edges with a brush, then immediately roll that wall while the cut‑in is still wet. This reduces visible lap lines and creates a more professional finish.
- Respect dry times. If the can says 2 hours to recoat, give it that—especially in humid conditions. Recoating too soon can cause peeling or roller drag lines.
Cheap rollers shed lint and leave texture—invest in decent ones to avoid “renovation rash” on your walls.
A well‑prepped paint job is one of the fastest ways to make your home look like it’s been properly renovated, not just “quickly painted.”
Step 2: Upgrade Lighting for a Renovated Feel (Without Rewiring the House)
Modern, layered lighting can make an older space feel like it just came out of a design magazine—often without opening a single wall.
- Audit your lighting by activity. Stand in each room at night and ask:
- Can I read comfortably?
- Is there enough light for cooking, grooming, or hobbies?
- Are corners dark or shadowy?
- Swap old bulbs for consistent LEDs.
- Choose one color temperature per zone (e.g., 2700–3000K warm white for living/sleeping; 3500–4000K neutral for kitchens/work areas).
- Aim for 800–1100 lumens per main lamp or fixture in medium rooms.
- Replace tired fixtures with clean, simple designs.
- Flush mounts, semi‑flush mounts, and basic pendant kits are often an easy swap: turn off breaker, verify power is off with a non‑contact tester, then change out the fixture.
- Stick to simple, neutral finishes (black, white, brushed nickel) if you’re unsure; these tend to age better.
- Add plug‑in lighting where hardwiring is not practical.
- Plug‑in sconces, floor lamps, and under‑cabinet LED strips can all be added without touching existing wiring.
- Use cord covers or paintable raceways to keep things tidy and less “temporary.”
- Introduce basic smart control without overcomplicating it.
- Smart bulbs or smart plugs controlled by simple scenes (e.g., “Evening,” “Bright,” “Movie”) can give a high‑end renovated feel at low cost.
- Avoid mixing too many brands; stick to one ecosystem so control stays simple.
Note where you rely on a single overhead fixture—that’s a sign you need layers.
Matching color temperature alone can make the entire house feel intentionally updated.
Thoughtful lighting can make even older finishes look better, and it often changes how you feel about a room more than new furniture does.
Step 3: Quiet the House with Targeted Sound and Draft Control
A home that feels solid and quiet reads as “well renovated,” even if you haven’t touched the layout. Small noise and draft fixes add up.
- Find the worst offenders.
- Listen at night for rattling windows, whistling doors, or vibrating vents.
- During a windy day, run your hand around window and door frames to feel for drafts.
- Seal gaps around trim and frames.
- Use paintable caulk where trim meets walls and around window and door casings.
- Fill only small cracks (roughly 1/4" or less); above that, you may need backer rod plus caulk.
- Weatherstrip exterior doors.
- Replace worn or flattened door seals.
- Adjust or add a door sweep at the bottom—close the door on a flashlight in a dark room; if you see light, you likely have air and sound leaks.
- Add felt or silicone bumpers to cabinet doors and drawers.
- Clean the surface, then stick a bumper at each corner.
- This low‑cost detail dramatically reduces slamming sounds, especially in kitchens with hard surfaces.
- Quiet loose ducts and rattling vents.
- Tighten vent cover screws.
- Use foil HVAC tape (not duct tape) to secure loose joints in accessible areas, following manufacturer and code guidance.
- Use soft finishes strategically.
- Add a rug pad under area rugs, heavy curtains on noisy windows, or fabric panels in echo‑y spaces.
- You don’t need to “soundproof” the room; just reducing harsh reflections will make it feel calmer and more refined.
These changes rarely show up in listing photos, but they massively improve how “finished” and comfortable your home feels day to day.
Step 4: Give Storage Areas a Mini Renovation (So the Rest of the House Stays Clear)
Clutter can make even a freshly renovated room feel chaotic. Improving storage zones—closets, entry, and utility areas—can change how the whole home functions.
- Empty one storage area at a time.
- Choose a closet, pantry, or laundry room—don’t try to tackle everything at once.
- Remove everything and quickly sort into “keep here,” “keep elsewhere,” “donate,” and “trash/recycle.”
- Measure before you buy anything.
- Measure width, depth, and height of the space, including door swing and any obstructions.
- Note where studs are if you plan to add heavier shelving (use a stud finder and a small test nail in an inconspicuous spot if necessary).
- Upgrade basic shelving with a simple system.
- In closets, replace or supplement the single shelf and rod with double‑hang sections (upper and lower rods) and a few shelves.
- In pantries, consider adjustable track shelving so you can re‑space shelves as needs change.
- Always follow the manufacturer’s weight and mounting guidance.
- Add clear zones and labels.
- Use bins or baskets for categories (cleaning, tools, linens, snacks, baking, etc.).
- Label shelves or container fronts—even low‑tech masking tape labels help people put things back where they belong.
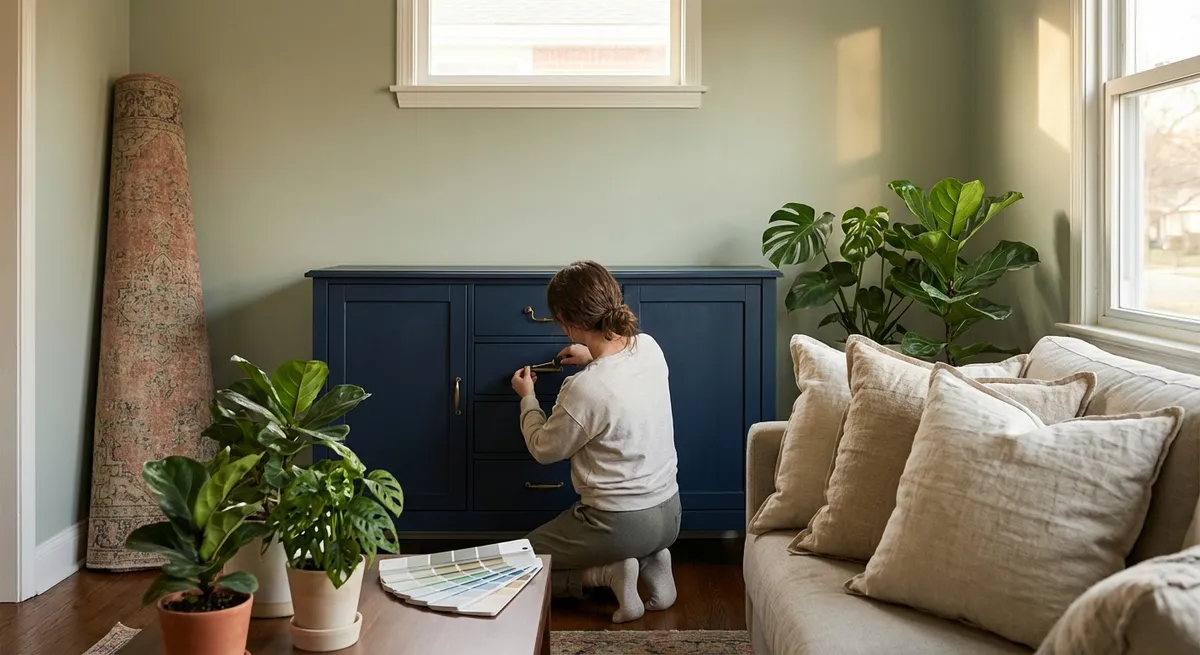
- Upgrade door hardware and lighting.
- Swap out sticky knobs, misaligned latches, or loose hinges.
- Install battery‑powered motion lights or LED strips in dark closets so the space feels intentional and easier to use.
A “renovated” home isn’t just about finishes. When storage works, surfaces stay clearer, and the whole house looks more put‑together with less effort.
Step 5: Modernize the Entry Points (Doors, Hardware, and First Impressions)
People judge the condition of a house by how the doors feel and operate. Tightening up your entry and interior doors is a high‑impact, relatively low‑risk renovation project.
- Start with the front door.
- Check the fit: does it rub, stick, or swing shut on its own?
- Tighten hinge screws and replace short screws with longer ones (2–3") into the framing on the top hinge to help prevent sagging.
- Refresh the surface.
- Clean, lightly sand, and repaint or refinish a tired front door using exterior‑rated paint or finish.
- Remove hardware before painting for a cleaner edge; label parts in a baggie so reassembly is straightforward.
- Upgrade handle sets and locks.
- Choose a matching handle/lock set in a modern but simple style.
- Follow the manufacturer’s instructions carefully for deadbolt installation; test to ensure the bolt fully extends and retracts without forcing.
- Address interior door annoyances.
- For squeaks: apply a little lubricant to hinges, wipe excess, and swing the door several times.
- For latches that don’t catch: adjust strike plates slightly by loosening screws and shifting, or file the opening gently to fine‑tune.
- For doors that won’t stay open or closed: check if the house has settled; sometimes rehanging or adjusting the hinge screws can improve alignment.
- Match hardware throughout the house over time.
- As budget allows, gradually replace mismatched knobs, hinges, and stopper hardware in visible areas.
- Aim for 1–2 finishes in the whole home (for example, black for public spaces, brushed nickel where existing fixtures demand it).
When the doors feel solid, secure, and easy to use, the whole home feels more substantial and updated—even before you get into bigger renovation projects.
Conclusion
You don’t need a full‑scale remodel to make your home feel significantly newer and more comfortable. By focusing on what you see (wall finishes and lighting), what you feel (drafts, sound, door operation), and how you use the space (storage and entry points), you can get a “quiet renovation” effect with much less disruption. Start with one step—often paint or lighting—then build from there as time and budget allow. Each small, well‑finished upgrade moves your home closer to the comfortable, functional space you actually want to live in.
Sources
- [U.S. Department of Energy – Air Sealing Your Home](https://www.energy.gov/energysaver/air-sealing-your-home) - Guidance on reducing drafts and improving comfort through proper sealing and weatherstripping
- [Energy Star – Residential Lighting](https://www.energystar.gov/products/lighting_fans/light_bulbs) - Information on choosing efficient LED bulbs, color temperatures, and brightness levels
- [PPG Paints – Interior Wall Prep Guide](https://www.ppgpaints.com/how-to-advice/interior-painting/how-to-prepare-walls-for-painting) - Step‑by‑step instructions for cleaning, patching, sanding, and priming walls before painting
- [Yale University – Home Security and Door Hardware Basics](https://www.yalehome.com/en/products/locks) - Overview of modern locksets, deadbolts, and entry hardware considerations
- [University of Missouri Extension – Home Storage Planning](https://extension.missouri.edu/publications/g435) - Practical advice on planning effective home storage and organizing spaces
Key Takeaway
The most important thing to remember from this article is that following these steps can lead to great results.


