A dated bathroom doesn’t always need a demolition to feel new. With some focused updates, you can seriously improve how it looks and functions in just a few weekends—without moving plumbing or tearing out walls. This guide walks you through a practical, DIY-friendly bathroom refresh that respects your budget, your time, and your sanity.
Start With a Clear Plan (and a Realistic Budget)
Before you buy a single tile or faucet, decide what you’re actually changing and what will stay. This keeps the project from quietly turning into a full gut job.
Think about your bathroom in zones: surfaces (walls, floors, vanity), fixtures (faucet, showerhead, lighting), and storage (cabinets, shelves, hooks). Decide which zones truly bother you and which you can live with for a few more years. For example, you might keep the existing bathtub but replace the dingy surround and hardware.
Set a total budget, then break it into rough categories: paint and patching, fixtures, storage, and “unexpected fixes.” That last one protects you if you uncover minor water damage or need an extra tool. Measure your space carefully and write dimensions down before ordering anything—especially flooring, vanity tops, and mirrors. Finally, list what you’ll DIY and what (if anything) needs a pro, like moving electrical boxes or dealing with suspicious mold.
Step 1: Update Walls and Surfaces for a Clean Base
Fresh walls make every other upgrade look better. In a bathroom, that means choosing moisture-resistant finishes and doing a bit of prep.
Start by cleaning all walls and ceilings with a degreasing cleaner or a mix of mild detergent and water to remove soap scum, hairspray, and residue. Scrape off any loose or peeling paint, then sand rough areas so you’re not painting over bumps. Repair small nail holes or hairline cracks with lightweight spackle; for larger issues, use a joint compound and a wider putty knife, then sand smooth when dry.
Choose a mildew-resistant, bathroom-rated paint in at least an eggshell or satin sheen—flat paint tends to hold onto moisture and stains. Use a quality primer on bare drywall or patched spots to help the topcoat adhere and last. If you’re adding a backsplash or an accent wall with tile, confirm the wall is flat and solid. Use a level to check for major humps or dips; fixing those now prevents crooked tile lines later. Finish by caulking along the top edge of the tub or shower, around trim, and where counters meet walls with a paintable, bathroom-rated caulk for a finished look.
Step 2: Refresh the Vanity, Sink, and Countertop
The vanity area draws the eye every time you enter the bathroom. You don’t always need a brand-new unit to get a major upgrade—sometimes a facelift is enough.
If your vanity box is sturdy but dated, consider painting or refinishing it. Remove doors and drawers, label them, and take off all hardware. Lightly sand the surfaces to remove gloss, then wipe clean. Use a bonding primer designed for glossy or previously finished surfaces, followed by a durable cabinet paint. Stick to neutral or classic colors if you’re unsure; they age better and are easier to pair with future changes.
Evaluate your countertop and sink. If they’re cracked, badly stained, or impossible to clean, a replacement might be worth it. Pre-fab vanity tops with integrated sinks can be more cost-effective than custom stone, and they simplify installation. Shut off water supply lines, disconnect the faucet and drain, then carefully remove the old top using a utility knife to cut any caulk lines. Dry-fit the new top, shim if needed for level, then secure and re-caulk at the walls.
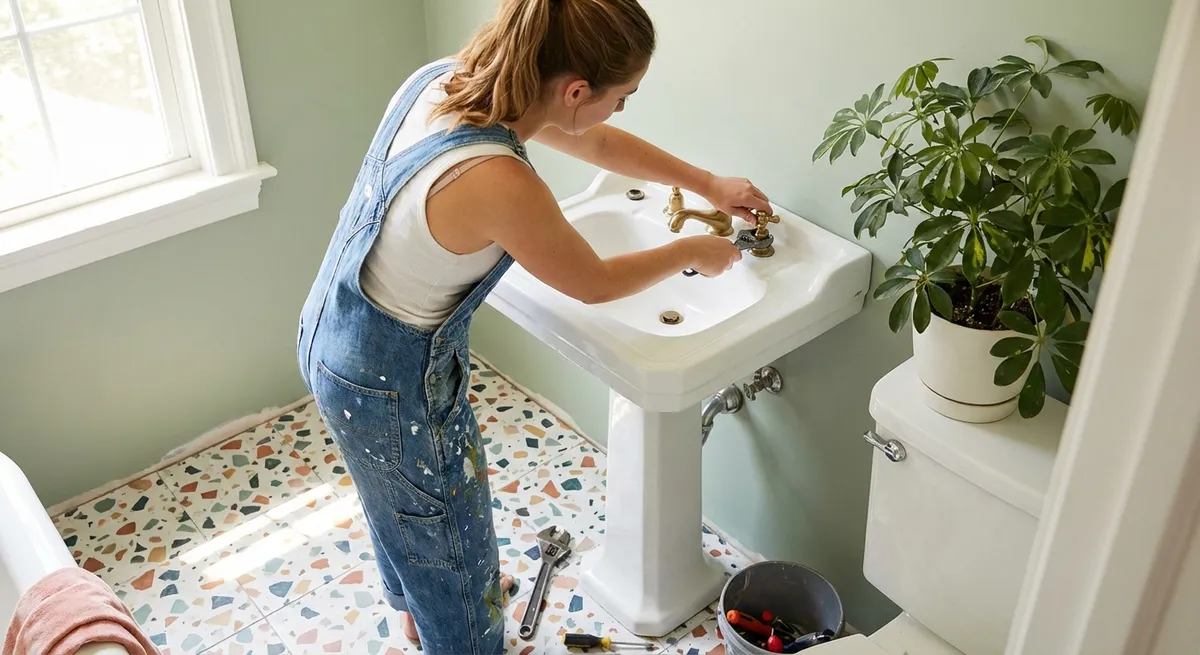
Finally, install a modern, water-efficient faucet. Use a basin wrench to reach tight spots under the sink and follow the manufacturer’s order: faucet, gasket or plumber’s putty if required, secure nuts, then connect supply lines. Turn water back on slowly and check every joint for leaks with a dry paper towel; even a small drip can turn into damage over time.
Step 3: Replace Key Fixtures and Lighting for Better Function
Lighting and fixtures control how a bathroom feels day-to-day. Upgrading them can make the space seem brighter, cleaner, and more modern without structural work.
Start with lighting. If your existing fixture is centered over the mirror and the electrical box is in good shape, you can usually replace like-for-like. Turn off the power at the breaker, then verify with a non-contact voltage tester before touching wires. Carefully remove the old fixture, noting how wires are connected. Install the new one according to the manufacturer’s instructions, matching wires (typically black to black, white to white, ground to ground) and securing with wire connectors and electrical tape. Choose LED bulbs with a color temperature around 2700K–3000K for a warm, flattering light.
Next, update the showerhead and tub spout. For a showerhead, wrap plumber’s tape (Teflon tape) around the threads of the shower arm, then screw on the new head by hand, finishing with an adjustable wrench if needed—just don’t overtighten. For a tub spout, note whether you have a slip-on or threaded style before buying a replacement. Follow the correct removal and installation process to avoid damaging the pipe in the wall.
Swap out the exhaust fan if your mirror is constantly fogged or you notice musty smells. Choose a fan rated appropriately for your bathroom’s square footage (CFM rating) and, where possible, one labeled as quiet. Replacing a fan is more advanced DIY because it involves wiring and ductwork; if you’re unsure, have an electrician do the electrical connections while you handle the prep and finish work around the ceiling.
Step 4: Improve Storage and Organization Without Rebuilding
Clutter makes any bathroom feel smaller and dirtier than it is. Smart, simple storage changes can dramatically improve daily use without major construction.
Start by taking everything out of your vanity, medicine cabinet, and open shelves. Toss expired products, near-empty containers you never use, and duplicate items. Group what’s left into daily-use, weekly-use, and backup/extra categories. This helps you plan where things should live.
Add drawer organizers or small bins to vanity drawers so items don’t slide around. Deep drawers benefit from vertical dividers or small boxes to separate hair tools, cleaning supplies, and personal care items. Inside cabinet doors, mount narrow racks or adhesive hooks for brushes, hairdryers, or cleaning gloves. Use stackable bins under the sink to keep pipes accessible while maximizing space.
On the walls, install towel bars or hooks at comfortable heights, anchored into studs whenever possible. For drywall-only areas, use appropriate anchors rated for the load. Consider a shallow wall cabinet or shelving over the toilet for extra storage, but don’t overload it—leave some breathing room so the space doesn’t feel cramped. Labeling bins inside cabinets can also help everyone in the household put things back where they belong, keeping your refresh looking good longer.
Step 5: Upgrade the Floor and Finishing Details
The floor and small finishing touches tie everything together. They’re also where precision matters, especially in a moisture-heavy room.
If your existing floor is damaged, slippery, or impossible to clean, look at water-resistant options like porcelain tile, luxury vinyl tile (LVT), or luxury vinyl plank (LVP) rated for bathrooms. Measure the room carefully, then plan your layout so you don’t end up with tiny slivers of flooring along one wall. Dry-fit a few rows before committing. For vinyl products, ensure the subfloor is flat and clean, and follow the recommended underlayment and expansion gap guidelines. For tile, use the correct thinset and trowel size, and invest time in getting the first row perfectly straight.
Protect transitions by installing proper threshold strips between your bathroom and adjacent flooring. This not only improves appearance but helps prevent trip hazards and water damage at the doorway. Once flooring is in, reinstall or replace baseboards and carefully caulk along the top and bottom edges where appropriate for a polished finish.
Finally, add the details that make the room feel intentional: a new mirror sized appropriately to the vanity, coordinated hardware (towel bars, TP holder, cabinet pulls), and a couple of washable, non-slip bath mats. Limit décor to items that handle humidity well, like framed prints behind glass or artificial plants. Step back and check that lines are straight, hardware heights are consistent, and finishes complement each other. Small adjustments now will make the whole renovation feel more professional.
Conclusion
Refreshing a bathroom doesn’t have to mean demolishing it down to the studs. By focusing on surfaces, key fixtures, storage, and smart finishes, you can dramatically improve how your space looks and works—on a realistic budget and timeline. Work through these steps in order, take accurate measurements, and respect moisture and safety issues, and you’ll end up with a bathroom that feels updated, cleaner, and far more pleasant to use every single day.
Sources
- [U.S. Department of Energy – Bathroom Ventilation Fans](https://www.energy.gov/energysaver/bathroom-ventilation-fans) - Guidance on choosing and sizing exhaust fans to control moisture
- [Consumer Product Safety Commission – Electrical Safety in the Home](https://www.cpsc.gov/safety-education/safety-guides/electrical-safety/electrical-safety-in-the-home) - Important safety practices for DIY electrical work
- [EPA – Mold and Moisture in the Home](https://www.epa.gov/mold/mold-and-moisture) - Information on preventing and addressing mold issues during renovations
- [Family Handyman – How to Install a Bathroom Vanity](https://www.familyhandyman.com/project/how-to-install-a-bathroom-vanity/) - Step-by-step visual guide for vanity replacement
- [This Old House – How to Tile a Bathroom Floor](https://www.thisoldhouse.com/flooring/21015058/how-to-tile-a-bathroom-floor) - Detailed instructions and tips for DIY bathroom floor tiling
Key Takeaway
The most important thing to remember from this article is that this information can change how you think about Renovation.


