Renovating doesn’t have to mean blowing your budget or living in chaos for months. With a clear plan, a few key skills, and realistic expectations, you can tackle meaningful upgrades that actually get finished. This guide walks you through five practical, step‑by‑step processes that turn “I should fix that someday” into real progress—without needing a contractor for everything.
Step 1: Build a Simple, Realistic Renovation Plan
Rushing into demo day is how good intentions become half-finished projects. A basic written plan keeps your work focused, your costs under control, and your timelines realistic.
- Define the problem, not just the project.
Instead of “renovate bathroom,” write what’s actually wrong: “leaky faucet, peeling paint, poor lighting, no storage.” This keeps you solving real issues, not chasing Pinterest.
- List must‑fix, nice‑to‑have, and leave‑for‑later items.
Put safety and function in “must‑fix” (leaks, wiring issues, rotten wood), comfort in “nice‑to‑have” (better lighting, nicer finishes), and purely cosmetic ideas in “leave‑for‑later.” Prioritizing like this helps when your budget hits reality.
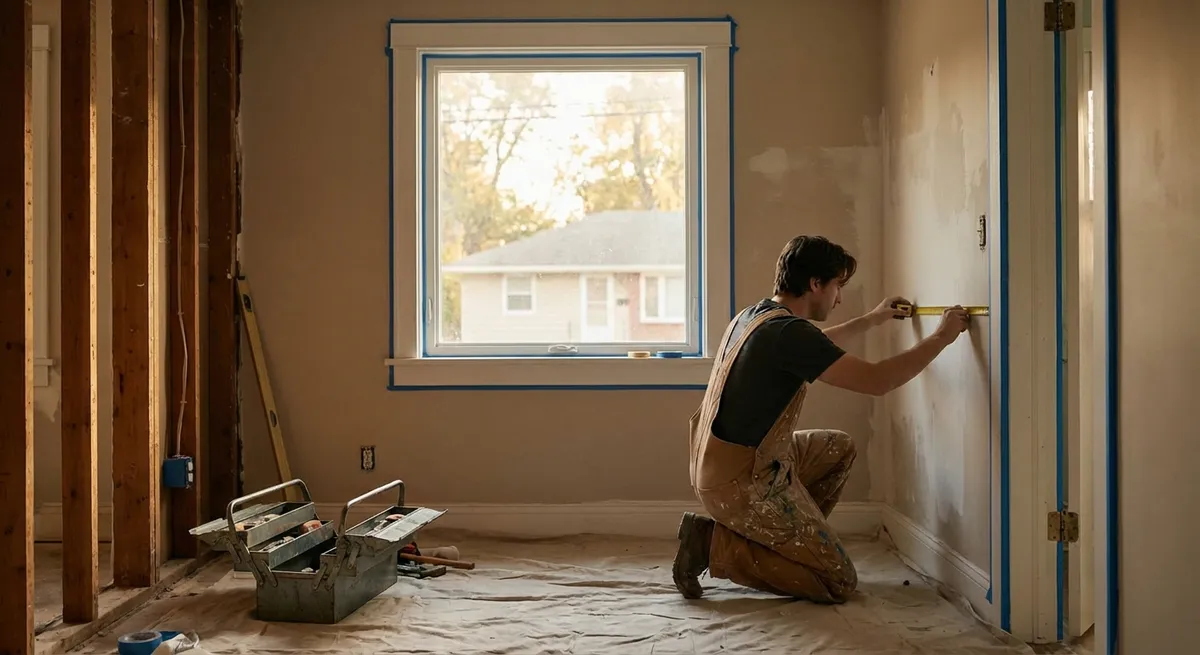
- Measure and photograph everything.
Measure walls, windows, doorways, ceiling height, and existing fixtures. Take clear photos from multiple angles. Keep these on your phone—this makes shopping for materials and planning layouts far easier.
- Create a basic budget with a 15–20% cushion.
Look up ballpark prices for materials: flooring, paint, trim, fixtures. Add them up, then add 15–20% for surprise costs (like needing extra materials or discovering hidden damage). If the total is too high, cut or phase lower‑priority items.
- Break the work into small, finishable tasks.
“Redo kitchen” is vague and intimidating. “Remove old backsplash,” “patch drywall,” “prime and paint,” “install new backsplash” are tasks you can start and finish in a weekend. Plan weekend‑sized chunks, not massive undertakings.
- Check for permits and code requirements.
For structural changes, electrical, plumbing, or window changes, visit your local building department website. Even if you’re hiring a pro for the technical work later, you need to know what’s allowed and what needs inspection.
- Decide what you’ll DIY and what you’ll hire out.
Commonly safe DIY: painting, trim work, basic tiling, installing pre‑hung doors, simple fixture swaps (with power off and instructions followed). Usually best left to pros: major electrical re‑wiring, moving plumbing lines, structural changes, gas lines.
Step 2: Prepare Your Space So Work Goes Faster and Safer
A well‑prepared work area saves hours of frustration and reduces mistakes. Most DIY headaches can be traced back to skipping this stage.
- Clear the space more than you think you need.
Remove furniture, curtains, rugs, decor, and anything fragile. Empty at least a 3–4 foot area around the walls you’ll be working on. For kitchen or bath work, clear countertops and contents from nearby cabinets.
- Protect what’s staying.
Use rosin paper, heavy drop cloths, or thick cardboard to cover floors. Tape plastic over built‑ins, appliances, and doorways to keep dust contained. This is especially important for sanding, demolition, or cutting.
- Set up a “staging area” for tools and materials.
Choose a nearby zone (garage, corner of a room) where you keep tools, fasteners, and supplies. Use small bins or boxes for screws, nails, and connectors. This reduces trips to the store and prevents losing hardware mid‑project.
- Plan your power and lighting.
Add temporary work lights if the room is dim or fixtures are being replaced. Plug tools into outlets not being worked on, and avoid overloading a single power strip. Good lighting reveals surface flaws before paint or finish goes on.
- Ventilate properly.
Open windows when painting, staining, or using adhesives. Use a box fan blowing out a window if odors build up. Avoid open flames or smoking with solvents or flammable materials in use.
- Wear appropriate safety gear every time.
At minimum: safety glasses, dust mask or respirator for sanding and cutting, hearing protection for loud tools, and work gloves when handling rough or sharp materials. Don’t skip this—injuries slow down projects faster than anything.
- Know where your shut‑offs and breakers are.
Before starting any work that touches plumbing or electrical, locate the main water shut‑off, individual fixture valves, and your electrical panel. Label breakers if they aren’t already. Being able to shut things down quickly prevents major damage.
Step 3: Execute a Clean, Professional‑Looking Paint Job
Painting is one of the highest‑impact, lowest‑cost renovations you can DIY. Done right, it freshens a space and hides years of wear. Done wrong, it highlights every flaw.
- Assess and repair the surface first.
Run your hand along the walls. Circle nail pops, cracks, dents, and rough spots lightly with a pencil. Fill small holes with spackle, deeper ones with joint compound. Let dry, then sand smooth with a sanding sponge.
- Clean the walls thoroughly.
Use a degreasing cleaner or a mix of mild detergent and water, especially in kitchens and high‑touch areas. Rinse with clean water. Paint sticks better to clean surfaces and is less likely to peel or bubble.
- Cut in edges before rolling.
Use a good‑quality angled brush to cut in along ceilings, corners, trim, and outlets. Work in 3–4 foot sections so you can blend rolled paint into wet cut lines, which helps avoid visible “frames” around the room.
- Use the right roller nap and technique.
For smooth walls, a 3/8" nap roller works well; for textured walls, use 1/2" or thicker. Load your roller evenly, then roll in a “W” pattern and fill in without pressing too hard. Over‑rolling can create lap marks.
- Work from top to bottom and maintain a wet edge.
Start at the ceiling, then walls, then trim. Always roll into wet paint edges rather than dried areas. This helps the finish look uniform and professional.
- Let coats fully dry and be patient with judging color.
Most paints need 2–4 hours between coats; follow the can’s recommendations. Color looks different when wet and in different lighting. Wait until the paint is fully dry before deciding if you like the shade or need a third coat.
- Finish with careful cleanup.
Remove tape while the final coat is still slightly tacky to avoid peeling paint. Clean brushes and rollers you plan to reuse according to paint type (water or solvent‑based). Label leftover paint cans with the room and date; they’re handy for touch‑ups.
Step 4: Upgrade a Room With New Flooring (The DIY‑Friendly Way)
New flooring can transform a space, but it’s also where mistakes are hard to hide. Choosing a DIY‑friendly product and following a clear process is key.
- Pick the right material for your skill and space.
Click‑lock vinyl plank or laminate is usually the easiest first‑time install. It works well over existing subfloors, handles minor imperfections, and often needs minimal tools. Avoid complex patterns or tile layouts for your first flooring project.
- Acclimate flooring and inspect the subfloor.
Bring unopened flooring boxes into the room 48–72 hours before installing, so they adjust to temperature and humidity. Check the subfloor for soft spots, squeaks, or high/low areas. Fix loose subfloor panels with screws and use floor leveler on noticeable dips.
- Remove baseboards or add quarter‑round later.
For the cleanest look, gently remove baseboards and label them by wall. If you prefer to leave them in place, plan to install quarter‑round trim after the flooring to cover expansion gaps.
- Plan your layout before cutting anything.
Measure the room and “dry lay” a few rows without clicking them together. Avoid ending with very narrow strips along a wall; adjust your first row width if needed. Stagger joints at least 6 inches so seams don’t align.
- Install from the straightest, most visible wall.
Start along the longest, straightest wall that’s visible from the main entrance. Use spacers to maintain the manufacturer’s recommended expansion gap around all edges. Work row by row, locking boards at an angle and tapping gently into place with a tapping block.
- Cut carefully around obstacles.
Use a jigsaw, multi‑tool, or miter saw (depending on the cut) for doorways, vents, and corners. Take measurements twice before cutting; small mistakes multiply fast with flooring. Leave expansion space around door frames and cover with trim.
- Reinstall trim and check transitions.
Once flooring is down, reinstall baseboards or add quarter‑round to cover gaps. Install transition strips where flooring meets other materials (tile, carpet, etc.). Make sure doors still open/close freely over the new floor; trim doors if necessary.
Step 5: Refresh a Kitchen or Bath With Smart, Small‑Scale Upgrades
Full gut renovations are expensive and disruptive. Many kitchens and bathrooms can feel dramatically updated with a few focused changes you can handle yourself.
- Start with hardware and fixtures.
Replacing dated cabinet handles, knobs, and faucet fixtures can make the room feel newer instantly. Measure existing hole spacing for pulls and match it to avoid drilling new holes. Turn off water supplies before swapping faucets.
- Upgrade lighting before anything else.
Better lighting improves every other element. Consider swapping builder‑grade fixtures for brighter, more efficient LED options. In kitchens, under‑cabinet lighting dramatically improves usability and can often be installed as plug‑in or low‑voltage systems.
- Refresh cabinets without replacing them.
If frames are solid, clean, sand lightly, and repaint or re‑stain doors and boxes. Label doors and hardware as you remove them so everything goes back correctly. Use a bonding primer and durable cabinet paint for longer‑lasting results.
- Use backsplash or wall treatments strategically.
Peel‑and‑stick backsplash tiles, beadboard panels, or painted accent walls can bring in texture or color without full tile work. For traditional tile, start with a simple subway pattern and use tile spacers and a level to keep lines straight.
- Increase storage with practical add‑ons.
Install pull‑out shelves, drawer organizers, or over‑the‑toilet shelving in bathrooms. In kitchens, add hooks or rails for frequently used pans or utensils. These functional upgrades often provide more day‑to‑day benefit than flashy finishes.
- Seal against moisture properly.
In baths and around sinks, use a quality bathroom‑grade caulk where fixtures meet walls and counters. Remove old, moldy caulk completely before reapplying. Proper sealing protects your renovation from water damage and mold growth.
- Finish with details that tie the room together.
Coordinated towel bars, outlet covers, and vent covers can subtly unify the look. Choose a limited palette (2–3 main colors, 1–2 metal finishes) and stick to it so the space feels intentional, not random.
Conclusion
Renovation doesn’t have to mean tearing your house apart or emptying your savings. By planning carefully, prepping your space, mastering a few core skills like painting and flooring, and focusing on smart upgrades in key rooms, you can steadily improve your home on your own terms. Start with one clear, contained project, follow these steps through to the finish, and build from there. Each completed project gives you more confidence, better tools, and a home that works harder for you every day.
Sources
- [U.S. Department of Housing and Urban Development – Rehab a Home Guide](https://www.hud.gov/program_offices/housing/sfh/203k/203k--df) – Overview of renovation considerations, costs, and planning factors from a federal housing perspective
- [Energy.gov – Home Improvement & Maintenance](https://www.energy.gov/energysaver/home-improvement) – Practical guidance on upgrades that improve efficiency and comfort, helpful when planning renovation priorities
- [Family Handyman – Home Improvement How‑To Projects](https://www.familyhandyman.com/project-category/home-improvement/) – Step‑by‑step tutorials on painting, flooring, and other DIY‑friendly renovation tasks
- [This Old House – Planning a Remodeling Project](https://www.thisoldhouse.com/home-finances/21015158/planning-a-remodel) – Expert advice on budgeting, phasing work, and deciding what to DIY vs. hire out
- [Consumer Product Safety Commission – Home Safety Guides](https://www.cpsc.gov/Safety-Education/Safety-Guides) – Safety guidance on tools, ladders, and home hazards to keep in mind during renovation projects
Key Takeaway
The most important thing to remember from this article is that this information can change how you think about Renovation.


