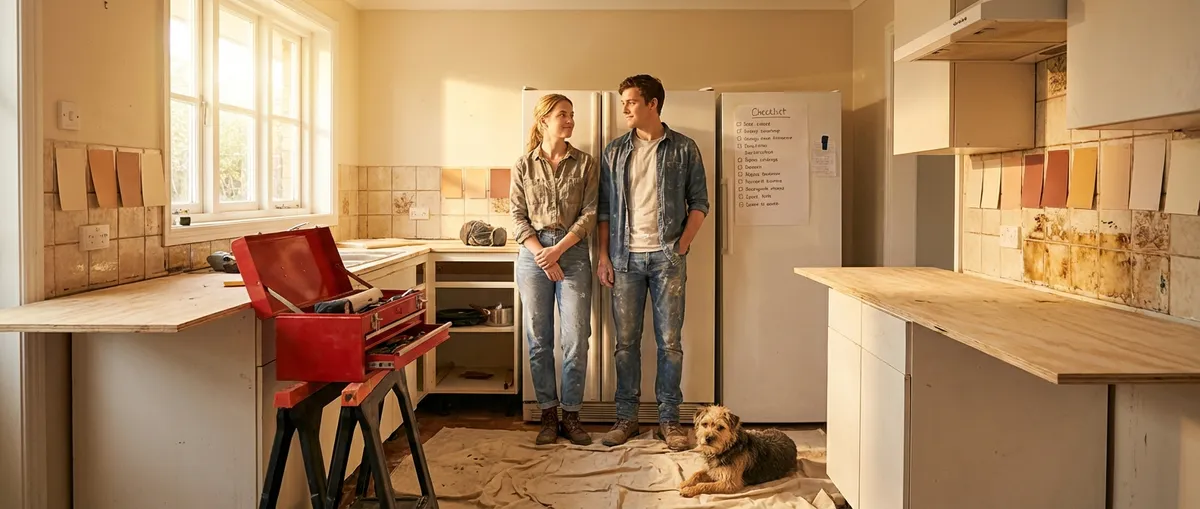
Renovation doesn’t have to mean chaos, blown budgets, and half-finished rooms. With a clear plan and a few practical habits, you can upgrade your home in a way that feels controlled instead of overwhelming. This guide walks you through a straightforward, five-step renovation process designed for DIY-minded homeowners who want results without burning out, overspending, or constantly redoing work.
Step 1: Define the Real Problem Before You Touch a Wall
Most renovation frustration starts because the project is defined as “I want a new kitchen” instead of “I need more storage and better lighting in the kitchen.” Getting specific changes everything.
Spend time answering these questions before you open a single paint can:
- What is actually not working day-to-day? (Storage, layout, noise, temperature, lighting, traffic flow, etc.)
- Who uses this space and how often? (Kids, pets, guests, work-from-home needs)
- What must stay? (Structural walls, key plumbing locations, windows you like, original trim you want to keep)
- What is optional? (Fancy finishes, upgraded appliances, specialty fixtures)
- What is non-negotiable for safety? (Old wiring, leaks, mold, loose railings)
Write your answers down in a simple list. Turn them into a short problem statement, like:
- “The bathroom feels cramped, has poor lighting, and the tub is hard to clean.”
- “The living room has no outlets where we need them, and the room echoes when it’s noisy.”
This becomes your filter. If a design choice doesn’t help solve one of these specific problems, it goes to the bottom of the priority list—no matter how good it looks on social media.
Step 2: Build a Reality-Based Budget (And Protect It)
Once you know what you’re solving, set a budget that matches reality, not hope. A good renovation budget includes:
- Core costs: Materials, fixtures, and any contractor labor you’ll need (plumbing, electrical, structural work)
- Tools and rentals: Items you may need to buy or rent (saws, sanders, tile cutters, ladders)
- Disposal: Dumpster or hauling fees, landfill costs, or special disposal for hazardous materials
- Permits and inspections: Local permit fees for structural, plumbing, electrical, or major changes
- Contingency buffer: Plan for at least 10–20% extra for surprises (hidden damage, price changes, extra materials)
Practical tips to keep your budget solid:
- Price materials twice. First online, then confirm in-store—availability and real prices can differ.
- Call your building department. Ask directly what requires a permit in your city or county; don’t guess.
- Phase big dreams. If your ideal finish is too expensive now, plan the project so you can upgrade later without redoing work (for example, use a basic light fixture but run wiring where you’ll eventually want pendants).
- Protect fixed costs. Decide what cannot be cut (safety-related items, structural work) and what can (decorative upgrades, high-end finishes).
A clear budget is what lets you say “yes” or “no” quickly when you’re standing in a store debating an upgrade.
Step 3: Plan the Sequence So You Don’t Undo Your Own Work
A smart renovation is all about doing messy, structural, and hidden tasks before you do anything pretty. This avoids the classic mistake of installing new flooring or painting walls, only to cut them open later for wiring or plumbing.
For most interior renovations, a logical sequence looks like this:
Assessment and demo (carefully):
- Open small sections first to check for wiring, plumbing, or ductwork before full demo. - Cap water lines and power to the area. - Save trim or materials you may want to reuse.
Structure and rough-in work:
- Framing adjustments (moving or adding walls, reinforcing floors). - Rough plumbing and rough electrical (new lines, outlets, switches, drain lines, vents). - Any HVAC duct changes.
Insulation, drywall, and basic surfaces:
- Insulate exterior walls as needed. - Hang and finish drywall; patch any openings. - Prime walls and ceilings.
Flooring, cabinets, and built-ins:
- Install subfloor repairs first if needed. - Lay flooring per manufacturer guidelines, then add cabinets or built-ins where required.
Finishes and fixtures:
- Paint final coats. - Install trim, doors, and hardware. - Install lighting fixtures, sink/faucets, and cover plates.
Create a simple timeline with these stages and rough dates. Even if you’re only working nights and weekends, knowing what happens first keeps you from making expensive “redo” mistakes.
Step 4: Decide What to DIY and What to Hire Out (With Clear Criteria)
DIY can save money, but only when you’re realistic about what you can safely learn and handle. Instead of guessing, use three filters for each task: safety, code, and consequence if it fails.
Tasks usually good for DIYers with basic skills:
- Painting and priming walls and ceilings
- Installing simple trim and baseboards
- Laying click-lock floating floors (vinyl plank, some laminates)
- Replacing light fixtures on existing boxes (power off at the breaker)
- Installing knobs, pulls, towel bars, and simple shelving
- Caulking around tubs, sinks, and trim
Tasks to strongly consider hiring a pro:
- New electrical circuits, service upgrades, or panel work
- Moving or significantly modifying plumbing lines
- Removing or altering structural walls or beams
- Gas line work of any kind
- Roofing beyond small patch repairs
- Window or exterior door changes that affect structural framing
For “borderline” tasks (like tiling, minor drywall repair, or installing a new vanity), ask:
- Can I practice on a scrap piece or a hidden area first?
- If I make a mistake, is it simply cosmetic, or does it become a safety or water issue?
- Do I have the right tools, or will I spend as much on tools as a pro would charge?
Choose one or two skills per project to stretch yourself on (for example: your first tiling job or your first wall repair), and keep everything else in your comfort zone. That way you grow your skills without turning your entire home into a training ground.
Step 5: Run the Project Like a Checklist, Not a Guessing Game
Once you know your goals, budget, sequence, and DIY boundaries, it’s time to execute methodically. Turn your renovation into a set of small, trackable tasks so you always know what’s next.
A simple way to manage the project:
- Make a master task list:
Break the project into categories: demo, rough work, surfaces, fixtures, finishes, cleanup.
- Turn tasks into steps:
- Shut off water and disconnect supply lines
- Remove old vanity and patch wall if needed
- Measure and level new vanity location
- Attach vanity to wall studs
- Install faucet on sink before setting it
- Connect drain and supply lines, test for leaks
- Caulk around edges
- Set “work session” goals, not vague goals:
Example for installing a new vanity:
Instead of “work on the bathroom Saturday,” set a clear target like “finish removing old tile and clean up debris by 4 p.m.”
- Inspect your own work as you go:
- After each stage, look for issues: uneven surfaces, gaps, loose fasteners, potential water entry points.
- Fix small problems immediately; they’re always cheaper and easier now than later.
- Document everything:
- Take photos of walls and ceilings before closing them up; you’ll know where studs, wires, and pipes are for future projects.
- Save manuals and receipts for fixtures, appliances, and materials.
If you prefer digital tools, use a simple shared checklist app or spreadsheet. For low-tech, a notebook and painter’s tape labels on walls, outlets, and switches work just as well.
Conclusion
A renovation doesn’t have to be dramatic to be successful. When you start by defining the real problem, build a realistic budget, plan the sequence, choose smart DIY boundaries, and run the project using clear checklists, you reduce surprises and get a space that actually works better—now and years from now.
You don’t need to do everything at once. Pick one room or one clear problem, apply this five-step approach, and treat it like a test run. Each finished project builds your skills, your confidence, and a home that fits the way you live, not just the way it looks in photos.
Sources
- [U.S. Department of Housing and Urban Development – Rehab a Home Guide](https://www.hud.gov/program_offices/housing/sfh/203k/rehabhome) - Overview of renovation planning, financing, and common considerations for home rehab projects
- [Federal Trade Commission – Hiring a Contractor](https://consumer.ftc.gov/articles/hiring-contractor) - Guidance on when and how to hire professionals, contracts, and avoiding common pitfalls
- [U.S. Consumer Product Safety Commission – Home Electrical Safety Checklist](https://www.cpsc.gov/s3fs-public/electrical_safety_checklist.pdf) - Safety guidelines that help decide which electrical tasks are appropriate for DIY vs. licensed electricians
- [National Association of Home Builders – Remodeling Basics](https://www.nahb.org/consumer/remodeling) - General remodeling information, typical project sequences, and working with pros
- [Energy.gov – Home Weatherization and Insulation Basics](https://www.energy.gov/energysaver/weatherize/insulation) - Practical guidance on insulation and air sealing to integrate into renovation planning
Key Takeaway
The most important thing to remember from this article is that this information can change how you think about Renovation.


