Renovating your whole home at once sounds exciting, but it’s also the fastest way to burn out, blow your budget, and live in a construction zone for months. Focusing on one room at a time is simpler, cheaper, and easier to manage—especially if you’re doing most of the work yourself. This approach lets you build skills as you go and see real progress without turning your life upside down.
This guide walks you through a clear, room‑by‑room renovation process you can actually follow. Each step is designed for DIY enthusiasts who want solid results without guesswork, using tools and materials you can realistically handle at home.
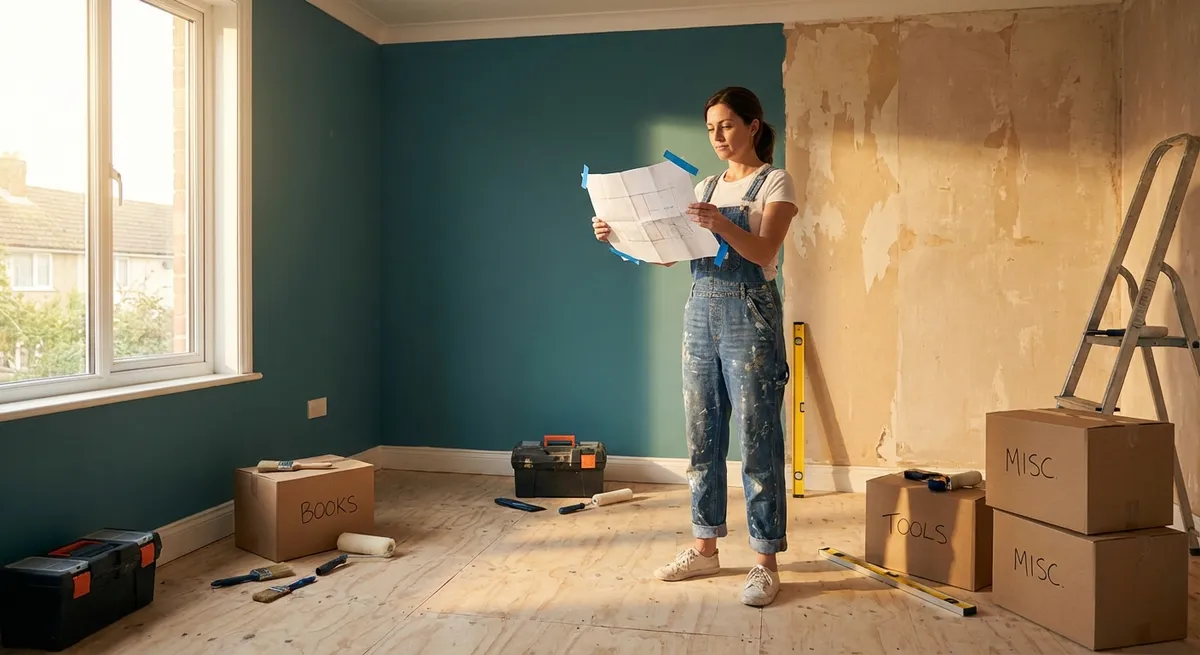
Step 1: Choose The Right Room And Define “Done”
Start by picking the room that will give you the biggest daily benefit, not the flashiest “after” photo. Kitchens and bathrooms might feel tempting, but if they’ll take you months and you’re new to DIY, consider starting with a bedroom, hallway, or living room instead. Walk through your home and ask: “Where do I spend the most time—and what space frustrates me the most?” That’s usually your best candidate.
Before you touch a tool, define what “done” means for this room. Write a simple, specific list: new wall color, updated light fixture, fresh trim, better storage, or new flooring. Avoid vague goals like “make it cozy” or “modernize everything.” The clearer your target, the easier it is to say no to scope creep halfway through. Take 10–15 photos of the room from every angle; they’ll help you plan, compare before/after, and track progress. Finally, set a realistic time frame based on your schedule—weekend warrior or a few evenings per week—and block it on your calendar like appointments you can’t skip.
Step 2: Build A Room-Specific Budget And Material Plan
Once you know what “done” looks like, turn your list into a basic budget. Break costs into buckets: surfaces (paint, primer, caulk, joint compound), fixtures (lights, hardware), storage (shelves, cabinets), and floors (if you’re updating them). Look up local prices online and write down a low and high estimate for each category so you have a range, not a wish. Always add at least 10–15% for “surprises”—paint you underestimated, extra trim, or a tool you didn’t realize you needed.
Next, make a shopping list that’s tied to the actual sequence of work. For example, if you’ll be patching walls, painting, then changing the light fixture, prioritize buying patching materials, primer, and paint first, and save decorative elements for later. This keeps you from filling a cart with pretty items while forgetting the basics like sandpaper and painter’s tape. Check what you already own—rollers, trays, screwdrivers, step ladder—so you’re not rebuying duplicates. For bigger purchases, like a sander or multi‑tool, consider borrowing from a friend, using a tool library, or renting from a hardware store. Take screenshots of your chosen products and save them in a folder; this speeds up returns, reorders, and last‑minute store runs.
Step 3: Prep The Space Like You’re The Pro You Want To Be
Professional-looking results usually come down to preparation, not fancy tools. Start by fully clearing the room as much as possible. If you can’t move large furniture out, slide it to the center and wrap it in plastic or old sheets. Take down curtains, blinds, artwork, and switch plates—this step alone makes painting and repairs cleaner and faster. Vacuum thoroughly before you begin; dust is the enemy of paint, caulk, and adhesion.
Protect your floors with rosin paper, drop cloths, or broken-down cardboard taped at the seams. This might feel like overkill, but it’s far easier than scraping dried paint off hardwood later. Next, inspect your walls and trim under good light. Circle cracks, nail pops, or dents with a light pencil mark so you don’t miss them. Use a utility knife to open up hairline cracks slightly before filling; this helps repairs last longer. Clean greasy or grimy areas (especially near light switches, doors, or where hands rest on walls) with a mild degreaser. Finish prep by labeling and turning off the circuit for any fixtures you’ll be changing; use a simple plug-in tester or non-contact voltage tester to confirm the power is truly off before you touch anything.
Step 4: Upgrade Surfaces First (Walls, Trim, And Lighting)
Improving surfaces gives you the biggest visual upgrade for the least money. Start with wall repairs: fill nail holes with spackle, deeper dents with a lightweight patch, and sanding between coats until the surface feels smooth under your hand. For cracks around trim or gaps at the ceiling, use paintable caulk and a damp finger to smooth the bead. Let everything dry fully before moving on, even if you’re tempted to rush—this is where patience pays off.
Once repairs are dry and sanded, apply primer where needed, especially over patched areas, stains, or darker colors. Then move to paint, working from top to bottom: ceiling (if you’re doing it), walls, then trim. Cut in edges with a brush first, then roll the larger areas in overlapping “W” patterns to avoid visible lines. While the paint dries, turn to lighting upgrades. Swap old, yellowed fixtures for something simple and modern that works with your room’s size and ceiling height. Even if you’re sticking to basic wiring changes, always double-check the power is off, keep wire nuts tight, and follow the fixture’s installation guide closely. Step back after surfaces and lights are done; you’ll be surprised how finished the room already feels before adding a single decorative piece.
Step 5: Finish With Storage, Function, And Small Details
With the heavy work done, shift your focus to how the room actually works day to day. Ask yourself: “What keeps ending up on the floor, the nearest surface, or piled in a corner?” Let those answers guide your storage and layout improvements. In a living room, that might mean adding a slim console with baskets for remotes and chargers; in a bedroom, simple wall hooks near the door for bags and jackets can instantly reduce clutter. Aim for storage that’s easy to use, not just nice to look at—open shelves and labeled bins often beat closed cabinets that never get opened.
Reinstall or upgrade hardware like door handles, outlet covers, curtain rods, and vent grilles. Matching finishes (black, brushed nickel, brass) across these small elements helps the whole room feel intentional without major expense. Hang curtains slightly higher and wider than the window to make the space feel taller and brighter. Finally, bring in textiles and lighting to soften the room: an area rug to define zones, task lighting for reading or working, and a few well‑chosen accessories rather than a shelf full of clutter. Take new photos from the same angles as your “before” shots and compare; this not only feels satisfying but also helps you see what worked well and what you’d tweak in the next room.
Conclusion
Renovating one room at a time keeps your project manageable, your budget under control, and your home livable. By choosing the right space, planning your budget, prepping carefully, upgrading surfaces first, and finishing with smart storage and details, you build both confidence and real skill with every project. When you’re ready for the next room, you won’t be starting from scratch—you’ll be reusing a clear, proven playbook that fits how real DIYers actually work.
Key Takeaway
The most important thing to remember from this article is that this information can change how you think about Renovation.


