If you’re serious about DIY, the biggest upgrade you can make isn’t a fancy new tool—it’s a small, well-organized workspace that lets you start and finish projects without hunting for gear or clearing the kitchen table every time. You don’t need a giant garage or a big budget. With a smart layout and the right tools in the right places, even a corner of a room can become a highly functional home workshop.
This guide walks you through building a compact, efficient setup using practical tools and habits that make every project smoother and safer.
Start with the Right Core Tools (Not Just More Tools)
Before you think storage, think selection. A small workshop works best when every tool earns its place. That means choosing versatile, reliable tools instead of buying every gadget you see on sale. Focus on tools that handle multiple tasks and can grow with your skills—quality over quantity. A well-chosen set of essentials will speed you up and reduce clutter, which matters a lot in tight spaces.
Aim for a core group: a drill/driver, circular saw or jigsaw, random orbital sander, a basic hand tool set (hammer, screwdrivers, pliers, tape measure, utility knife), and a stable surface to work on. From there, add tools based on the projects you actually do: plumbing repairs, woodworking, electrical fixes, etc. Keep a running list of tools you reach for often and tools you never use. Over time, this helps you upgrade where it matters and avoid wasting money on one-time gadgets.
Step 1: Choose and Claim Your Workshop Zone
Your first move is deciding exactly where your workshop will live—and committing to that space. A single, consistent location beats bouncing between rooms and losing hardware along the way. Look for a spot that’s out of main traffic routes, has at least one outlet, and can handle dust and noise: a garage bay, basement corner, under‑stairs space, or a section of a spare room are all fair game.
Measure the area and sketch a simple floor plan on paper, marking walls, outlets, and any obstructions like water heaters or windows. Plan for a work surface along the longest wall and leave enough room to stand and move safely in front of it. If the space is shared (like a garage), define your workshop footprint with tape on the floor and commit to keeping everything within that zone. When picking the location, think about ventilation as well—somewhere you can crack a door or window is safer for dusty or smelly projects.
Step 2: Build or Set Up a Solid Work Surface
A stable work surface is the backbone of your workshop—far more important than adding tools too early. Wobbly tables cause bad cuts, frustrating assembly, and unsafe situations. You can use a sturdy existing table, a secondhand workbench, or a pair of sawhorses with a thick plywood top. The key is rigidity and a comfortable working height (usually around wrist height when standing).
If you’re buying, look for benches with a solid top (not thin MDF alone) and cross bracing or a lower shelf for stiffness. If you’re building your own, screw the frame together tightly and add diagonal braces to prevent racking. Consider adding locking casters if you need your bench to roll but still stay put while you work. Set your bench so there’s enough room behind you to step back and handle longer boards or materials, and keep the area underneath either clear or used for stable storage like toolboxes, not loose items that can trip you up.
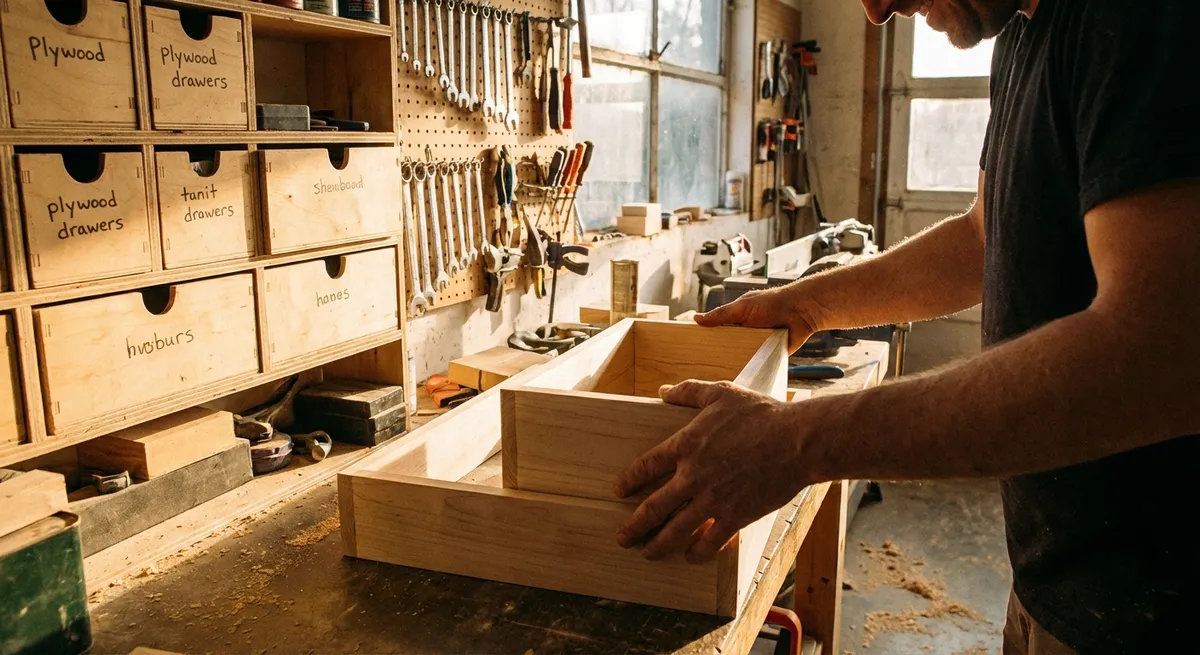
Step 3: Arrange Tools by Use, Not by Type
Most DIYers instinctively store tools by category—saws with saws, drills with drills—but in a small workshop, it’s smarter to organize by how you work. Group tools and supplies into “task zones” so the things you always use together are physically close to each other. This reduces walking back and forth and makes setup and cleanup faster.
For example, create a fastening zone near your bench: drill/driver, drill bits, impact bits, screws, nail sets, and a small box of common anchors all within arm’s reach. Set up a measuring and marking zone: tape measure, speed square, carpenter’s pencil, level, and chalk line stored together on a magnetic strip or in a narrow bin. Clamp storage can live right under the bench or on the side, so they’re always ready to secure a workpiece. Hang frequently used hand tools on a pegboard or slotted wall panel where you can see them at a glance; rarely used or seasonal tools can go into labeled bins or drawers. Over time, pay attention to which tools constantly migrate to your bench—that’s your cue they belong in your core “reach zone.”
Step 4: Add Simple Dust, Power, and Lighting Upgrades
You don’t need a professional dust collection system to make your workshop cleaner and safer, but a few thoughtful upgrades go a long way. At minimum, keep a shop vacuum with a good filter and a long hose, and make a habit of vacuuming your work surface and floor after each session. Use dust masks or respirators when sanding or cutting materials that create fine dust, and position a box fan in a window or doorway to pull air out of the room when you’re doing messy work.
For power, avoid running multiple high‑draw tools from a single overloaded outlet. Use a heavy‑duty power strip mounted under or on the side of the bench, plugged into a properly grounded outlet. Keep cords off the floor where possible to reduce tripping hazards—cord hooks or simple cable clips help. Lighting is just as important: add bright, diffuse task lighting above your bench if the room’s main light isn’t enough. LED shop lights are inexpensive, energy‑efficient, and easy to mount. Aim for lighting that minimizes shadows on your workpiece so you can see cut lines, wood grain, and small hardware clearly.
Step 5: Create a Maintenance and Safety Routine You Actually Follow
A small workshop only stays useful if it stays safe and ready to go. Instead of waiting until things feel chaotic, build in a short routine you follow at the end of each work session. This doesn’t have to be complicated—5 to 10 minutes is usually enough. Think of it as part of the project, not an optional extra.
Start by unplugging power tools and wrapping cords loosely so they don’t kink or fray. Brush or vacuum off tools before putting them away; dust and debris shorten tool life and can interfere with moving parts. Return every tool to a specific hook, shelf, or bin so you always know where it lives. Check blades and bits regularly—dull edges are not only frustrating but more dangerous because they tend to grab and kick. Keep basic safety gear—eye protection, hearing protection, dust masks, and work gloves—in one clearly marked spot, and make a rule that nothing gets turned on until the right gear is on. Finally, walk the floor and clear up any offcuts, screws, or small parts that could roll or be stepped on next time you enter the space.
Conclusion
A small home workshop doesn’t need to be fancy or packed with high‑end tools to be genuinely useful. What matters most is a stable work surface, smart organization built around how you actually work, and simple systems for power, dust, and safety. By claiming a dedicated zone, setting up a solid bench, arranging tools by task, and sticking to a quick maintenance routine, you create a space where you can start projects quickly, work more accurately, and finish with less frustration.
Once this foundation is in place, every new tool or upgrade you add will make more sense, fit more naturally, and actually get used—turning your corner workshop into a reliable home base for all your fix‑it and build‑it ideas.
Sources
- [OSHA – Workshop and Shop Safety](https://www.osha.gov/publications/bytopic/273) - Guidance on safe practices for small shops and tool use
- [U.S. Consumer Product Safety Commission – Power Tool Safety](https://www.cpsc.gov/Safety-Education/Safety-Guides/power-tools-and-equipment) - Official tips for safe operation and setup of power tools
- [Family Handyman – How to Set Up a Garage Workshop](https://www.familyhandyman.com/project/how-to-set-up-a-garage-workshop/) - Practical examples of layout, storage, and bench solutions
- [Fine Woodworking – Designing a Small Workshop](https://www.finewoodworking.com/2011/02/10/designing-a-small-workshop) - Ideas for efficient small-space shop design and tool organization
- [Harvard T.H. Chan School of Public Health – Respiratory Protection](https://www.hsph.harvard.edu/ehs/personal-protective-equipment/respiratory-protection/) - Information on choosing and using masks and respirators for dust and particles
Key Takeaway
The most important thing to remember from this article is that this information can change how you think about Tools & Equipment.


