A good DIY project can collapse fast if you’re constantly searching for the right tool, tripping over extension cords, or realizing your batteries are dead halfway through a job. The difference between a frustrating weekend and a smooth one often comes down to how well your tools and workspace are set up. This guide walks you through a practical, no-nonsense way to organize, store, and maintain your tools so you’re always project‑ready.
Start by Choosing the Right Spot for Your Workstation
Before you buy organizers or start hanging pegboard, decide where your main tool “home base” will be. This space should be easy to access, reasonably comfortable to work in, and safe for using power tools.
Look for a spot with a flat floor, decent lighting, and at least one grounded outlet (a garage, basement, or large utility room usually works well). Avoid areas that are damp, prone to leaks, or exposed to direct weather, because moisture and extreme temperatures are rough on tools. Check how you move through the space: you want to be able to carry lumber or a toolbox without dodging bikes, storage bins, or car doors. If you’re working in a shared area (like a corner of a garage), mentally divide your section and commit to keeping that zone clear and dedicated to projects. Finally, think about noise—if you plan to use saws or sanders, consider how sound will travel to neighbors or bedrooms and adjust your workstation location if needed.
Step 1: Map Your Core Tools and Group Them by Use
Before you can organize tools efficiently, you need a clear picture of what you actually have and how you use it. This step is about getting everything in one place and sorting with a practical mindset.
Lay out all your tools on the floor or a large table: hand tools, power tools, fasteners, drill bits, safety gear, and measuring tools. As you go, separate broken tools or duplicates you never use—those don’t need prime space. Next, group tools by how they’re used in real projects: measuring and layout (tape measures, squares, levels), fastening (screwdrivers, drills, impact driver, nail sets), cutting (handsaws, utility knives, power saws), surface work (sanders, scrapers, putty knives), and safety (glasses, hearing protection, dust masks). This “task grouping” is more useful than organizing by tool type alone because it mirrors how you actually work. Once grouped, estimate how often you use each category and plan to keep the most-used items at eye level or within arm’s reach of your main work surface.
Step 2: Build a Simple, Efficient Tool Storage System
Now that you know what you have and how you use it, create a storage setup that makes tools easy to find, easy to put away, and protected from damage. You don’t need a fancy setup—just something logical and consistent.
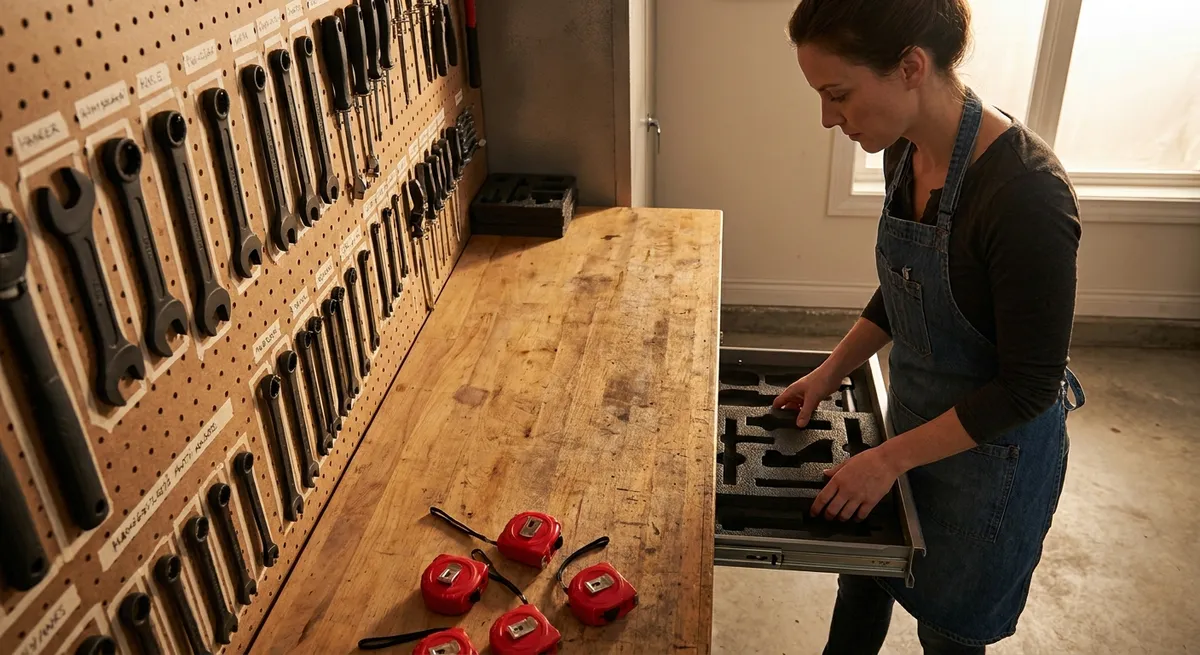
Start with a sturdy surface like a basic workbench or a solid table you can stand at comfortably. Above or behind that, install a pegboard or slat wall for frequently used hand tools: hang hammers, pliers, tape measures, squares, and your go‑to screwdrivers in clearly defined spots. Use labeled hooks or outlines so every tool has a home and it’s obvious when something is missing. For power tools, consider a simple shelf system or a rolling tool cart—store heavier items (like miter saws or air compressors) on lower shelves and lighter tools (like sanders or drills) higher up. Small parts like screws, nails, picture hangers, and wall anchors should go into clear bins or drawer organizers; label them by size and type, not just “misc hardware.” Reserve one drawer or small bin as a “project in progress” spot for parts you’re actively using, so they don’t wander off into general storage before the job is done.
Step 3: Set Up Smart Power and Battery Management
Nothing kills momentum like a dead battery or a tangled extension cord. Setting up a small “power station” will keep your tools ready and reduce clutter and safety issues.
Pick a section of wall or a shelf near an outlet to be your charging zone. Mount a power strip (with surge protection) and attach or set all your tool battery chargers there. Label each charger with the tool brand or type so you don’t waste time guessing what goes where. Make it a rule that spare batteries live in this station unless they’re in use. When you finish a project, immediately return discharged batteries to the charger instead of leaving them in the tool. For corded tools and extension cords, wrap cords loosely in large loops (not tight bends) and hang them on sturdy hooks or cord reels, keeping them off the floor. Avoid daisy‑chaining power strips or running cords under rugs; if you need more outlets, install them correctly or use a heavy‑duty outdoor‑rated extension cord and unplug it when not in use. This setup not only keeps tools ready, but it also extends the life of batteries and reduces tripping hazards.
Step 4: Create a Grab‑and‑Go Tool Kit for Common Home Fixes
Even with a well-organized workstation, you don’t want to walk back and forth to the garage for every loose hinge or picture you hang. A small, well‑packed kit that you can carry room to room saves time and keeps minor tasks painless.
Choose a sturdy toolbox, open tote, or tool bag with multiple pockets. Stock it with the essentials you use most often: a quality tape measure, a multi-bit screwdriver, a small adjustable wrench, a pair of pliers, a utility knife, a small level, a stud finder, a pencil, and a compact flashlight or headlamp. Add a small box or divided container with assorted screws, wall anchors, picture hooks, and a few common nails. If you use a cordless drill frequently, consider keeping a compact drill/driver and one spare battery with this kit, plus a small bit set. The goal is not to carry everything—just enough to handle 80–90% of typical household tasks without a trip back to the main workstation. After each use, take five minutes to restock any fasteners you used up and return stray tools to the kit so it’s always ready.
Step 5: Maintain and Inspect Your Tools on a Simple Schedule
Organized tools are only half the battle; tools that are dull, rusted, or out of calibration can slow you down and create safety risks. A basic maintenance routine keeps everything working the way it should.
Once a month (or after any big project), do a quick inspection. Check power tool cords for cuts, fraying, or loose plugs, and stop using anything damaged until it’s repaired. Remove sawdust and debris from vents and housings with a dry brush or shop vacuum; clogged vents can cause overheating. For battery tools, wipe contacts clean and store batteries in a cool, dry place away from direct heat. Hand tools like chisels, knives, and plane blades should be sharpened regularly—you don’t need a professional setup, just a basic sharpening stone or system and a few minutes of attention. Lightly oil exposed metal parts of tools that may rust and store them out of damp air. Keep your safety gear in good condition too: replace scratched safety glasses, worn hearing protection, and dust masks or filters as needed. A consistent, simple checkup routine will make your tools feel better to use and last much longer.
Conclusion
A smart DIY workstation isn’t about having the most tools—it’s about having the right tools, in the right place, ready to go when you are. By choosing a solid workspace, grouping your tools by how you actually use them, organizing storage, managing power and batteries, keeping a grab‑and‑go kit, and maintaining everything on a simple schedule, you turn chaos into a reliable setup. The payoff is obvious the next time you start a project: less hunting, fewer interruptions, and more time actually building, fixing, and improving your home.
Sources
- [Consumer Product Safety Commission – Power Tool Safety](https://www.cpsc.gov/s3fs-public/611.pdf) - Guidance on safe use and setup of power tools and electrical equipment
- [OSHA – Hand and Power Tool Safety](https://www.osha.gov/hand-power-tools) - Official recommendations on tool condition, inspection, and safe handling
- [Family Handyman – How to Organize Tools](https://www.familyhandyman.com/project/how-to-organize-tools/) - Practical examples of tool storage, pegboard layouts, and workstation ideas
- [Lowe’s – How to Build a Workbench](https://www.lowes.com/n/how-to/how-to-build-a-workbench) - Step‑by‑step instructions for setting up a sturdy basic work surface
- [Home Depot – Power Tool Battery Care](https://www.homedepot.com/c/ab/power-tool-batteries-and-chargers-buying-guide/9ba683603be9fa5395fab90f3e62f96) - Details on proper charging, storage, and maintenance for cordless tool batteries
Key Takeaway
The most important thing to remember from this article is that this information can change how you think about Tools & Equipment.


