Power tools are a big investment, and how you store them has a huge impact on how well they work—and how long they last. Tossing a drill in a damp garage corner or stacking circular saws in a plastic bin is a fast track to rust, damage, and unsafe gear.
This guide walks you through a practical, step‑by‑step system for storing your power tools so they’re protected, easy to find, and ready to go whenever you start a DIY project.
Step 1: Sort and Inspect Your Tools Before You Store Anything
Before you start building shelves or buying bins, you need to know what you’re working with.
Take all your power tools out of their current spots and lay them out where you can see everything: drills, impact drivers, sanders, saws, oscillating tools, nailers, rotary tools, etc.
As you sort, do three quick checks:
Function check:
Plug in corded tools or insert a battery in cordless tools. Run them briefly. Listen for grinding, burning smells, or inconsistent speed. Set aside anything that seems off for repair or deeper inspection.
Cord and plug check (for corded tools):
Look for: - Cracks or nicks in insulation - Exposed wires - Loose plugs or bent prongs - Electrical tape “repairs” (these are temporary at best) Any damaged cords or plugs should be repaired or replaced before storing. Damaged cords are both a fire and shock risk.
Battery and contact check (for cordless tools):
- Inspect battery casings for cracks or swelling - Check battery terminals and tool contacts for corrosion or heavy dirt - Wipe with a dry cloth; use a cotton swab with a tiny dab of isopropyl alcohol for stubborn grime (fully dry before reattaching)
Group tools by type or use:
- Drilling & fastening (drills, impact drivers)
- Cutting (circular saws, jigsaws, reciprocating saws, oscillating tools)
- Shaping & finishing (sand ers, rotary tools)
- Specialty (nail guns, staplers, planers)
This quick inspection prevents you from storing unsafe tools—and helps you design storage that actually matches what you own.
Step 2: Choose the Right Storage Area and Control Moisture
Where you store tools matters more than how fancy the storage looks. Most power tool problems come from moisture, dust, and temperature swings.
Use this checklist to choose (or improve) your storage area:
Pick a dry, off-the-floor location
Ideal: a wall, cabinet, or shelving unit in: - A garage with decent sealing - A basement that’s not damp - A utility room or dedicated workshop space
Avoid:
- Concrete floors (they hold moisture)
- Areas exposed to direct rain, snow, or frequent condensation
If you must store in a garage or shed, keep tools at least a few inches off the floor on shelving or a wall system.
Control humidity when possible
Moisture leads to rust on metal parts and damage to electronics over time. - In basements or humid climates, use a dehumidifier and keep humidity around 40–50% where possible. - In closed cabinets or tool chests, toss in silica gel packets or reusable desiccant canisters to absorb moisture. - Avoid leaving tools right next to uninsulated exterior walls where condensation forms.
Keep away from direct heat and sunlight
- Don’t store tools right against heaters or in direct sunlight through a window. - Excess heat is especially bad for batteries, shortening their lifespan and increasing risk of failure.
Plan for dust control
- If you sand or cut in the same space, consider covered storage (cabinets, drawers, or bins with lids). - Less dust means better tool cooling and fewer clogs in vents over time.
Once you’ve picked a space that’s dry, temperate, and relatively clean, you’re ready to build storage that actually works.
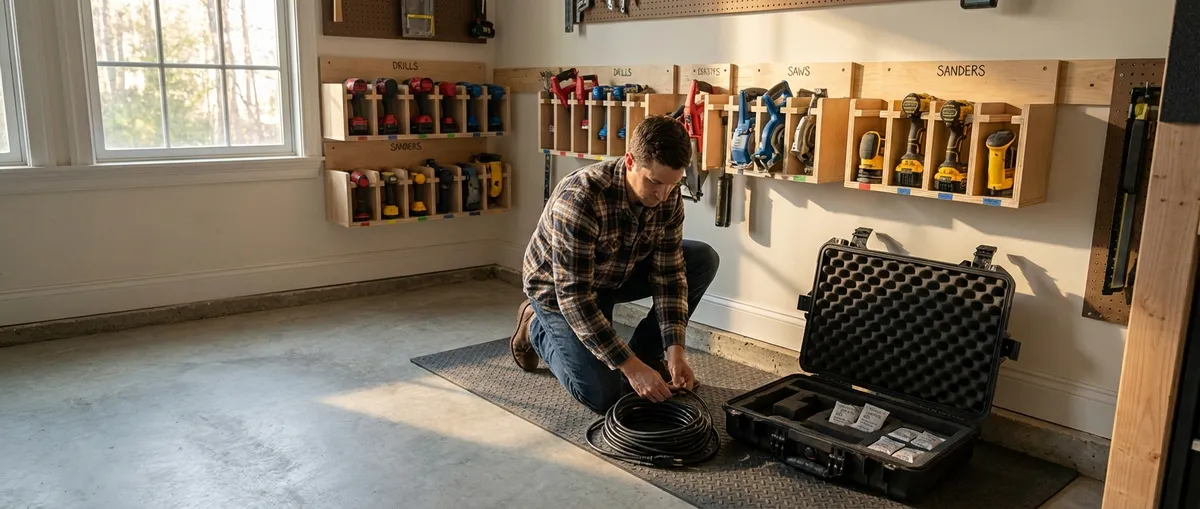
Step 3: Build a Simple, Practical Wall Station for Everyday Tools
Your most-used tools should be easy to grab and easy to put away. A wall-mounted station works in big garages and small corners alike—and you don’t need complex cabinetry to make it useful.
Here’s how to set up a basic wall station:
Anchor a base panel to the wall
Use one of the following: - 3/4" plywood screwed into studs - Pegboard with furring strips behind it (so hooks can seat properly) - A commercial wall track system (often sold for garages)
Make sure you’re hitting studs or using appropriate anchors. Power tools are heavy.
Designate zones instead of random hooks
Simple layout suggestions: - Top zone: light and small tools (drills, impact drivers, oscillating tools) - Middle zone: bulkier tools (circular saw, jigsaw, reciprocating saw) - Lower zone: charging station and batteries - Side or separate area: accessories (bits, blades, sanding discs)
Create custom holders for drills and drivers
You can: - Buy under-shelf drill holders that mount to the panel and let drills hang by their handles - Or build a simple shelf with front notches or slots sized to hold drill handles This keeps drills secure, off surfaces, and easy to grab.
Use shelves for heavier tools, not single hooks
Circular saws, sanders, and nailers often sit better on: - Short, sturdy shelves with a lip (to prevent sliding) - Deep enough for the tool’s footprint, at least 8–10" for most saws Arrange them so you can slide a tool out without moving three others.
Label locations so things actually get put back
- Use painter’s tape and a marker or printed labels under each spot: “DRILL,” “IMPACT,” “CIRCULAR SAW,” etc. - Labeling makes it obvious when something’s missing and helps you maintain the system over time.
This wall station becomes your main “landing zone” after every project, which alone will extend the life of your tools by keeping them out of random piles and damp boxes.
Step 4: Create a Smart Charging and Battery Storage Setup
Cordless tools are only as good as their batteries. Good battery storage and charging habits can significantly extend battery life and reduce fire risk.
Set up your battery area with these steps:
Mount or cluster chargers in one safe spot
- Choose a wall near an outlet or a sturdy shelf. - Keep chargers on a non-flammable surface (wood, metal—not loose cardboard piles). - Avoid stacking chargers directly on top of each other. They need airflow to prevent overheating.
Organize batteries by type and usage
- Group by voltage/system (e.g., 12V, 18V/20V, 40V outdoor tools). - Use a small bin or shelf labeled for each system. - Store batteries so terminals aren’t touching anything metal—no tossing in screw bins or tool buckets.
Follow safe charging practices
- Charge in a cool, dry, ventilated area, not in a closed cabinet or on a hot car dashboard. - Don’t leave batteries on the charger for weeks. Most modern chargers will maintain safely, but best practice is: - Charge - Remove - Store in the bin or on the rack - Unplug chargers when they’re not in use, especially in tightly packed garages.
Store batteries at partial charge for long breaks
If you won’t use a battery for a month or more: - Store lithium-ion batteries at about 40–60% charge (many manufacturers recommend around halfway charged). - Keep them in a cool, dry place—not freezing, not hot.
Retire questionable batteries
If you notice: - Cracked cases - Swelling or bulging - Overheating during normal use or charging Stop using that battery and follow local disposal or recycling rules. Do not store or charge a damaged battery with your good tools.
A clean, dedicated battery corner dramatically cuts down on dead-tool frustration and avoids the “where did that charger go?” problem.
Step 5: Protect, Clean, and Maintain Tools Before Long-Term Storage
Storing tools “as is” after a dusty, sweaty weekend project is one of the fastest ways to shorten their life. A few minutes of prep before they go back on the wall or into a cabinet makes a big difference.
Use this routine whenever you’re wrapping up a project or putting tools away for a season:
Unplug or remove batteries first
- Never clean a tool while it’s plugged in or has a live battery attached. - Remove blades, bits, or attachments if they’re easy to take off.
Blow out dust and debris
- Use compressed air (a compressor with a blow gun or canned air) to clear vents, switches, and crevices. - For tools used on plaster, drywall, or masonry, this step is critical—fine dust clogs vents and can overheat motors.
Wipe down surfaces
- Use a slightly damp cloth with mild soap for the tool body, then dry completely. - Avoid soaking any part of the tool or spraying cleaner directly into vents or openings.
Treat metal to prevent rust
- Wipe bare metal parts (blades, bases, chucks, depth stops) with a light coat of machine oil or a rust-preventive spray. - For table saw or planer beds, use paste wax or a specialized tool surface protectant to reduce rust and improve workpiece glide.
Store accessories correctly
- Place blades in sleeves or hang them on dedicated hooks, not loose in drawers to bang against each other. - Keep drill bits and driver bits in labeled cases or small organizers near the tools they belong to. - Coil cords loosely with wide loops and secure with Velcro straps instead of tight knots or sharp bends.
Record issues while you remember them
- If a tool sounded off, vibrated more than usual, or seemed weaker, jot a small note and attach it with painter’s tape or put it on a shop whiteboard. - When you have time, you’ll know which tools to inspect, repair, or replace.
This quick post-project ritual keeps your wall station stocked with clean, safe tools that are ready to go, instead of a lineup of dusty question marks.
Conclusion
Storing power tools the right way isn’t about building a picture-perfect workshop—it’s about protecting your investment and making every project smoother and safer.
By:
- Inspecting and sorting tools before you organize
- Choosing a dry, controlled storage area
- Building a simple wall station for everyday tools
- Creating a smart charging and battery setup
- Cleaning and protecting tools before they go back
…you’ll avoid a lot of premature failures, mystery malfunctions, and unsafe surprises.
Set up the basics once, then make small tweaks as your tool collection grows. The payoff is simple: when inspiration hits for your next DIY project, your tools will be exactly where you expect them—and ready to work.
Sources
- [Occupational Safety and Health Administration (OSHA) – Hand and Power Tools](https://www.osha.gov/hand-power-tools) - Guidance on safe use and maintenance practices for power tools
- [U.S. Consumer Product Safety Commission – Safety Alert: Rechargeable Lithium-Ion Batteries](https://www.cpsc.gov/s3fs-public/837.pdf) - Official recommendations on safe handling and charging of lithium-ion batteries
- [DeWalt Power Tools – Battery Storage and Charging FAQs](https://support.dewalt.com/s/article/How-should-I-store-my-batteries) - Manufacturer advice on extending cordless battery life
- [Makita – Tool Maintenance and Care Tips](https://www.makitatools.com/service/maintenance) - Practical tips for cleaning and maintaining power tools
- [Fine Woodworking – Protecting Tools from Rust](https://www.finewoodworking.com/2005/11/01/keep-rust-from-ruining-your-tools) - Detailed techniques for preventing corrosion on metal tool surfaces
Key Takeaway
The most important thing to remember from this article is that this information can change how you think about Tools & Equipment.


