Working with tools and equipment can turn big home projects into realistic weekend jobs—if you handle them safely and efficiently. When you build the right habits early, you avoid injuries, protect your tools, and get better results on every project. This guide walks through practical, step‑by‑step routines you can follow before, during, and after you work.
Step 1: Do a Quick Safety Check Before You Touch Any Tool
Before you start cutting, drilling, or sanding, spend a few minutes making sure your tools and workspace are safe. This becomes second nature once you’ve done it a few times.
- Clear your work area. Remove tripping hazards like loose cords, scrap wood, and boxes. Sweep up sawdust that could cause slips or hide screws and nails.
- Check your lighting. Make sure your main work area is well lit so you can see cut lines, tool markings, and material defects. Add a clamp light or work light if needed.
- Inspect power cords and plugs. Look for cracks, exposed wires, or loose plugs on extension cords and tools. If anything is damaged, set it aside and don’t use it until repaired or replaced.
- Confirm tools are off before plugging in. Check that switches are in the “off” position before you plug in power tools or connect batteries. This prevents surprise start‑ups.
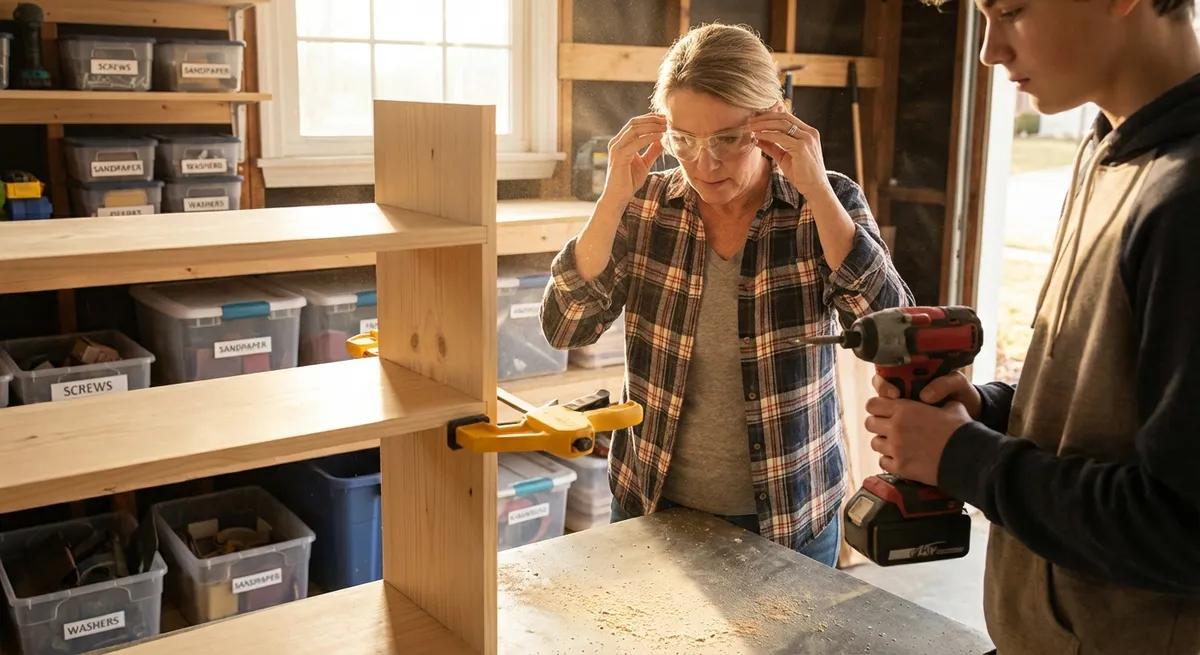
- Match PPE to the task. Put on safety glasses, hearing protection, and a dust mask or respirator if you’re cutting, sanding, or working with chemicals. Tie back long hair and avoid loose clothing that could catch in moving parts.
Building this short checklist into your routine keeps small oversights from becoming big problems and sets the tone for the rest of your project.
Step 2: Set Up and Secure Your Workpiece the Right Way
Even the best tool is dangerous and inaccurate if the material you’re cutting or drilling can move. Taking a few minutes to secure your workpiece improves precision and safety.
- Choose a stable work surface. Use a workbench, sturdy table, or saw horses that don’t wobble. Test them by pushing from different angles before you start.
- Support both sides of long boards or panels. If you’re cutting sheet goods or long boards, support them so the off‑cut doesn’t fall or pinch the blade. Use a second set of saw horses, scrap boards, or foam insulation under the workpiece.
- Use clamps instead of hands. Whenever possible, clamp your material to the work surface rather than holding it. Use bar clamps, C‑clamps, or quick‑grip clamps sized to the job.
- Position your body safely. Stand to the side of cut lines and bit paths, not directly behind them. Keep feet balanced and cords out of your way so you don’t lose control mid‑cut or mid‑drill.
- Mark clearly before you cut or drill. Use a sharp pencil or marking knife and a square, level, or tape measure. Double‑check measurements and cut lines before turning on the tool—“measure twice, cut once” saves both money and frustration.
Once your material is solidly supported and clearly marked, the tool can do its job with much less risk of kickback, binding, or wandering cuts.
Step 3: Use the Right Accessory and Settings for the Job
Many DIY mistakes and tool failures come from using the wrong blade, bit, or setting. Matching the accessory and speed to the material makes your tools faster, safer, and produces cleaner results.
- Match blades and bits to the material.
- Wood: wood‑specific blades/bits with fewer teeth for fast cuts, more teeth for cleaner cuts.
- Metal: metal‑rated blades/bits; never force a wood blade through metal.
- Masonry: masonry bits and blades for brick, concrete, and tile.
- Check for wear or damage. Look for missing teeth, cracks, burned edges, or rounded drill bit tips. Dull accessories require more force and increase the chance of slips or kickback—replace or sharpen when needed.
- Set the right speed.
- High speed: best for small bits in wood and softer materials.
- Low speed: better for large bits, metal, and hard materials to avoid overheating.
- Use depth stops and guides. If your drill has a depth rod or collar, set it to avoid drilling too deep. On saws, set blade depth just past the thickness of the material, not fully extended.
- Test on scrap. Before you touch your actual project piece, test your setup on a scrap with the same material. Adjust speed, pressure, or guides based on the test cut or hole.
Adjust drill or tool speed settings according to the material and accessory manufacturer’s guidance.
This step saves you from ruined boards, burned edges, stripped screws, and unnecessary tool strain, especially on bigger or more visible projects.
Step 4: Control Dust, Noise, and Vibration as You Work
Controlling the side effects of using tools—dust, noise, and vibration—keeps your space healthier and your tools performing properly. It also makes your projects less disruptive to everyone around you.
- Use dust collection or a shop vacuum. If your tools have dust ports, connect a shop vac or dust extractor. For sanding, use sanding discs or sheets with holes aligned to the sander’s dust ports. Empty filters regularly to maintain suction.
- Work with ventilation in mind. Open windows and doors, or use a box fan exhausting to the outside when cutting, sanding, or finishing. Avoid working in sealed spaces with dust or fumes.
- Limit noise exposure. Use hearing protection like earplugs or earmuff‑style protectors when using loud tools such as circular saws, miter saws, and hammer drills. Take breaks during longer sessions.
- Reduce vibration where possible. Make sure all bolts and fasteners on tools (especially sanders and grinders) are tightened. Check that sanding pads and discs are fully seated and balanced to avoid “walking” or numb hands.
- Pause to clear debris safely. Turn tools off and let moving parts come to a full stop before clearing chips, dust, or off‑cuts near blades and bits. Never brush debris away with your hand while the tool is running.
Focusing on these details protects your lungs and hearing, helps tools run cooler and smoother, and keeps your workshop more comfortable for longer sessions.
Step 5: Shut Down, Clean, and Store Tools So They’re Ready Next Time
How you finish a project matters as much as how you start it. A simple shutdown and storage routine keeps your tools reliable and extends their life, so you’re not fighting rust, clogs, or dead batteries later.
- Turn off and unplug everything. Shut off each tool, wait for moving parts to stop, then unplug from the outlet or remove batteries. Wrap cords loosely to avoid kinks or breaks.
- Brush off dust and debris. Use a soft brush, rag, or compressed air (where safe) to remove sawdust, metal shavings, and grit from vents, moving parts, and surfaces. Pay attention to cooling vents on power tools.
- Check blades, bits, and moving parts. Look for resin buildup on saw blades, dull cutting edges, and any loose screws or fasteners. Make notes of what needs sharpening, cleaning, or replacement before the next project.
- Store tools in a dry, organized spot. Keep tools off concrete floors, which can transfer moisture and promote rust. Use shelves, pegboards, or wall racks; store batteries and chargers in a cool, dry location away from direct sunlight.
- Label and group accessories. Keep drill bits, driver bits, blades, and sandpaper in small bins or cases labeled by size and type. When everything has a place, setup for your next project is much faster and far less frustrating.
Over time, this end‑of‑project habit saves you money on repairs and replacements, and makes starting your next DIY job as simple as pulling out clean, ready‑to‑go tools.
Conclusion
Safe, efficient tool use isn’t about owning the most expensive equipment—it’s about consistent habits. When you run through a quick safety check, secure your work properly, match accessories and settings to the job, control dust and noise, and finish with a smart shutdown routine, every project goes more smoothly. Start with these five steps, repeat them on each job, and your tools will stay ready, your workspace will stay safer, and your home projects will be far more enjoyable from start to finish.
Sources
- [Occupational Safety and Health Administration (OSHA) – Hand and Power Tools](https://www.osha.gov/hand-power-tools) - Official U.S. guidelines on safe use of hand and power tools
- [Centers for Disease Control and Prevention (CDC) – Hearing Loss Prevention](https://www.cdc.gov/niosh/topics/noise/default.html) - Information on protecting hearing when using loud equipment
- [Mayo Clinic – Protecting Your Lungs from Dust](https://www.mayoclinic.org/healthy-lifestyle/adult-health/expert-answers/lung-health/faq-20058443) - Guidance on respiratory protection and dust exposure
- [Makita – Power Tool Safety and Operation Guide](https://www.makitatools.com/service/safety) - Manufacturer recommendations for safe operation and maintenance of power tools
- [Home Depot – How to Use a Circular Saw Safely](https://www.homedepot.com/c/ah/how-to-use-a-circular-saw/9ba683603be9fa5395fab90b4c18d7b) - Practical examples of setup, cutting technique, and safety practices
Key Takeaway
The most important thing to remember from this article is that this information can change how you think about Tools & Equipment.


