If you have a gloomy living room, a cave-like hallway, or a dim bedroom, you don’t always need a full gut renovation to make it feel bright and inviting. With a focused plan and a few strategic upgrades, you can dramatically increase natural light, improve how spacious the room feels, and boost your home’s comfort and value. This guide walks through a clear, step-by-step approach any DIY-focused homeowner can follow, from planning to execution.
Understand How Light Moves Through Your Home
Before you start painting walls or swapping fixtures, you need to understand how light actually behaves in your space. Spend a day paying attention to when each room is brightest and where the light enters. Note which windows get morning sun vs. afternoon sun, and which rooms feel darkest for most of the day.
Take photos at different times and compare. You’ll probably notice that rooms on the north side of the house get softer, cooler light, while south-facing rooms tend to stay bright longer. Also look for what might be blocking light: overgrown shrubs, heavy drapes, large furniture, or dark finishes. This “light audit” will help you decide where each DIY change will have the biggest effect, so you invest your time and budget where it counts.
Step 1: Clear the Path for Existing Light
The fastest way to brighten a room is to let more of your existing daylight in. This often costs little or nothing and can make a dramatic difference before you touch paint or tools.
Start outside. Trim shrubs, branches, or climbing plants blocking windows. Clean your windows thoroughly, inside and out—built-up grime can cut a surprising amount of light. If you have exterior screens that are damaged or heavily darkened, repair or replace them.
Move indoors and look at what’s sitting in front of your windows. Shift tall bookcases, cabinets, or sofas away from the glass. Replace heavy, dark curtains with light-colored, sheer panels or adjustable blinds that can be pulled fully clear of the window during the day. If privacy is a concern, consider top-down/bottom-up shades that leave the upper part of the window open. These simple changes often make a room feel brighter immediately, giving you a clearer sense of what else is needed.
Step 2: Use Paint, Trim, and Surfaces to Reflect Light
Once you’ve maximized what’s coming in, your next job is to help that light bounce around the room instead of getting absorbed by dark surfaces. Paint color, sheen, and even the color of your trim and ceiling all matter.
Choose lighter wall colors with a neutral or slightly warm undertone to keep the space from feeling cold. Off-whites, soft greiges, and pale beiges often work better than stark, pure white, which can look harsh in low light. Opt for an eggshell or satin finish on walls for a subtle sheen that reflects more light than flat paint but still hides imperfections fairly well. For ceilings, a flat or matte bright white usually works best—it helps light bounce down without drawing attention to any surface flaws.
Don’t forget trim and doors. Painting window and door trim a crisp white can visually frame the light sources and make the edges of the room feel cleaner and brighter. Consider updating dark, glossy furniture or built-ins with lighter paint or new fronts. Even small surfaces like side tables or shelving can contribute to the overall brightness when they reflect, rather than absorb, light.
Step 3: Add Mirrors and Strategic Reflective Elements
Mirrors are one of the most powerful DIY tools for brightening a room, especially when used thoughtfully. Rather than hanging a mirror randomly, think of it as a “second window” that can bounce light deeper into the space.
Place a large mirror on the wall directly opposite a window if possible, or at a 90-degree angle to capture and reflect the view and daylight. In narrow hallways, a series of smaller mirrors can help break up long, dark expanses and make the corridor feel wider. In living rooms or bedrooms, a standing mirror angled toward a window can add depth and brightness at the same time.
Beyond mirrors, consider other reflective touches: glass or metallic picture frames, light-colored or subtly glossy tile, and glass-front cabinets. In kitchens or dining areas, a light, semi-gloss backsplash can catch and scatter light from nearby windows or fixtures. Just be careful not to overdo high-gloss surfaces; a few well-placed reflective elements are usually enough to brighten a room without making it feel clinical.
Step 4: Layer Artificial Lighting to Support Natural Light
Even in a well-brightened room, natural light alone isn’t always enough—cloudy days, evenings, and interior spaces need thoughtful artificial lighting. Instead of relying on a single overhead fixture, aim to layer different types of light so the room feels even and comfortable.
Start with ambient lighting: this is your general room light, such as a ceiling fixture or recessed lights. If your existing fixture is outdated or dim, replacing it is a relatively straightforward DIY job for many homeowners (be sure to shut off power at the breaker and follow local codes). Choose a fixture that spreads light broadly rather than focusing it in a narrow beam.
Next, add task lighting where you actually do things: desk lamps, reading lamps near seating, under-cabinet strips in kitchens, or vanity lighting in bathrooms. Finally, include accent lighting to highlight artwork, plants, or architectural features. When choosing bulbs, look at lumens (brightness) and color temperature. For most living spaces, a “warm white” around 2700K–3000K creates a comfortable atmosphere that still feels bright. Use LEDs for longer life and lower energy use, and consider dimmers so you can adjust the mood throughout the day.
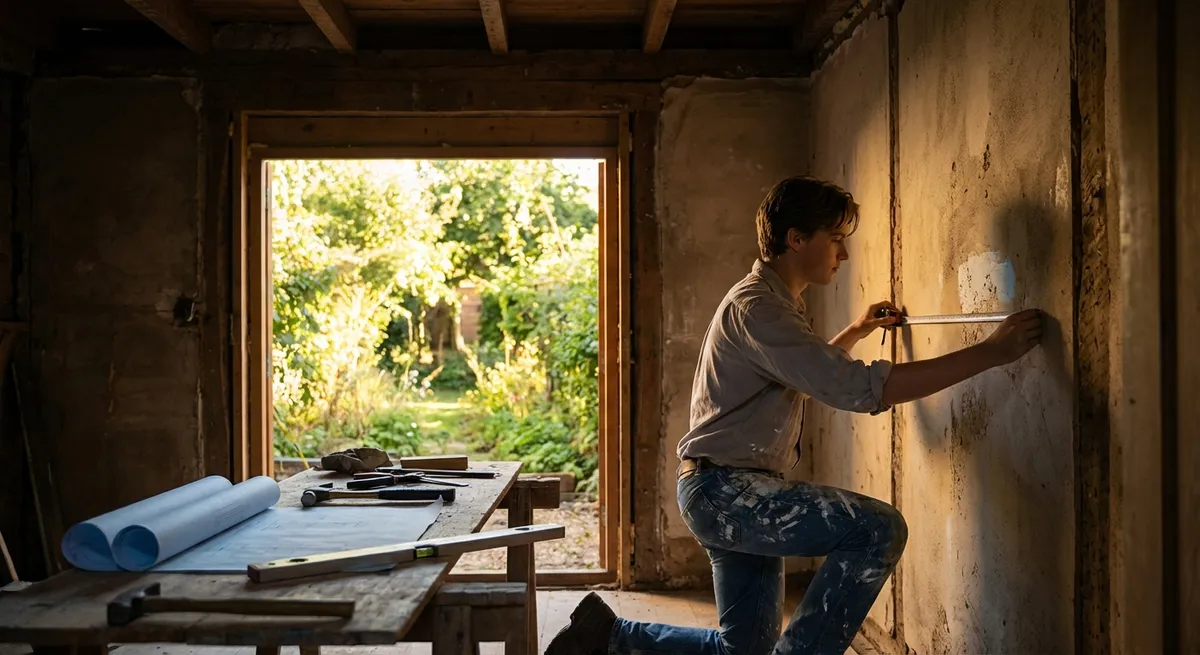
Step 5: Make Smart Changes to Doors, Openings, and Layout
If you’ve optimized light paths, surfaces, and lighting but a room still feels dark or closed-in, small structural and layout tweaks can help light travel farther through your home. Many of these changes are manageable DIY tasks with basic tools and careful planning.
Start with the layout. Rearrange furniture so it doesn’t block windows, doorways, or sightlines from brighter adjacent rooms. Aim to keep at least one clear visual path from a natural light source into the darker space. Swapping a bulky sectional for a sofa and chair setup, or rotating a bed, can open up lines of light you didn’t realize you were blocking.
For a more advanced step, consider replacing solid interior doors with ones that include glass panels (like French doors) in areas where privacy is less critical, such as home offices, dining rooms, or hallways. This allows light to pass between rooms while still defining separate spaces. Another option is to widen cased openings between a bright room and a darker one, or to add a transom window above a door to share light higher up on the wall. These projects may require more tools and careful measurement, and you’ll need to be sure you’re not altering load-bearing walls or compromising fire separation requirements. If you’re unsure, consult your local building department or a structural professional before starting.
Conclusion
Brightening a dark room doesn’t always mean cutting new windows or doing a full renovation. When you take a step-by-step approach—clearing light paths, upgrading surfaces, adding reflective elements, layering artificial lighting, and making smart layout or doorway changes—you can transform how a space looks and feels with manageable, DIY-friendly projects. Start with the simplest steps, see how much they help, and then decide which deeper changes are worth your time and budget. With a bit of planning and effort, that once-gloomy room can become one of your favorite spots in the house.
Sources
- [U.S. Department of Energy – Daylighting](https://www.energy.gov/energysaver/daylighting) – Explains how natural light enters and moves through a home, plus efficiency considerations
- [Energy Star – Lighting Choices to Save You Money](https://www.energystar.gov/products/lighting_fans/light_bulbs) – Overview of LED and efficient lighting, including color temperature and brightness guidance
- [Sherwin-Williams – Choosing Paint Colors for Low-Light Rooms](https://www.sherwin-williams.com/en-us/homeowners/color/brightening-dark-rooms) – Practical advice on paint colors and finishes to brighten dark spaces
- [This Old House – How to Add a Window to a Dark Room](https://www.thisoldhouse.com/windows/21017621/how-to-add-a-window) – Background on more advanced daylighting changes and what they involve
- [International Association of Certified Home Inspectors – Interior Lighting](https://www.nachi.org/interior-lighting.htm) – Describes good lighting practices and basic safety considerations in residential interiors
Key Takeaway
The most important thing to remember from this article is that this information can change how you think about Renovation.


