Turning a spare bedroom or underused room into a real home office is one of the most useful renovations you can do. Done right, it makes work easier, keeps clutter under control, and can even boost your home’s value. This guide walks you through clear, practical steps so you can plan, prep, and build out a workspace that feels professional without requiring a full remodel.
Step 1: Plan the Layout Before You Move Anything
Rushing to buy a desk and chair is tempting, but planning first will save you time and money.
Start by measuring the room: length, width, and ceiling height. Sketch a simple floor plan on paper or use a free app. Mark windows, doors, outlets, vents, and any awkward corners. Identify where natural light comes from and how it changes through the day. Ideally, your desk should face a wall or sit perpendicular to a window so glare doesn’t hit your screen directly.
Think about how you work: Do you need a large surface for dual monitors or paperwork? A separate area for printing, crafting, or packaging? Space for a client chair? Plan dedicated “zones” for working (desk), storing (shelves, cabinets), and relaxing (small chair, if there’s room) so the space doesn’t feel chaotic.
Before you move heavy furniture, tape out the footprint on the floor using painter’s tape. Walk through the room like you would during a normal workday. Make sure doors open fully, you can access windows and outlets, and you’re not squeezing around furniture just to sit down.
Step 2: Prep Walls, Outlets, and Lighting for Daily Use
A home office needs more than a fresh coat of paint. It needs the right power and light.
First, inspect your existing outlets. If the room has only one or two, you may need additional receptacles or upgraded circuits, especially if you’re running multiple monitors, a desktop PC, printer, and space heater or AC unit. For any new wiring, adding outlets, or upgrading the electrical panel, hire a licensed electrician—this is not a place to “wing it.”
Replace any old, yellowed outlets and switches with modern ones. Consider adding USB-C/USB-A combo outlets where you’ll charge devices. If the overhead fixture is dim, swap it for a brighter LED fixture and add layered lighting: a desk lamp for task work and a floor lamp or wall sconces for softer ambient light.
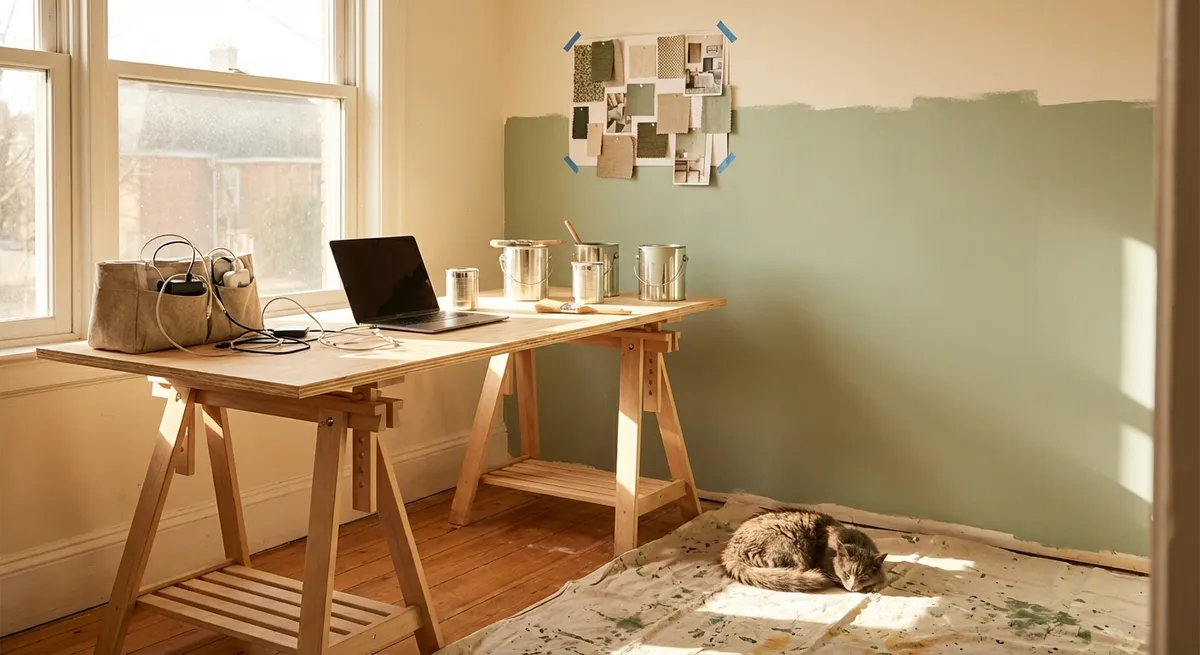
When it comes to walls, patch nail holes and cracks, sand rough spots, and then prime if needed. Choose a paint color that supports focus—soft neutrals, muted greens, or light blues work well. Flat or matte finishes hide imperfections but mark more easily; eggshell is a good compromise for offices.
Before painting, think about background visibility on video calls. The wall behind your chair should be clean, uncluttered, and not overly bright or patterned. A simple bookshelf or framed art is usually enough to look professional without feeling staged.
Step 3: Build a Desk and Storage Setup That Fits the Space
A functional office starts with a good work surface and smart storage. You don’t need custom cabinetry, but you do need furniture that fits the room and your body.
For the desk, prioritize depth and stability over trendy looks. A work surface 24–30 inches deep and at least 48 inches wide works for most people. If the room is small, consider a corner desk to use space efficiently, or a wall-mounted desk with fold-down support brackets to keep the floor clear.
If you’re handy, you can build a simple desk using a solid-core door or butcher-block panel mounted on sturdy legs or drawer units. Use adjustable legs if you want to fine-tune the height. Aim for a desk height around 28–30 inches for most adults, adjusting based on your own comfort.
Storage is what keeps the office from turning into a dumping ground. Use vertical space: wall-mounted shelves, tall bookcases, or cabinets above the desk. Keep frequently used items within arm’s reach and less-used supplies higher up or in a closet. Use boxes, bins, and file organizers to separate paperwork, electronics, and office supplies so everything has a labeled home.
Don’t forget cable management. Install a cable tray under the desk, use adhesive clips along the back edge, and label power cords with simple tags. This makes it much easier to unplug and move things later and keeps the floor from becoming a tangle of wires.
Step 4: Focus on Ergonomics and Comfort from Day One
A nice-looking office is useless if your back and neck hurt after an hour. Ergonomics should guide how you place every major piece.
Choose a chair that’s adjustable in seat height and back angle, with lumbar support and comfortable cushioning. You don’t need the most expensive model, but avoid rock-bottom budget chairs with no adjustments. Set the chair height so your feet are flat on the floor (or on a footrest), and your knees are roughly at a 90-degree angle.
Position your desk and monitor so your forearms are parallel to the floor when typing and your elbows rest lightly at your sides. The top of your monitor should be at or slightly below eye level, about an arm’s length away. If you’re using a laptop, plan for a separate keyboard and mouse plus a stand to raise the screen.
Control light and temperature as much as possible. Install blinds or curtains that let you adjust glare while still allowing some natural light. If the room runs warm or cold, consider a small, safe heater or a fan and seal any obvious drafts around windows. Add a rug if the floor is hard and echoey; it improves comfort and cuts noise on video calls.
Finally, include small but important details: a trash can and recycling bin nearby, a surge protector for electronics, and a dedicated spot for your phone so it’s within reach but not in the way.
Step 5: Add Acoustic, Privacy, and Tech Details That Make Work Easier
The last step is turning a basic office into a space that truly supports focused work.
Start with sound. Hard, empty rooms echo, which can be distracting and make video calls sound harsh. Add soft materials: a rug, curtains, upholstered chair, or simple acoustic panels. You don’t need studio-grade foam—thick fabric wall hangings or a filled bookcase behind you can significantly reduce echo.
For privacy, install a solid-core or heavier door if your existing one is hollow and flimsy. Add weatherstripping or a door sweep to reduce noise transfer from the hallway. If you share the home with others, agree on simple signals (like a door sign or light) to indicate when you’re in a call or deep-focus time.
On the tech side, plan for reliable internet. If your Wi‑Fi signal is weak in the room, consider a mesh Wi‑Fi system or a wired Ethernet connection for your primary computer. Mount a power strip or surge protector where you can reach it easily without crawling under the desk every time you need to plug something in.
Set up a clean, reliable video-call area. Test your camera angle, lighting, and background. A simple desk lamp placed behind your monitor can light your face evenly. Avoid bright windows directly behind you, which will turn you into a silhouette.
Once everything is in place, work in the room for a week and take notes on what frustrates you: cords that always snag, a light that’s too dim in the evening, or a shelf that’s too high. Then make small adjustments and improvements. Renovation isn’t just demo and paint—it’s also fine-tuning how the space works for you over time.
Conclusion
Turning a spare room into a real home office doesn’t require a full gut renovation, but it does demand thoughtful planning. By mapping your layout, upgrading power and lighting, building a right-sized desk and storage setup, prioritizing ergonomics, and dialing in sound and privacy, you can create a workspace that feels intentional instead of improvised. The result is a room that helps you focus, keeps your tools and tech organized, and makes working from home feel more sustainable for the long term.
Sources
- [U.S. Department of Energy – Lighting Choices to Save You Money](https://www.energy.gov/energysaver/lighting-choices-save-you-money) - Overview of efficient lighting options and how to choose the right fixtures and bulbs
- [Occupational Safety and Health Administration (OSHA) – Computer Workstations](https://www.osha.gov/etools/computer-workstations) - Detailed guidance on ergonomic setup for desks, chairs, and monitors
- [Mayo Clinic – Office Ergonomics: Your How-To Guide](https://www.mayoclinic.org/healthy-lifestyle/adult-health/in-depth/office-ergonomics/art-20046169) - Practical tips for setting up a healthy, comfortable workspace
- [Federal Trade Commission – Shopping for Surge Protectors and Power Strips](https://www.consumer.ftc.gov/articles/shopping-surge-protectors-and-power-strips) - What to look for when protecting office electronics
- [Harvard University – Tips for Working Remotely](https://accessibility.harvard.edu/tips-working-remotely) - Helpful advice on setting up effective and accessible home work environments
Key Takeaway
The most important thing to remember from this article is that this information can change how you think about Renovation.


