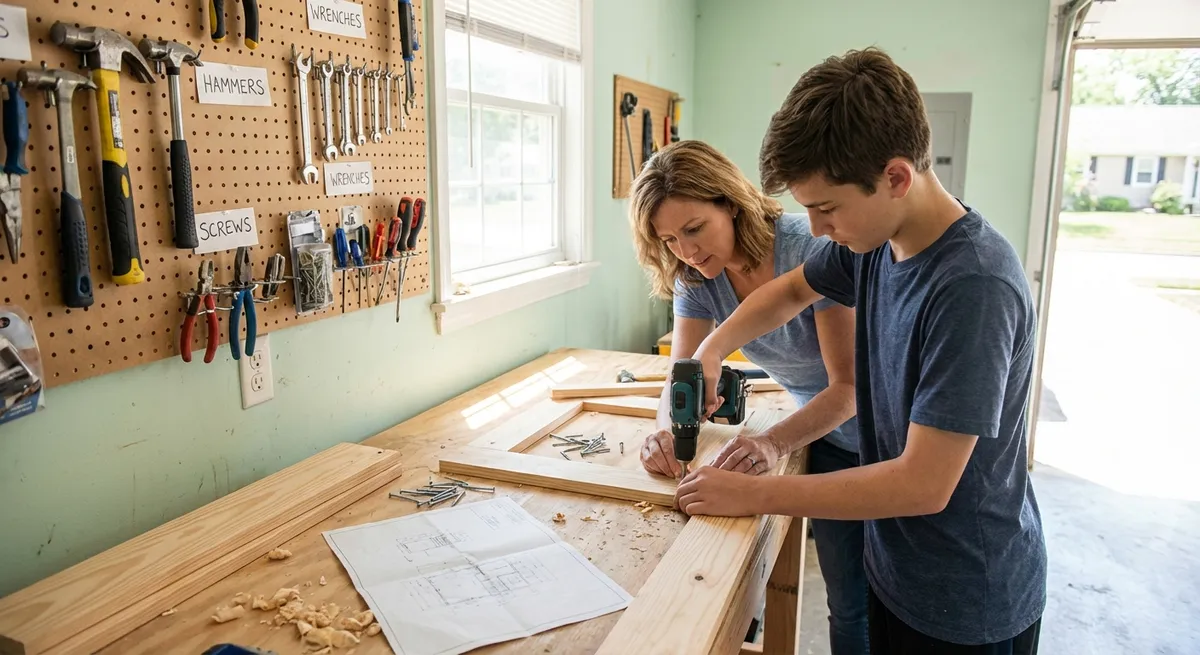
Most homes don’t need a full renovation to feel better to live in. Small, well-chosen DIY projects can add storage, improve comfort, and make things easier to use—without tearing your house apart or draining your budget. This guide walks through five practical projects you can realistically tackle in a weekend, even if you’re not a pro.
Each project includes tools, materials, step-by-step instructions, and small “pro move” tips so you can get it done safely and confidently.
Project 1: Add a Sturdy Entryway Hook Rail (That Actually Holds Up)
A solid hook rail near your main door keeps bags, jackets, and keys off the floor and out of random chairs. The key is anchoring it correctly so it doesn’t rip out of the wall.
Tools & Materials
- Stud finder (or small nail and hammer to probe)
- Level
- Drill and drill bits
- Screwdriver or driver bit
- Tape measure
- Pencil
- Pre-made hook rail or a 1x4/1x6 board + individual hooks
- Wood screws (long enough to reach studs, usually 2–2½")
- Wall anchors (if you can’t hit two studs)
- Sandpaper and paint/stain (optional)
Step-by-Step
Choose the location and height
Stand where you usually drop your stuff. Mount the hooks where they’ll be truly useful: - Adult use: 66–70" from the floor to the top of the hooks. - For kids: add a second, lower rail at 42–48".
Find your studs
Use a stud finder to locate studs along the wall. Mark their center lightly with a pencil. Aim to span at least two studs with your rail so it can carry real weight.
Prep the rail
If using a board: - Cut it to length (shorter looks cleaner than oversized). - Sand edges lightly. - Paint or stain and let dry. Lay out hook positions (e.g., every 6–8") and mark screw holes on the board.
Level and pre-drill
Hold the rail where you want it and place a level on top. Adjust until level and mark screw hole positions on the wall at stud locations. Pre-drill pilot holes in the rail and, if needed, small pilot holes into the studs—this helps prevent splitting and makes driving screws easier.
Mount securely
- Drive long wood screws through the rail into the studs. - Where you can’t hit a stud, use quality wall anchors rated for the load you expect (coats + backpacks add up). - Tighten until snug, but don’t over-torque and crush the drywall or strip the screw.
Pro move: Before mounting, add a thin strip of painter’s tape along the top line of where the rail will sit. Once the rail is in place, remove the tape to leave a clean edge with no pencil marks.
Project 2: Install Under-Cabinet Lighting for a Brighter Kitchen
Under-cabinet lighting instantly makes prep surfaces easier to use and modernizes an older kitchen. Plug-in or low-voltage LED strips are ideal for DIYers because they avoid complex wiring.
Tools & Materials
- Plug-in LED strip lights or puck lights rated for under-cabinet use
- Measuring tape
- Pencil
- Level
- Cable clips or adhesive cord organizers
- Power strip (if needed)
- Screwdriver or drill (if your kit uses screws)
- Rubbing alcohol and cloth (for surface prep)
Step-by-Step
Plan your lighting runs
Decide: - Which cabinet sections need light (typically above main prep zones). - Where the nearest outlet is. - How to hide the power cord (along cabinet underside, inside a corner, or down the wall).
Dry-fit the lights
Without removing adhesive backing, hold the lights under the cabinets to figure out: - The best starting point (ideally near the back of the cabinet bottom, not the very front). - How many strips or pucks you need. - Where any connectors, switches, or transformers will sit.
Prep the surface
Wipe the underside of the cabinets with a cloth and rubbing alcohol to remove grease and dust. Let it dry fully—adhesive won’t stick well to a greasy surface.
Mount the lights
- Peel the adhesive backing (if applicable) and press the lights firmly into place, working a few inches at a time. - If your kit uses clips or screws, mark their positions, pre-drill tiny pilot holes, and secure them carefully so you don’t punch through the cabinet floor.
Route and tidy the cords
- Run cords neatly along the underside and sides of cabinets using cable clips or adhesive organizers. - Avoid routing directly across hot appliances like toaster ovens. - Plug into a GFCI-protected outlet if near a sink.
Pro move: Choose a light kit with a warm white color temperature (2700–3000K). It’s easier on the eyes and better matches most home lighting than harsh “daylight” strips.
Project 3: Seal Drafty Windows with Removable Weatherstripping
If a room feels chilly near the windows, you’re likely losing heat (and money) through gaps. Removable weatherstripping and caulk can make a big difference with minimal mess.
Tools & Materials
- Adhesive-backed foam or rubber weatherstripping
- Removable caulk or rope caulk (for temporary sealing)
- Utility knife or scissors
- Measuring tape
- Mild cleaner and rag
Step-by-Step
Identify problem areas
On a windy day, hold the back of your hand or a lit incense stick near window edges and sashes. Notice where the draft is strongest—top, bottom, or sides.
Clean the surfaces
Wipe down where the weatherstripping will go (inside the frame where the sash meets, not on the movable parts themselves). Let it dry so the adhesive sticks properly.
Measure and cut strips
Measure each gap length. Cut weatherstripping pieces a little long so they compress slightly when installed (this improves the seal and keeps them from shrinking away from corners).
Apply weatherstripping
- Peel back a few inches of adhesive at a time. - Press the strip firmly into the inside of the frame along the drafty edges. - Avoid placing weatherstripping where it will block the window from closing fully.
Seal stubborn gaps with removable caulk
For larger gaps (often at the bottom or around trim): - Apply removable or rope caulk in a thin bead. - Smooth with a damp finger or a caulk tool. - In warmer weather, you can peel it off without damaging the frame.
Pro move: Test the window after sealing. It should close and lock smoothly. If it’s hard to latch, you may have used weatherstripping that’s too thick; swap for a thinner profile.
Project 4: Build a Simple Floating Shelf That Won’t Sag
Floating shelves are great for bathrooms, kitchens, or living rooms—if they’re anchored correctly. This basic version uses a bracket or cleat hidden behind the shelf board.
Tools & Materials
- Shelf board (common sizes: 1x8 or 1x10)
- Floating shelf bracket kit or 1x2 cleat
- Stud finder
- Level
- Drill and bits
- Wood screws
- Tape measure
- Pencil
- Sandpaper, paint or stain (optional)
Step-by-Step
Choose size and placement
Decide: - Length: keep shelves under 36" long if they’ll hold heavier items to avoid sagging. - Height: generally 16–20" above a couch, 12–18" between multiple shelves, or 20–24" above a toilet tank.
Find studs and mark your line
Use a stud finder to locate at least two studs where you want the shelf. Mark their centers. With a level, draw a light horizontal line where the top of your bracket/cleat will sit.
Install the bracket or cleat
- Hold the bracket or 1x2 cleat along your line. - Mark screw holes at stud locations. - Pre-drill pilot holes and then drive wood screws into studs, not just drywall. - Check again with the level and adjust if necessary before fully tightening.
Prep and position the shelf board
- Cut the board to length if needed. - Sand edges and surfaces. - Paint or stain and let it dry completely. - Dry-fit the board on the bracket/cleat to confirm it sits flush against the wall.
Secure the shelf to the support
From underneath: - Drive short wood screws up through the bracket/cleat into the shelf. - Space screws every 8–12" along the length. Be careful not to use screws so long that they poke through the top surface.
Pro move: If you’re putting this in a bathroom or kitchen, seal all sides of the board with paint or polyurethane to protect against moisture and warping.
Project 5: Replace a Worn-Out Interior Door Handle
Old or loose interior door knobs are more than annoying—they can stick or fail entirely. Swapping in a new handle is an easy confidence-building project using basic tools.
Tools & Materials
- New interior door handle set (match “passage,” “privacy,” or “dummy” to your door’s use)
- Phillips screwdriver
- Flathead screwdriver (optional, for prying)
- Tape (to hold latch in place while you install)
- Small container for old screws
Step-by-Step
Choose the right replacement
Check: - Door thickness (most are 1⅜" or 1¾"). - Backset (distance from door edge to knob center, usually 2⅜" or 2¾"; most new sets are adjustable). - Whether you need a privacy lock (bathroom/bedroom) or non-locking passage handle (closets/hallways).
Remove the old handle
- Unscrew the two screws on the interior side of the knob/lever. - Pull both sides of the handle out. - Remove the latch plate on the edge of the door by taking out its two small screws. Keep all old screws in a small container so nothing rolls away.
Prepare the door and latch hole
- Check the latch hole for debris or damage. - If the wood is chewed up, pack in a bit of wood filler or wooden toothpicks with wood glue and let dry before reinstalling screws—this helps them grab.
Install the new latch
- Insert the latch into the edge of the door with the curved side facing the direction the door closes. - Tape it lightly in place if it wants to fall out. - Screw the latch plate snugly to the door edge (don’t overtighten and strip the wood).
Attach the new handles
- Install the exterior side first (usually the one with the visible spindle or keyhole). - Line up the interior side so the spindle passes through the latch. - Tighten the two long screws evenly. - Test the handle, latch movement, and lock (if you have one) before calling it done.
Pro move: If the latch doesn’t line up perfectly with the strike plate in the door frame, you can slightly adjust the strike plate position up/down or in/out, and fill old screw holes with wood glue and toothpicks before moving the plate.
Conclusion
You don’t need a truckload of tools or a contractor-level skill set to make your home work better. Projects like a properly anchored hook rail, brighter counters, tighter window seals, solid floating shelves, and smooth-working door handles all add daily comfort and usability with modest cost and effort.
The key is planning each step, measuring carefully, and taking your time on the “boring” parts: finding studs, prepping surfaces, and using the right fasteners. Those details are what separate quick fixes from long-lasting improvements. Tackle one project this weekend, learn from it, then build from there—your home will feel more dialed-in with every completed job.
Sources
- [U.S. Department of Energy – Air Sealing Your Home](https://www.energy.gov/energysaver/air-sealing-your-home) - Guidance on finding and sealing drafts around windows and doors
- [Energy Star – Windows, Doors and Skylights](https://www.energystar.gov/products/building_products/residential_windows_doors_and_skylights) - Information on window performance and improving comfort and efficiency
- [Family Handyman – How to Install Floating Shelves](https://www.familyhandyman.com/project/how-to-install-floating-shelves/) - Practical tips and illustrations for secure floating shelf installation
- [This Old House – How to Install Under Cabinet Lighting](https://www.thisoldhouse.com/lighting/21018998/how-to-install-under-cabinet-lighting) - Detailed walkthrough of under-cabinet light options and installation steps
- [Yale University – Residential Door Hardware Basics (PDF)](https://www.yalehome.com/sites/default/files/2022-03/yale-residential-door-hardware-guide.pdf) - Overview of interior door hardware types and sizing considerations
Key Takeaway
The most important thing to remember from this article is that this information can change how you think about DIY Projects.


